
Navigator 4WD V8-5.4L VIN 5 (2006)
Part 2
Removal and Installation
NOTE:
-
If an evaporator core leak is suspected, the evaporator must be vacuum leak tested before it is removed from the vehicle.
-
Installation of a new receiver/drier is not required when repairing the air conditioning system except when there is physical evidence of
contamination from a failed A/C compressor or damage to the receiver/drier.
1. Recover the refrigerant.
2. Drain the engine coolant.
3. Remove the instrument panel. Refer to: Body and Frame, Interior Moulding/Trim, Dashboard/Instrument Panel, Service and Repair, See: Body
and Frame/Interior Moulding / Trim/Dashboard / Instrument Panel/Service and Repair
4. Remove the rear footwell duct.
5. Remove the powertrain control module (PCM) and PCM bracket.
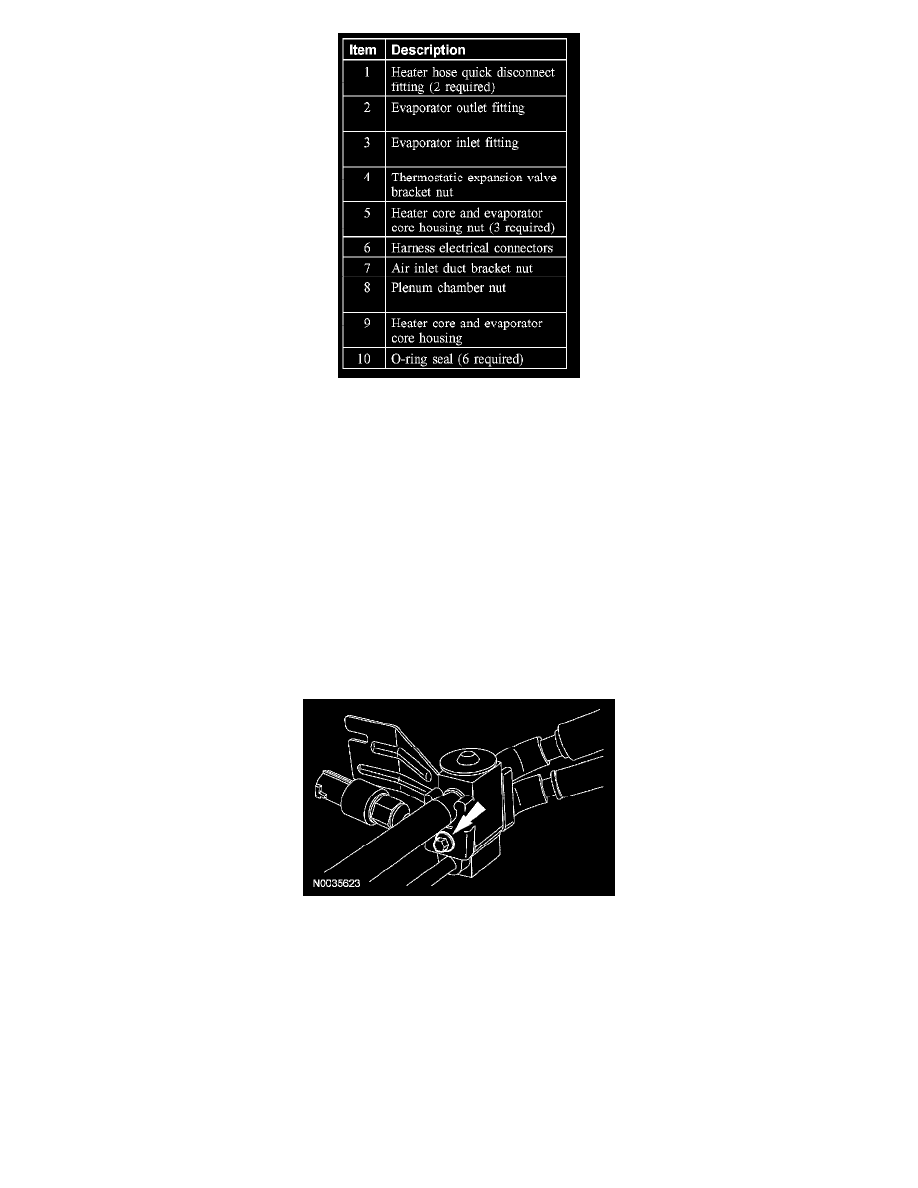
6. Disconnect the 2 heater hose quick-disconnect fittings at the heater core.
7. Remove the bolt and detach the thermostatic expansion valve (TXV).
-
Discard the O-ring seals.
-
To install, tighten to 8 Nm (71 lb-in).
8. Disconnect the evaporator outlet fitting.
-
Discard the O-ring seals.
9. Disconnect the evaporator inlet fitting.
-
Discard the O-ring seals.
10. Remove the thermostatic expansion valve bracket nut.
-
To install, tighten to 5 Nm (44 lb-in).
11. Remove the 3 heater core and evaporator core housing nuts.