
Town Car V8-302 5.0L (1987)
Intake Manifold: Service and Repair
Removal and Installation
1.
Disconnect battery ground cable and drain cooling system.
2.
Remove air cleaner, PCV hose and air intake duct, then disconnect electric choke heater tube, if applicable.
3.
Remove accelerator cable bracket, then disconnect speed control linkage, TV cable and all vacuum lines from manifold.
4.
Disconnect high tension lead and primary wiring connector from ignition coil, then remove coil and support bracket from manifold.
5.
Disconnect high tension leads from spark plugs, then remove distributor cap, adapter and high tension leads as an assembly.
6.
Disconnect fuel return and supply lines. Relieve fuel pressure at valve on metal fuel rail located at LH front corner of engine before
disconnecting fuel lines.
7.
Disconnect electrical leads from distributor, then remove hold down bolt and distributor. Mark position of rotor to aid installation.
8.
Disconnect upper radiator hose, coolant temperature sending wire and throttle body cooler hoses at manifold.
9.
Loosen hose clamp, then slide bypass hose off outlet housing.
10.
Disconnect all remaining electrical connections that will interfere with manifold removal.
11.
Disconnect crankcase vent hose assembly at rear of lower intake manifold, then the fuel evaporative purge tube, if so equipped.
12.
Remove attaching bolts, then the upper intake manifold.
13.
Remove lower intake manifold, together with fuel rails.
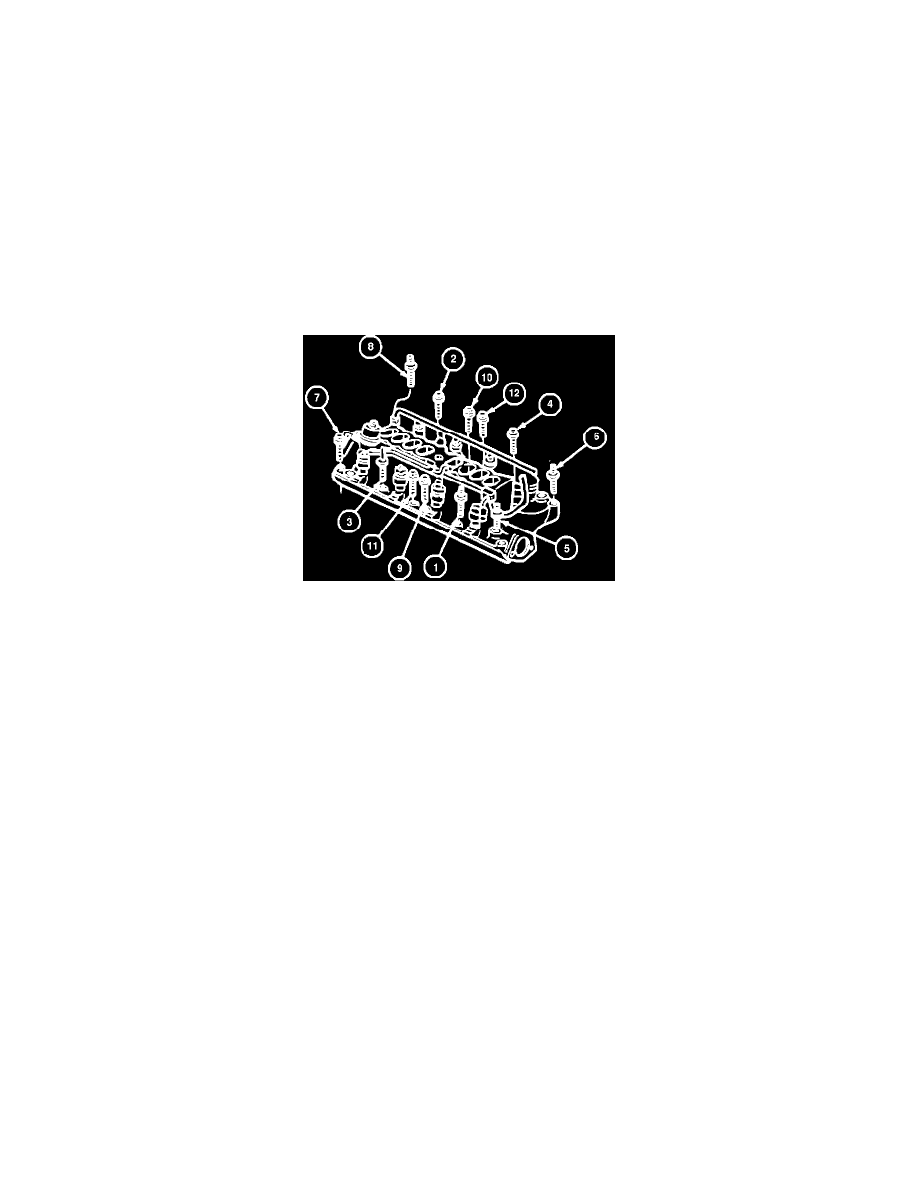
Intake Manifold Tightening Sequence
14.
Reverse procedure to install, tightening in sequence as shown.
TORQUE VALUE: 22 - 25 ft lbs.