
Town Car V8-4.6L (2008)
Transmission Cooler: Procedures
Transmission Fluid Cooler Tubes Backflushing and Cleaning
Transmission Fluid Cooler Tubes Backflushing and Cleaning
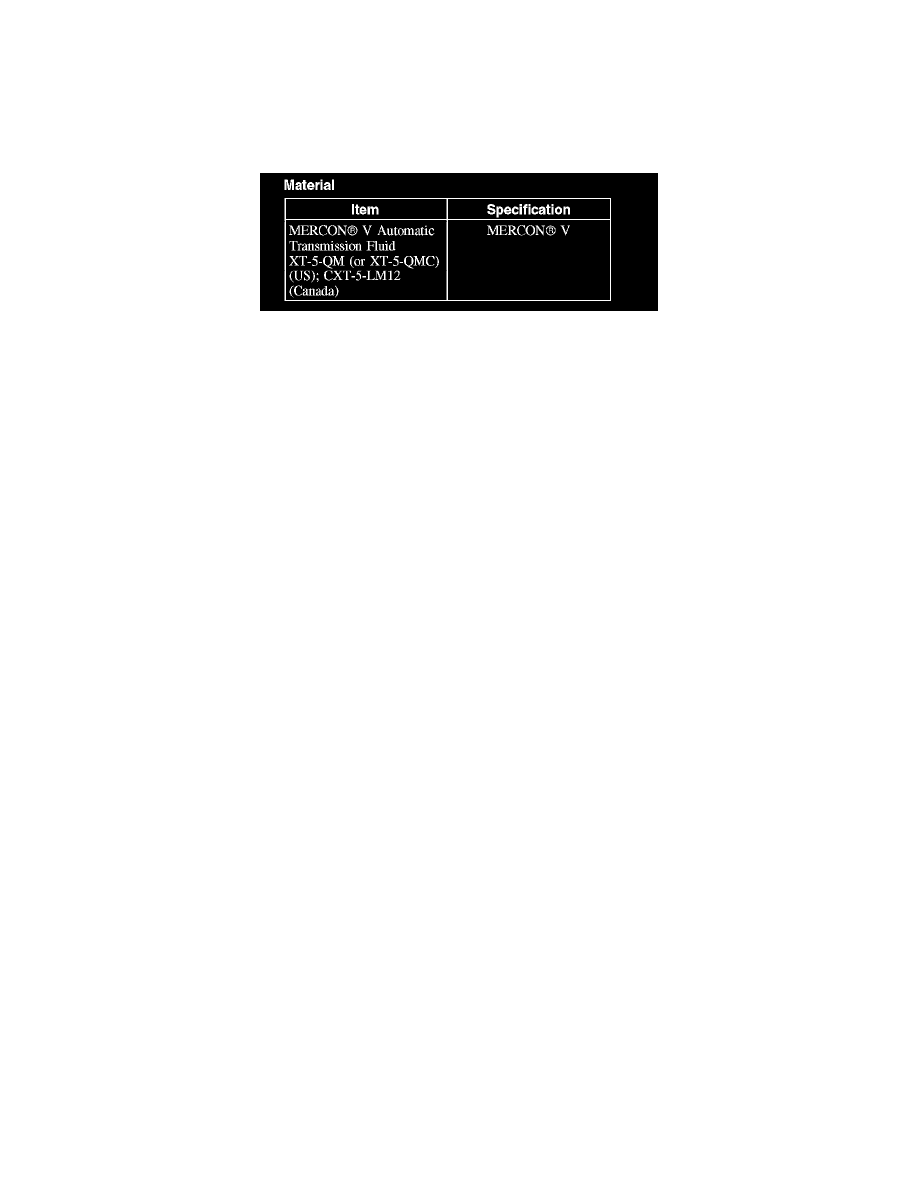
Material
1. With the vehicle in NEUTRAL, position it on a hoist.
2. CAUTION: When internal wear/damage occurs in the transmission, metal particles, clutch plate material and band material can travel
into the torque converter, the transmission fluid cooler tubes and the oil-to-air (OTA) fluid cooler. These contaminates are a major cause
of recurring transmission concerns. To prevent future concerns, remove these contaminants from the cooling system before placing the
transmission back into use.
CAUTION: The oil-to-air (OTA) transmission fluid cooler is not repairable with existing equipment due to the thermostatic bypass valve.
Do not attempt to backflush and clean the OTA transmission fluid cooler. Install a new OTA transmission fluid cooler if there is leakage
from the OTA transmission fluid cooler, major metallic failure multiple clutch or clutch plate failure or sufficient component wear that
result in metallic contamination.
Using a suitable torque converter/fluid cooler cleaner, clean the transmission fluid cooler tubes.
3. Test the equipment to make sure that a vigorous transmission fluid flow is present before proceeding. Install a new filter in the flush equipment if
the flow is weak or contaminated.
4. To aid in attaching the cleaner to the transmission steel cooler tubes, connect 2 additional rubber hoses to the transmission end of the steel
transmission cooler tubes as follows:
^
Disconnect the transmission fluid cooler tubes from the oil-to-air (OTA) cooler.
^
Install a rubber hose in place of the OTA cooler.
^
Connect the cleaner tank pressure line to the steel transmission fluid cooler return tube (the longest tube).
^
Connect a tank return hose to the steel transmission fluid cooler pressure tube (shorter tube). Place the outlet end of this hose in the fluid tank
reservoir.
5. Turn on the pump and allow the transmission fluid to circulate a minimum of 5 minutes (cycling switch ON and OFF will help dislodge
contaminants in the transmission fluid cooler system).
6. Switch OFF the pump and disconnect the pressure hose from the transmission fluid cooler return tube.
7. Use compressed air to blow out the transmission fluid cooler(s) and tubes (blow air into the transmission fluid cooler return tube) until all
transmission fluid is removed.
8. Remove the rubber return hose from the remaining steel transmission fluid cooler tube.
9. Connect the OTA cooler tubes.
10. CAUTION: Contamination can become trapped in the coolers. Clean fluid flow after flushing does not always indicate all contamination
has been removed.
Install a new OTA.
Transmission Fluid Cooler Backflushing and Cleaning
Transmission Fluid Cooler Backflushing and Cleaning
1. With the vehicle in NEUTRAL, position it on a hoist.
2. CAUTION: When internal wear/damage occurs in the transmission, metal particles, clutch plate material and band material can travel
into the torque converter and the oil-to-air (OTA) transmission fluid cooler. These contaminants are a major cause of recurring
transmission concerns. To prevent future concerns, remove these contaminants from the transmission fluid cooling system before placing
the transmission back into use.
Install a new oil-to-air (OTA) transmission fluid cooler if there is leakage from the OTA transmission fluid cooler, major metallic failure, multiple
clutch or clutch plate failure, or sufficient component wear that results in metallic contamination.