
Town Car V8-4.6L VIN V Flex Fuel (2006)
connected.
NOTE: If the HCU or any component upstream of the HCU are installed new, carry out the brake system bleed procedure first without the diagnostic
tool, followed by the brake system bleed procedure using the diagnostic tool.
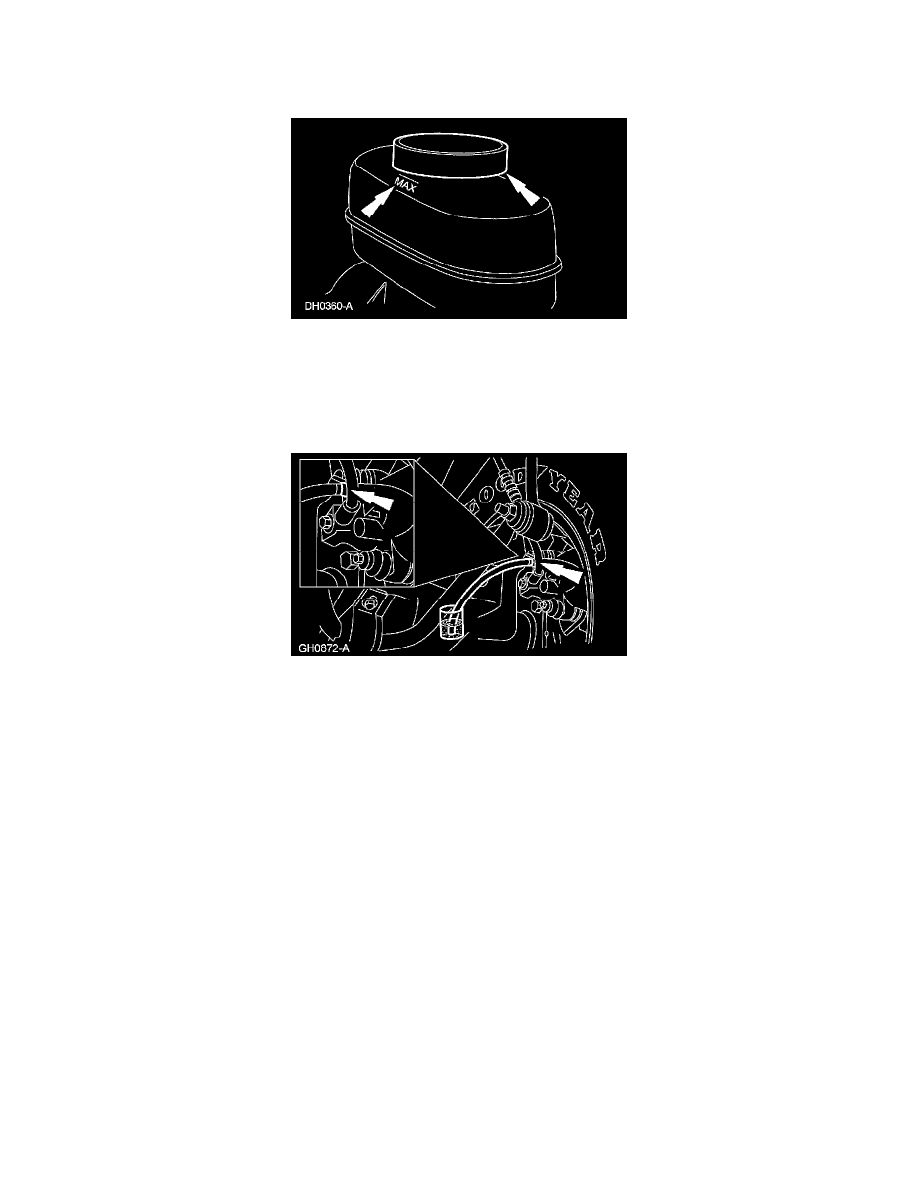
1. Clean all dirt from and remove the brake master cylinder filler cap and fill the brake master cylinder reservoir with DOT 3 motor vehicle brake
fluid.
2. NOTE: For ABS only vehicles, open the master cylinder bleed screw until clear, bubble-free fluid flows from the tube into the cup.
NOTE: Bleed the brake system from the longest to the shortest brake line.
Place a box end wrench on the bleeder screw. Attach a rubber drain tube to the bleeder screw and submerge the free end of the tube in a container
partially filled with DOT 3 motor vehicle brake fluid.
3. Have an assistant hold firm pressure on the brake pedal.
4. Loosen the bleeder screw until a stream of brake fluid comes out. While the assistant maintains pressure on the brake pedal, tighten the bleeder
screw and release the pedal pressure.
^
Release the brake pedal.
^
Repeat 3 times or until clear, bubble-free fluid comes out.
^
Refill the brake master cylinder reservoir as necessary.
5. Tighten the bleeder screw.
^
Tighten to 21 Nm (15 ft. lbs.).
6. Repeat Steps 2 through 5 for the remaining bleeder screws in the system.