
Town Car V8-4.6L VIN V Flex Fuel (2006)
1
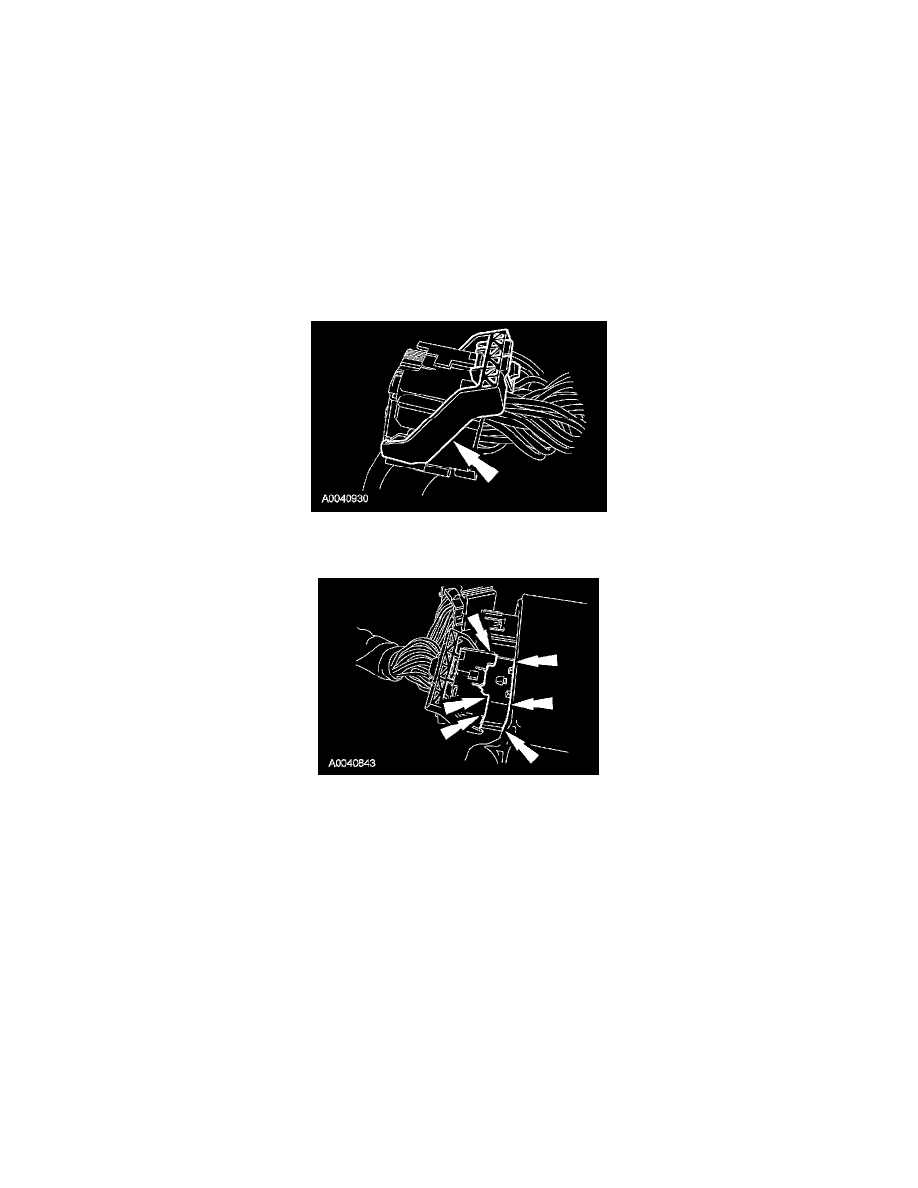
Pinch the thumb tab and pivot the connector position assurance lever all the way back until it stops.
2
Pull out and disconnect the RCM electrical connector.
8. Disconnect the small RCM connector.
9. Remove the RCM bolt on the LH side and the RCM.
Installation
1. WARNING: The tightening torque of the air bag RCM retaining bolts is critical for correct system operation.
Position the RCM and install the 2 RCM bolts on the RH side.
-
Tighten to 12 Nm (9 lb-ft).
2. Connect the small RCM electrical connector.
3. Install the RCM bolt on the LH side.
-
Tighten to 12 Nm (9 lb-ft).
4. Make sure the connector position assurance lever is all the way back and in the full RELEASE position before attempting to connect the
connector.
5. CAUTION: Putting the large RCM electrical connector into the RCM on an angle can cause bad electrical connections and damage
components.
NOTE: The RCM has been removed for clarity.
Position the large RCM electrical connector into the RCM.
-
CAUTION: Do not push the connector on to where the lever pivots and seats itself. Light pressure is needed to get the connector into
position on the RCM before using the lever to fully seat the connector.
With the large RCM electrical connector uniformly aligned to the RCM, lightly push in until a subtle audible click is heard and slight
resistance is felt.