
Town Car V8-4.6L VIN V Flex Fuel (2006)
4. Apply 2 strips of masking tape across the clockspring to prevent accidental rotation when the clockspring is removed.
5. Position the tilt steering column all the way up to allow for lower and upper steering column shroud removal.
6. Remove the tilt column lever.
7. Remove the 3 lower steering column shroud screws.
8. Release the retainers to the upper steering column shroud and remove the lower shroud.
9. Remove the upper steering column shroud.
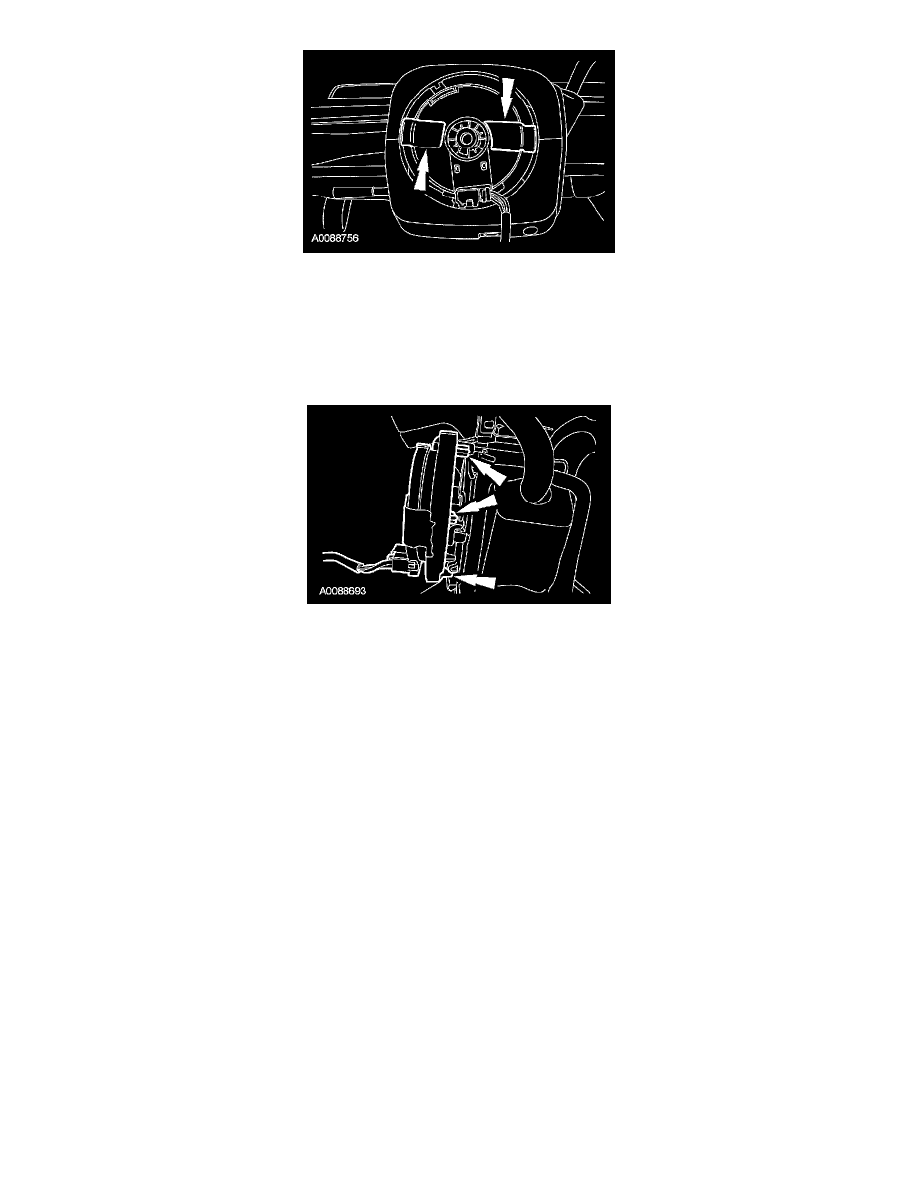
10. Disconnect the clockspring electrical connector.
11. Release the 3 clockspring retaining clips and slide the clockspring off the steering column.
Installation
Vehicles receiving a new clockspring
1. NOTE: A new clockspring is supplied in a centralized position and held there with a key.
Remove the key from the clockspring, holding the rotor in its centralized position.
-
Do not allow the clockspring rotor to turn.
Vehicles needing clockspring recentering
WARNING: Incorrect centralization may result in premature component failure. If in doubt when centralizing the clockspring, repeat the
centralizing procedure. Failure to follow this instruction may result in personal injury.
CAUTION: Make sure the road wheels are in the straight-ahead position.
NOTE: If a clockspring has rotated out of center, follow through with these steps.