
Town Car V8-4.6L VIN V Flex Fuel (2006)
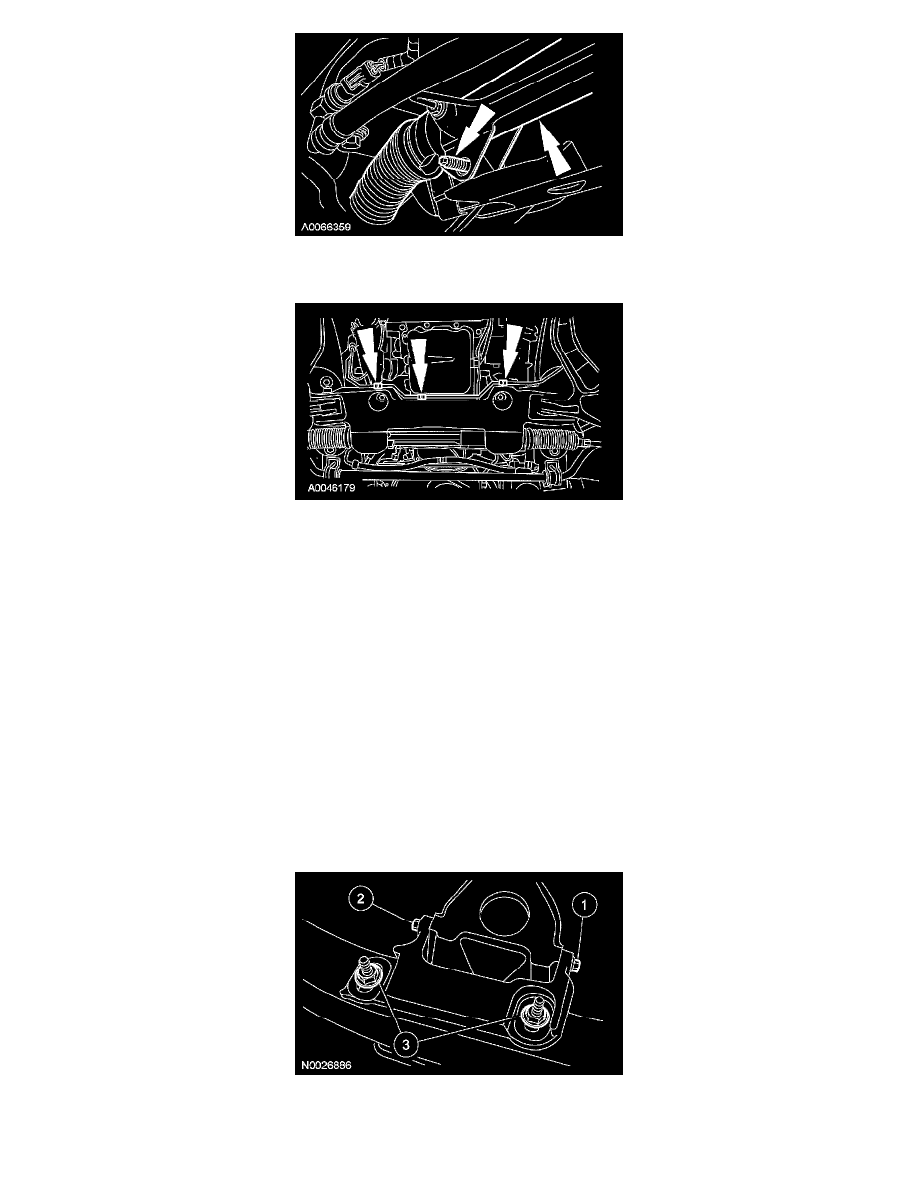
17. Remove the 2 studs and position the steering gear aside.
-
Support the steering gear away from the number 2 crossmember.
18. Release the brake line from the retaining clips at the rear of the number 2 crossmember.
19. Lower the vehicle.
20. Using the engine support bar, raise the engine to remove the engine weight from the number 2 crossmember.
21. Raise and support the vehicle.
22. Remove the 3 LH lower control arm and 3 RH lower control arm rear mounting bolts.
23. Position a suitable support table under the number 2 crossmember.
24. Remove the 4 number 2 crossmember bolts.
25. Lower and remove the number 2 crossmember assembly.
Installation
1. NOTE: Position the sway bar and the rear bushing plates into place as the number 2 crossmember is being raised.
Raise and position the number 2 crossmember assembly.
2. Install the 4 number 2 crossmember bolts.
-
Tighten to 250 Nm (184 lb-ft).
3. Position the LH and RH number 2 crossmember brackets.
4. Remove the support table.
5. CAUTION: The bolts must be tightened in the sequence shown, or damage to the crossmember bracket may occur.
Install the LH and RH number 2 crossmember bracket nuts and bolts.