
Town Car V8-4.6L VIN W (1997)
Brake Pedal Assy: Adjustments
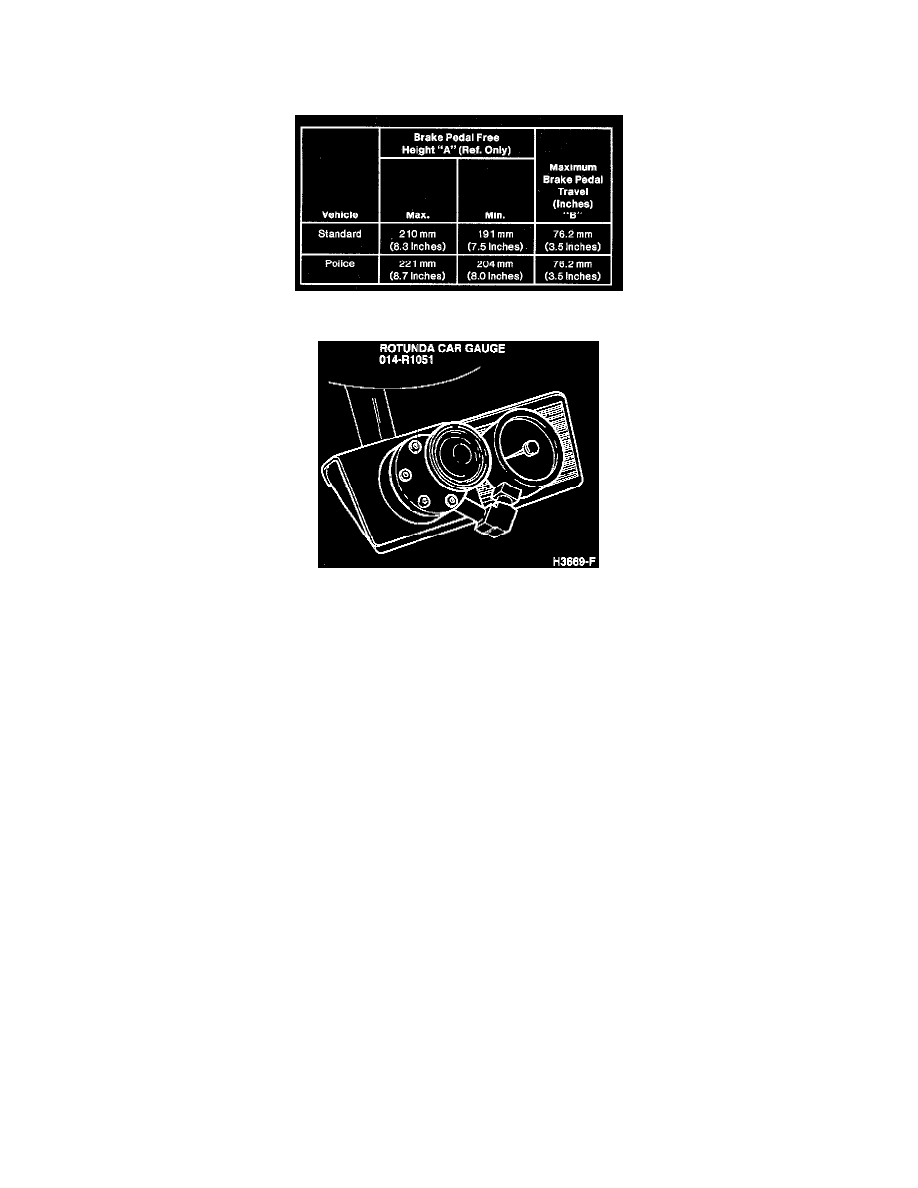
Brake Pedal Travel
1. With engine running and transmission in PARK or NEUTRAL, block wheels and release parking brake control.
2. Install the Rotunda Car Gauge 014-R1051 or equivalent on the brake pedal and check as follows:
a. Hook a steel measuring tape to the brake pedal. Measure and record the distance from the brake pedal free height position to the reference
point, which is at the six o'clock position on the steering wheel rim.
b. With the steel tape still hooked to the brake pedal, apply the brake pedal by pressing downward on the brake pedal effort gauge.
c. Apply a 111 N (25 lb) load to the center of the brake pedal. Maintain the brake pedal load and measure the distance from the brake pedal to
the fixed reference point on the steering wheel rim parallel to the centerline of the steering column. The difference between the brake pedal
free height and the depressed pedal measurement under a 111 N (25 lb) load should be 124 mm (3.5 inches) maximum.
d. If the brake pedal travel is more than the maximum dimension specification, make several reverse stops with a forward stop before each. Move
the vehicle in REVERSE and forward for approximately 10 feet. Then apply the brakes holding the brake pedal down until the vehicle is
completely stopped. This will actuate the brake pedal self-adjusters. If these stops do not bring the brake pedal travel within specification,
make several additional forward and reverse stops above.
e. If the above steps do not bring the brake travel within specification, bleed the brake system.