Town Car V8-4.6L VIN W (1997)

3. Relieve fuel system pressure and disconnect fuel lines. Refer to Powertrain Management.
4. Remove air cleaner outlet tube (9B659).
5. Remove windshield wiper governor (17C476).
6. Release drive belt tensioner (6B209) and remove drive belt (8620).
CAUTION: Do not pull on ignition wire as they may separate from the connectors in the ignition wire boots.
7. Disconnect eight ignition wires from spark plugs (12405). Refer to Powertrain Management.
8. Disconnect ignition wire set and retainers from valve cover studs and generator bracket.
9. Remove nut retaining air conditioner high pressure line to RH ignition coil bracket.
10. Disconnect fuel charging wiring (9D930) from both ignition coils (12029) and camshaft position sensor (CMP)(6B288).
11. Remove two bolts retaining RH ignition coil bracket to engine front cover (6019).
12. Remove two nuts and one bolt retaining LH ignition coil bracket to engine front cover.
13. Slide LH ignition coil bracket assembly off mounting studs and remove from vehicle.
14. Remove water pump pulley (8509).
15. Disconnect positive battery cable at power distribution box.
16. Remove retaining bolt from positive battery cable bracket located on the side of RH cylinder head (6049).
17. Disconnect fuel charging wiring from crankshaft position sensor (CKP)(6C315), A/C clutch (2884), ignition coil and radio ignition interference
capacitor (18801). Remove fuel charging wiring from valve cover studs. Position out of way.
18. Disconnect fuel vapor hose from positive crankcase ventilation valve (PCV valve)(6A666) and remove positive crankcase ventilation valve from
valve cover (6582).
19. Disconnect fuel charging wiring at 42-pin connector and eight pin transmission harness connector at power brake booster (2005) and position out
of the way.
20. Disconnect crankshaft position sensor, A/C clutch and evaporative emission canister purge valve (EVAP canister purge valve)(9C915).
21. Raise and support vehicle.
NOTE: The front lower bolt on the power steering pump (3A674) will not come all the way out.
22. Remove bolts retaining power steering pump to cylinder block (6010) and engine front cover.
23. Wire the power steering pump out of the way.
24. Remove crankshaft pulley bolt and crankshaft pulley retaining washer from crankshaft (6303).
25. Install crankshaft Damper Remover T58P-6316-D on crankshaft pulley (6312) and pull crankshaft pulley from crankshaft.
26. Position drain pan under oil bypass filter (6714) and remove oil bypass filter.
27. Disconnect power steering control valve actuator (3783) and oil pressure sensor (9278).
28. Disconnect fuel charging wiring from oil filter adapter bracket. Position fuel charging wiring out of way.
29. Lower vehicle.
30. Remove four bolts and seven stud bolts retaining RH valve cover to cylinder head and remove valve cover.
31. Remove four bolts and seven stud bolts retaining LH valve cover to cylinder head and remove valve cover.
32. Remove eight stud bolts and seven bolts retaining engine front cover to cylinder block. Remove four oil pan to engine front cover bolts. Remove
engine front cover.
33. Remove timing chains.
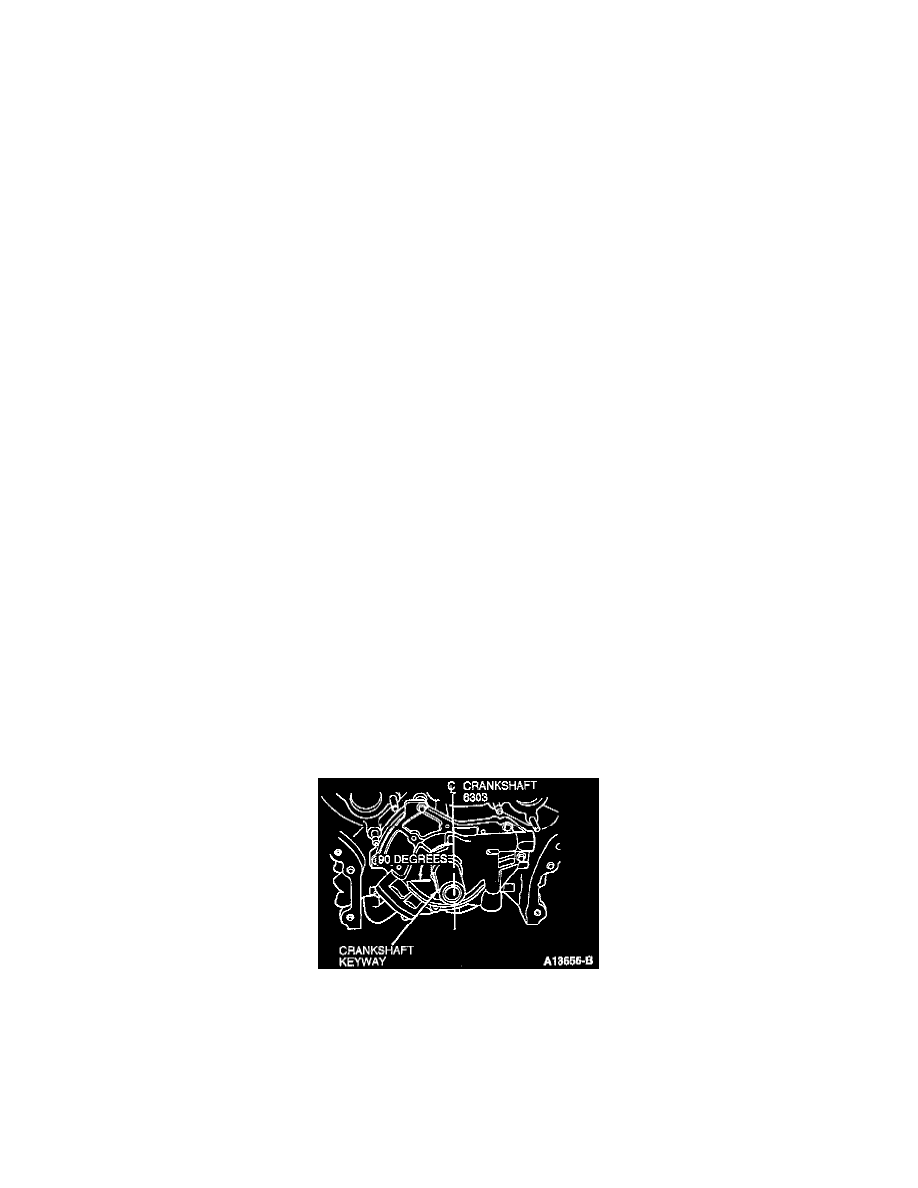
CAUTION: Crankshaft must be in this position prior to rotating camshafts (6250) or damage to pistons (6108) and/or valve train will result.
34. Rotate crankshaft counterclockwise 45° from top dead center (TDC).
NOTE: This makes sure that all pistons are below the top of the cylinder block deck face.
35. Install Valve Spring Compressor T91P-6565-A under camshaft and on top of valve spring retainer (6514).
