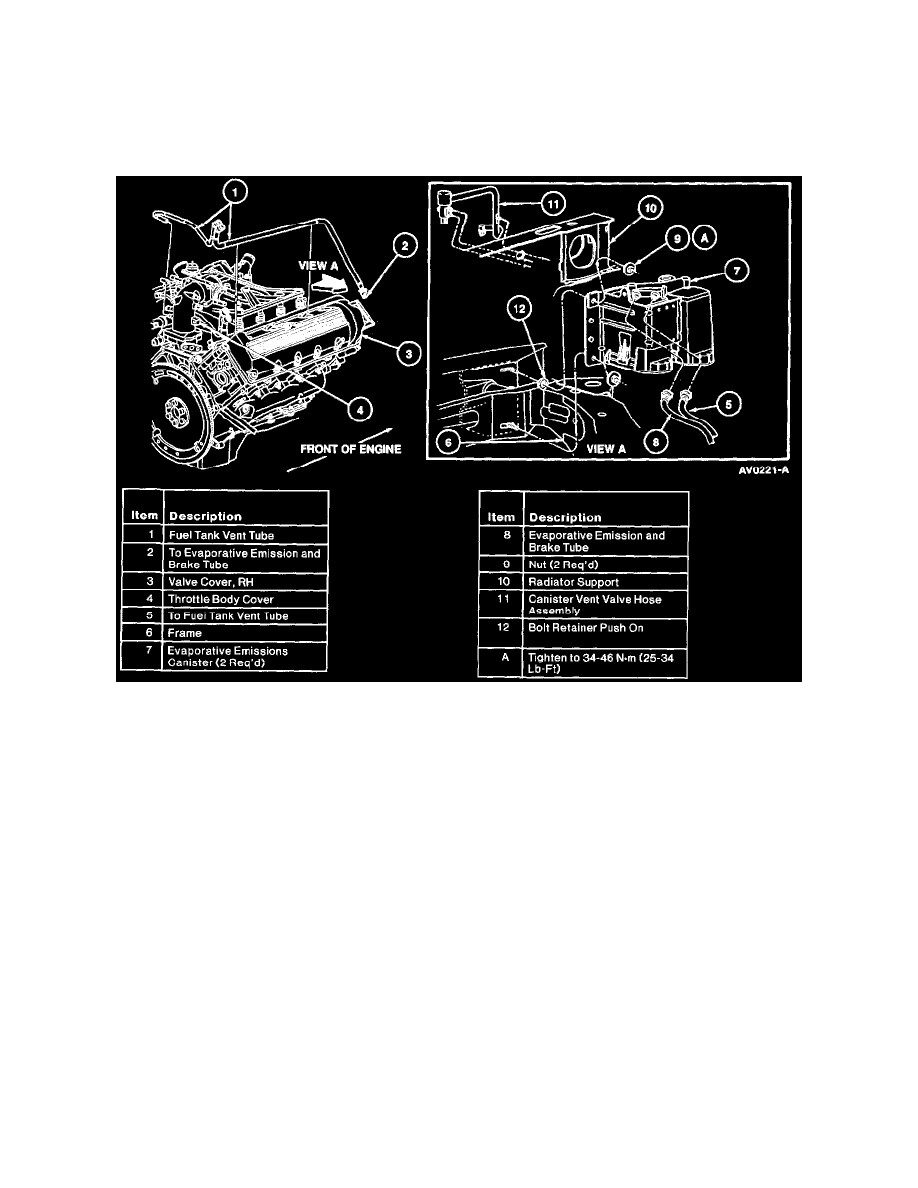
Town Car V8-4.6L VIN W (1997)

Canister Purge Control Valve: Service and Repair
REMOVAL
1. Disconnect main emission vacuum control connector from connector port on evaporative emission canister purge valve.
2. Disconnect fuel tank vent tube from the evaporative emission canister purge valve.
3. Disconnect the engine control sensor wiring from the evaporative emission canister purge valve.
4. Remove nuts retaining evaporative emission canister purge valve and evaporative emission canister purge valve from bracket located on RH side
of the dash panel.
INSTALLATION
1. Follow removal procedure in reverse order.
2. lighten evaporative emission canister purge valve retaining nuts to 7.6-10.4 Nm (68-92 lb in).
3. Perform system leak check as follows:
a. Disconnect and plug fuel tank filler pipe shield leading to the evaporative emissions canister at the evaporative emission canister purge valve.
b. Plug vent at the evaporative emissions canisters.
c. Using Rotunda Evaporative Emission System Tester 134-00056 or equivalent, pressurize the fuel system through the test fuel tank filler cap.
d. Verify that the pressure within the system does not decay.
e. If pressure does decay, determine the cause of the leak and repair.
f.
Remove plugs and reconnect fuel tank filler pipe shield to the evaporative emission canister purge valve.
