
Zephyr V6-3.0L VIN 1 (2006)
NOTE
IT IS NOT NECESSARY TO REMOVE THE LIGHT SENSOR FROM THE DEFROSTER GRILLE.
7.
Use Instrument Panel to Duct Spacer and cut pieces to the following lengths:
a.
Vane number 1 = 45/16" (110 mm) in length.
b.
Vane number 2 = 2-3/4" (70 mm) in length.
c.
Vane number 3 = 2-9/16" (65 mm) in length.
d.
Vane number 4 = 2-3/16" (55 mm) in length.
e.
Vane number 5 = 2-3/4" (70 mm) in length.
8.
Use Figure 3 to match up spacer to correct vane locations.
9.
Lubricate each center groove of the five spacers using Motorcraft electrical grease to aid in installation.
10.
Using needle nose pliers, slide each spacer in the appropriate vane far enough that the defroster grill can be installed without interference.
NOTE
IF A SPACER WILL NOT GO IN ALL THE WAY, MARK IT WITH A FELT MARKER, REMOVE IT AND CUT SO THAT IT WILL BE
SHORT ENOUGH TO CLEAR THE DEFROSTER GRILLE ONCE IT IS REINSTALLED. BE VERY CAREFUL WHEN INSTALLING
SPACERS NOT TO DROP THEM IN THE DUCT. IF ONE IS DROPPED INSIDE, THE COMPLETE INSTRUMENT PANEL WILL HAVE TO
BE REMOVED TO GET IT OUT.
11.
Once all spacers are in place reinstall the defroster grille following WSM, Section 417-01.
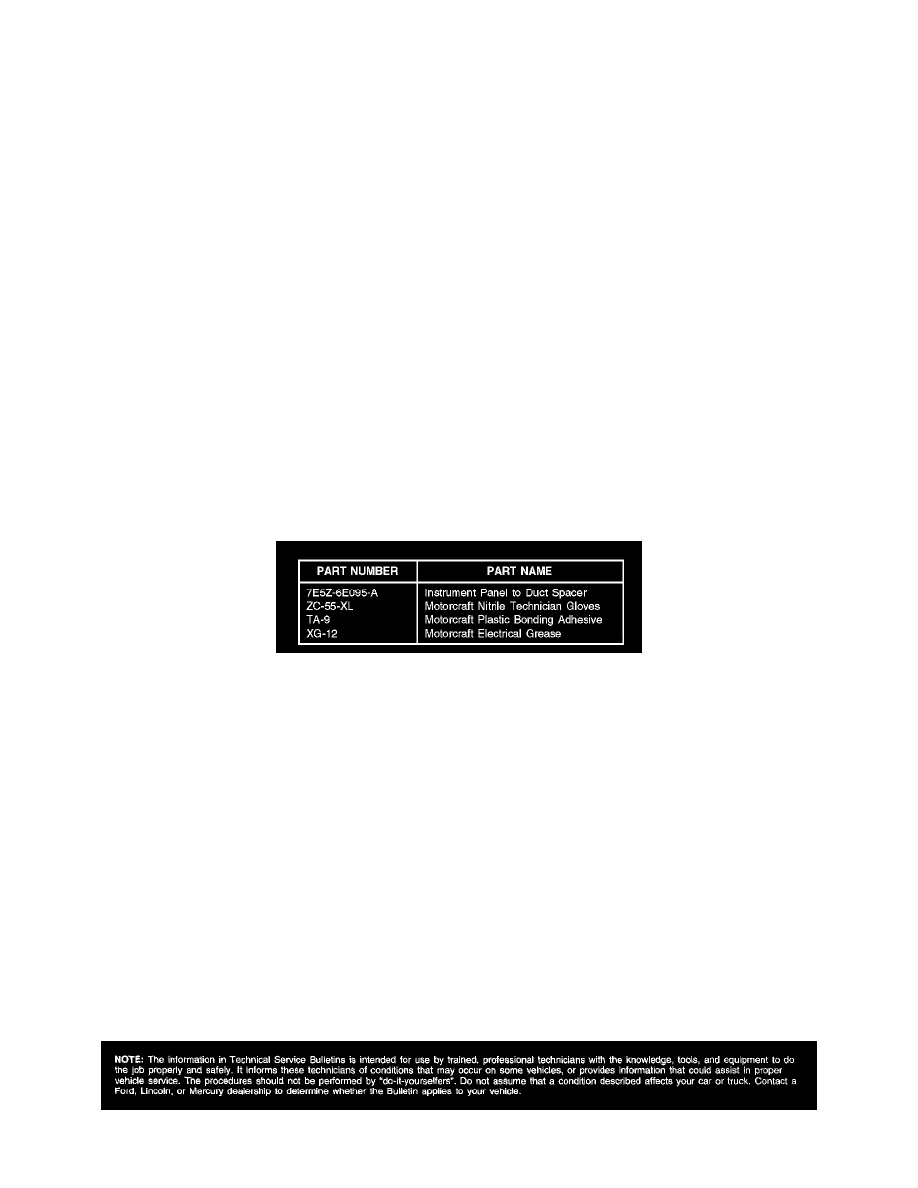
Parts Block
WARRANTY STATUS: Eligible Under Provisions Of New Vehicle Limited Warranty Coverage
OPERATION
DESCRIPTION
TIME
062112A
2006 Fusion/Milan: Inspect,
0.9 Hr.
Perform Service
Procedure, Includes Time
To Remove And Install
Passenger Air Bag (Do
Not Use With 14056D,
14056D5)
062112B
2006 Zephyr: Perform
0.3 Hr.
Service Procedure Steps 6 through 11
DEALER CODING
CONDITION
BASIC PART NO.
CODE
18A484
61
Disclaimer