
Zephyr V6-3.0L VIN 1 (2006)
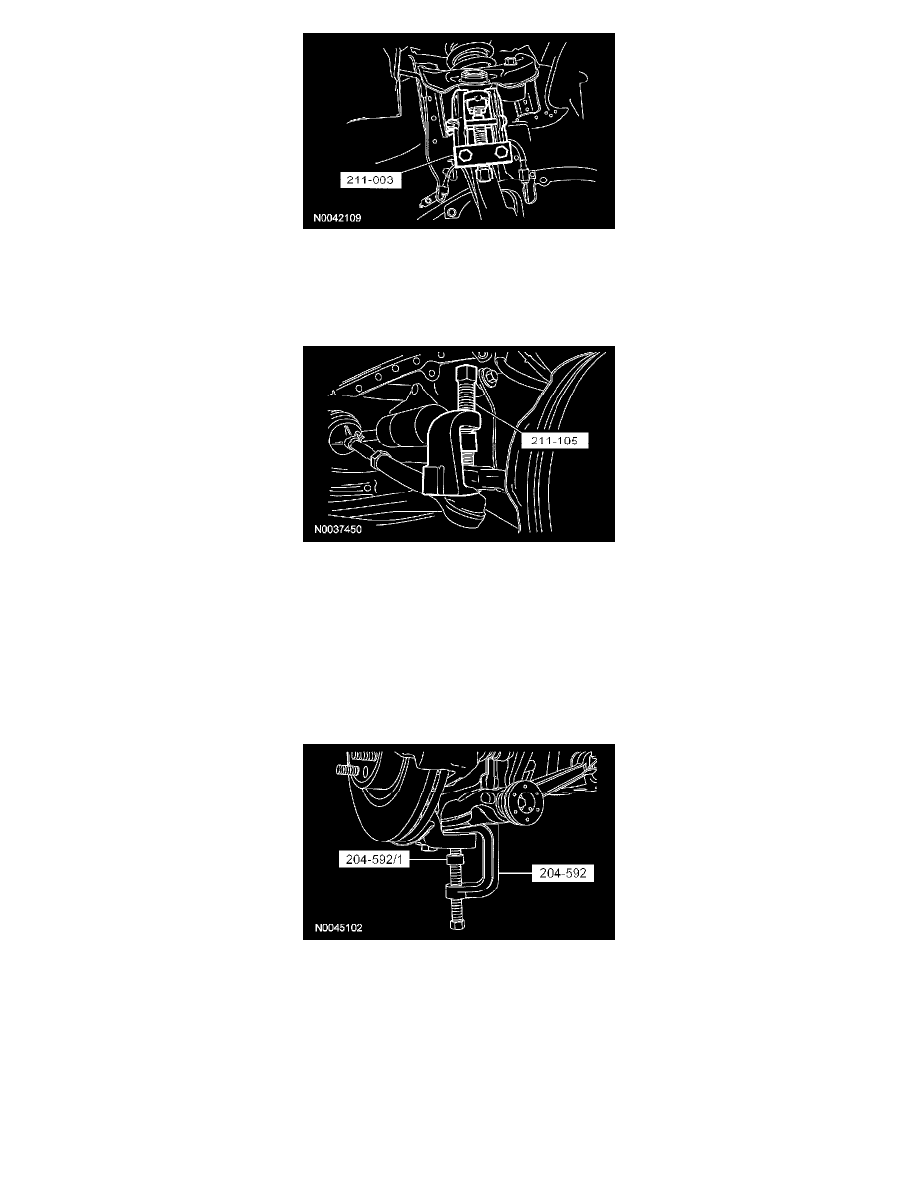
9. Using the special tool, separate the upper ball joint from the wheel knuckle.
10. Remove and discard the tie-rod end cotter pin and nut.
^
To install, tighten to 48 Nm (35 ft. lbs.).
11. CAUTION: Do not use a hammer to separate the tie-rod end from the wheel knuckle or damage to the wheel knuckle can result.
Using the special tool, separate the tie-rod end from the wheel knuckle.
12. Remove and discard the 2 lower ball joint nuts.
^
To install, tighten to 200 Nm (148 ft. lbs.).
13. CAUTION: When the lower ball joint is separated from the wheel knuckle, the lower arm may strike the outer constant velocity (CY) joint boot
with enough force to damage the boot clamp. This will result in a loss of grease from the outer CV joint. Place a block of wood, or similar item,
between the lower arm and the outer CV joint to prevent the lower arm from striking the outer CV joint.
NOTE: Once pressure is applied to the ball joint with the special tool, it may be necessary to tap the wheel knuckle at the ball joint area to
separate the ball joint from the wheel knuckle.
Using the special tools, separate the 2 lower ball joints from the wheel knuckle and remove the wheel knuckle.
14. To install, reverse the removal procedure.