
3 L4-2.3L (2004)
Blower Motor Resistor: Service and Repair
RESISTOR REMOVAL/INSTALLATION
1. Disconnect the negative battery cable.
2. Remove the two nuts securing the cooler hose (LO).
3. Remove the following parts:
1. Front doors
2. Console
3. Shift lever component.(MTX)
4. Selector lever component (ATX)
5. Decoration panel
6. Front scuff plate
7. Front side trim
8. Glove compartment
9. Shower ducts (LH, RH) (See A/C UNIT REMOVAL/INSTALLATION.)
10. PASSENGER JUNCTION BOX (PJB)
11. Car-navigation unit
12. Lower panel
13. Column cover
14. Meter hood
15. Instrument cluster
16. Steering shaft (See STEERING WHEEL AND COLUMN REMOVAL/INSTALLATION.)
17. A-pillar trim
18. Center panel module
19. LCD unit
20. Windshield wiper arm and blade
21. Cowl grille
22. Cowl panel
23. Windshield wiper motor
4. Disconnect the air mix wire from the air mix link and wire clamp.
5. Disconnect the airflow mode wire from the airflow mode main link and wire clamp.
6. Disconnect the following connectors:
-
Blower motor connector
-
Evaporator temperature sensor connector
-
Air intake actuator connector
-
Resistor connector
7. Remove the rear heat duct (1).
8. Remove the heater case. (See A/C UNIT REMOVAL/INSTALLATION.)
9. Remove the dashboard.
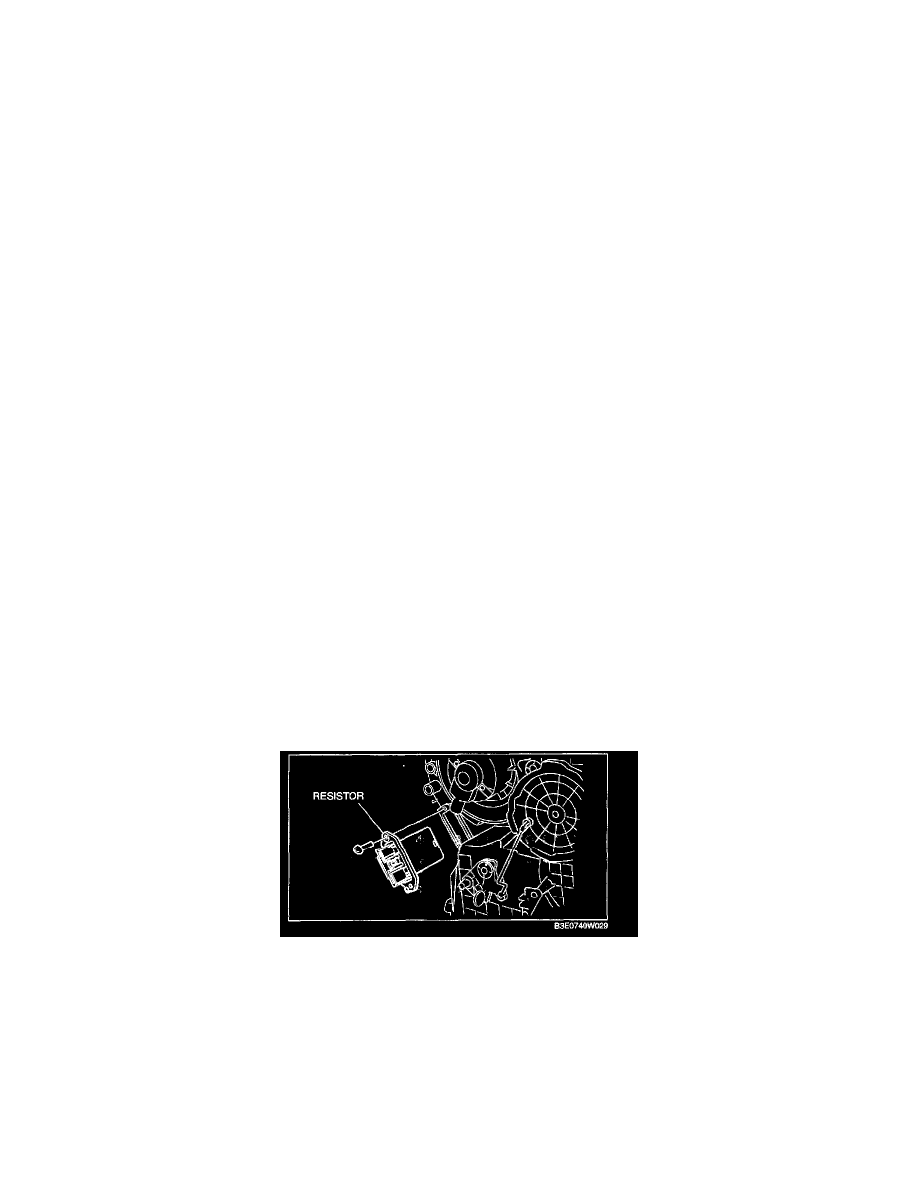
10. Move the A/C unit to the right and remove the resistor.
CAUTION: While moving the A/C unit, do not apply excessive force. Otherwise it will result in deformation of the refrigerant piping or
refrigerant gas leakage.
11. Install in the reverse order of removal.