
3 L4-2.5L (2010)
Keyless Entry Module: Service and Repair
Keyless Control Module Removal/Installation
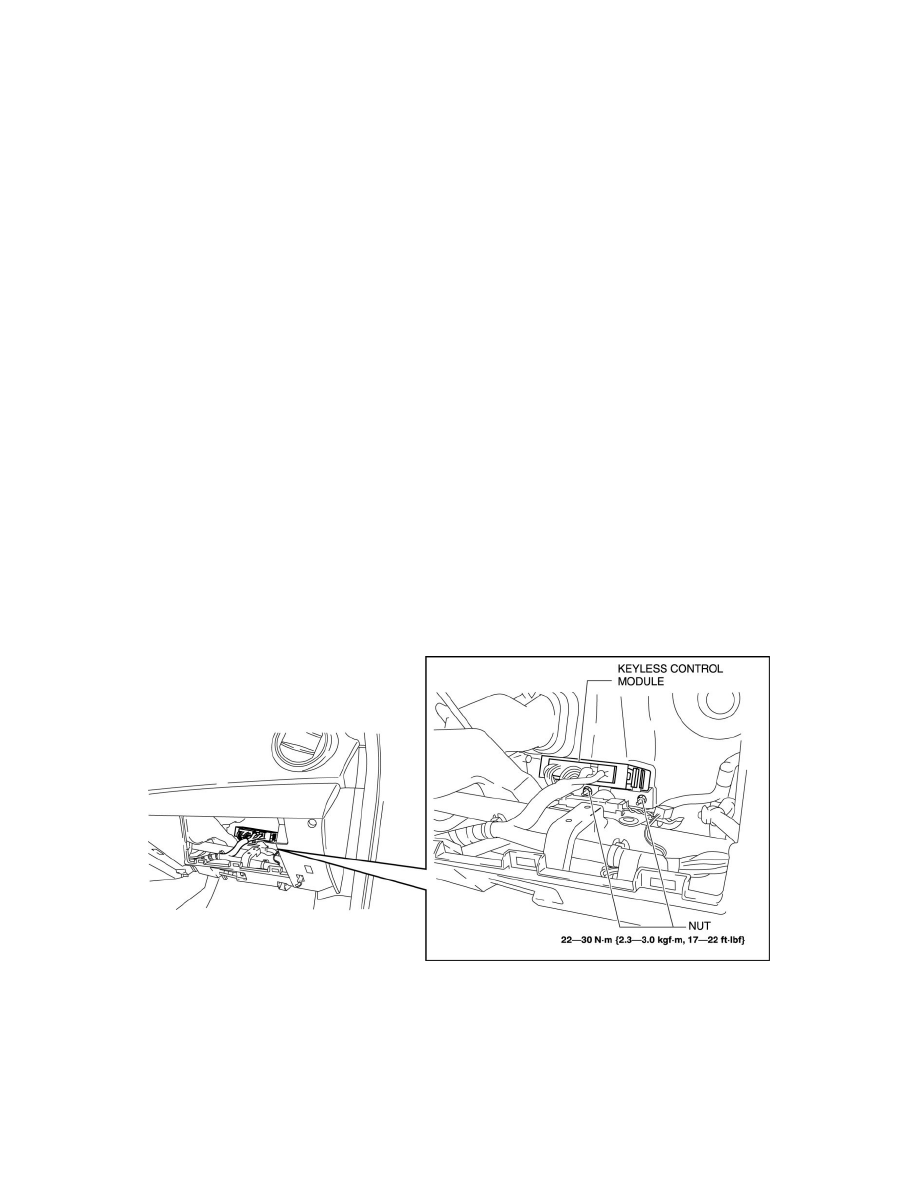
KEYLESS CONTROL MODULE REMOVAL/INSTALLATION
1. If the keyless control module is replaced, always perform the following procedure.
-
Vehicles with immobilizer system
-
Keyless Control Module Configuration See: Testing and Inspection/Programming and Relearning/Keyless Control Module Configuration
-
Immobilizer System-related Parts Programming [No.4 Programming Procedure Due to Keyless Control Module Replacement] See:
Accessories and Optional Equipment/Antitheft and Alarm Systems/Testing and Inspection/Programming and Relearning/Advanced
Keyless Entry And Push Button Start System
-
Vehicles without immobilizer system
-
Keyless Control Module Configuration See: Testing and Inspection/Programming and Relearning/Keyless Control Module Configuration
-
Advanced Key Id Code Registration See: Locks/Keyless Entry/Testing and Inspection/Programming and Relearning/Advanced Key ID
Code Registration
-
Steering Lock Unit Id Code Registration See: Locks/Keyless Entry/Testing and Inspection/Programming and Relearning/Steering Lock
Unit ID Code Registration
2. Disconnect the negative battery cable.
3. Remove the following parts:
a. Passenger-side front scuff plate See: Interior Moulding / Trim/Scuff Plate/Service and Repair/Front Scuff Plate Removal/Installation
b. Passenger-side front side trim See: Interior Moulding / Trim/Trim Panel/Service and Repair/Front Side Trim Removal/Installation
c. Grove compartment See: Interior Moulding / Trim/Glove Compartment/Service and Repair
d. Passenger-side lower panel See: Interior Moulding / Trim/Dashboard / Instrument Panel/Service and Repair/Removal and Replacement/Lower
Panel Removal/Installation
4. Remove in the nuts.
5. Disconnect the connector.