3 L4-2.5L (2010)

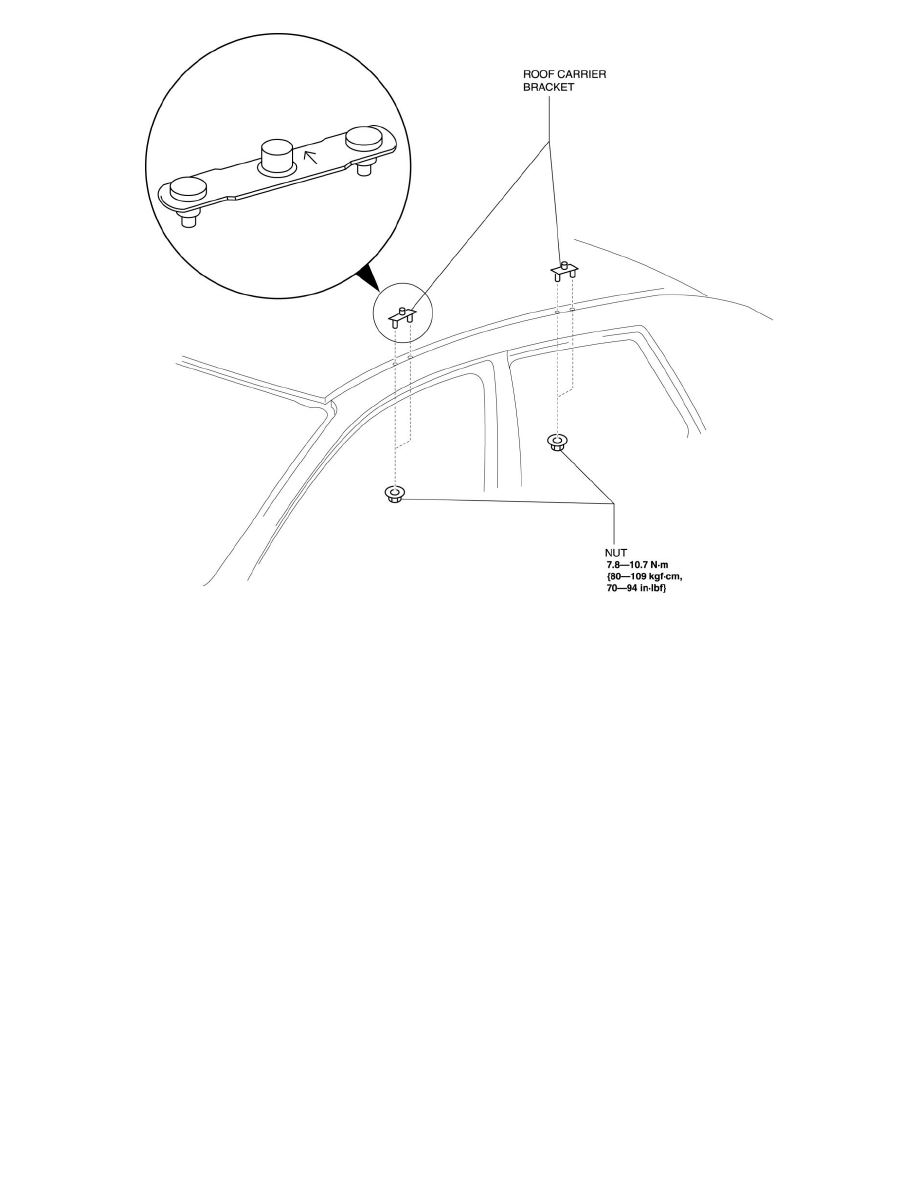
3. Remove the roof carrier bracket.
4. Install in the reverse order of removal.
NOTE:
-
Install the roof carrier bracket so that the arrow on it faces inward.
5HB
1. Remove the following parts:
a. Sunroof seaming welt (vehicles with sunroof)
b. Front scuff plate See: Interior Moulding / Trim/Scuff Plate/Service and Repair/Front Scuff Plate Removal/Installation
c. Rear scuff plate See: Interior Moulding / Trim/Scuff Plate/Service and Repair/Rear Scuff Plate Removal/Installation
d. A-pillar trim See: Interior Moulding / Trim/Trim Panel/Service and Repair/A-Pillar Trim Removal/Installation
e. B-pillar lower trim See: Interior Moulding / Trim/Trim Panel/Service and Repair/B-Pillar Lower Trim Removal/Installation
f.
Upper anchor of the front seat belt installation bolt See: Restraint Systems/Seat Belt Systems/Seat Belt/Service and Repair/Front Seat Belt
Removal/Installation
g. B-pillar upper trim See: Interior Moulding / Trim/Trim Panel/Service and Repair/B-Pillar Upper Trim Removal/Installation
h. Rear seat cushion See: Seats/Seat Cushion/Service and Repair/Rear Seat Cushion Removal/Installation
i.
Tire house trim See: Interior Moulding / Trim/Trim Panel/Service and Repair/Tire House Trim Removal/Installation
j.
Trunk side upper trim
