
3 L4-2.5L (2010)
Acceleration/Deceleration Sensor: Service and Repair
COMBINED SENSOR REMOVAL/INSTALLATION
CAUTION:
-
The DSC may not function normally immediately after the combined sensor is replaced. After installation, always perform the initialization
procedures for the combined sensor.
-
The internal parts of the combined sensor could be damaged if dropped. Be careful not to drop the combined sensor. Replace the combined sensor
if it is subjected to an impact. Also, do not use an impact wrench or other similar air tools when removing/installing the sensor.
1. Perform the following procedures:
a. Remove the front seat (RH). See: Body and Frame/Seats/Service and Repair/Removal and Replacement
b. Remove the audio amplifier. (With Bose(R)) See: Accessories and Optional Equipment/Radio, Stereo, and Compact Disc/Amplifier/Service
and Repair
c. Remove the front scuff plate (RH). See: Body and Frame/Interior Moulding / Trim/Scuff Plate/Service and Repair/Front Scuff Plate
Removal/Installation
d. Remove the front side trim (RH). See: Body and Frame/Interior Moulding / Trim/Trim Panel/Service and Repair/Front Side Trim
Removal/Installation
e. Remove the rear scuff plate (RH). See: Body and Frame/Interior Moulding / Trim/Scuff Plate/Service and Repair/Rear Scuff Plate
Removal/Installation
f.
Remove the B-pillar lower trim (RH). See: Body and Frame/Interior Moulding / Trim/Trim Panel/Service and Repair/B-Pillar Lower Trim
Removal/Installation
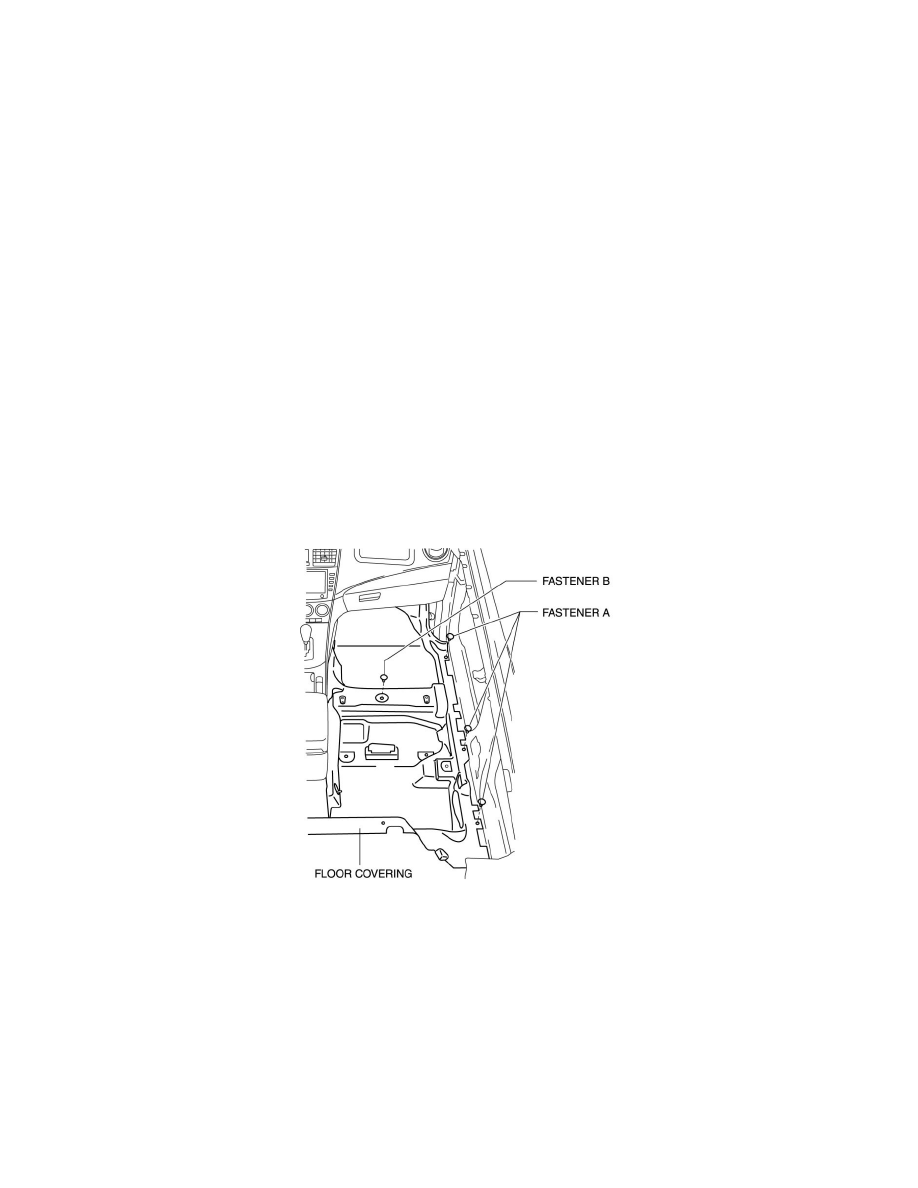
g. Remove the fastener A and fastener B.
2. Partially peel back the floor covering.
3. Remove in the order indicated in the table.
4. Install in the reverse order of removal.
5. After installation, perform the combined sensor initialization procedure. See: Testing and Inspection/Programming and Relearning