
3 L4-2.5L (2010)
10. Install the harness clip to the blower case.
11. Connect the air intake actuator connector.
12. Install the following parts:
a. Accelerator pedal See: Powertrain Management/Fuel Delivery and Air Induction/Accelerator Pedal/Service and Repair See: Powertrain
Management/Fuel Delivery and Air Induction/Accelerator Pedal/Service and Repair
b. Shower duct (Passenger side) See: Evaporator Core/Service and Repair/Removal and Replacement
c. Lower panel See: Body and Frame/Interior Moulding / Trim/Dashboard / Instrument Panel/Service and Repair/Removal and
Replacement/Lower Panel Removal/Installation
d. Hood release lever See: Body and Frame/Doors, Hood and Trunk/Hood/Hood Latch Release/Service and Repair
e. Dashboard under cover (Passenger side) See: Body and Frame/Interior Moulding / Trim/Dashboard / Instrument Panel/Service and
Repair/Removal and Replacement/Dashboard Under Cover Removal/Installation
f.
Glove compartment See: Body and Frame/Interior Moulding / Trim/Glove Compartment/Service and Repair
g. Shift panel See: Body and Frame/Interior Moulding / Trim/Console/Service and Repair/Shift Panel Removal/Installation
h. Selector lever knob (ATX) See: Transmission and Drivetrain/Automatic Transmission/Transaxle/Shifter A/T/Service and Repair/Automatic
Transaxle Shift Mechanism Removal/Installation
i.
Shift lever knob (MTX) See: Transmission and Drivetrain/Manual Transmission/Transaxle/Shifter M/T/Service and Repair
j.
Upper panel See: Body and Frame/Interior Moulding / Trim/Console/Service and Repair/Upper Panel Removal/Installation
k. Front side trim See: Body and Frame/Interior Moulding / Trim/Trim Panel/Service and Repair/Front Side Trim Removal/Installation
l.
Front scuff plate See: Body and Frame/Interior Moulding / Trim/Scuff Plate/Service and Repair/Front Scuff Plate Removal/Installation
Blower Case Installation Note
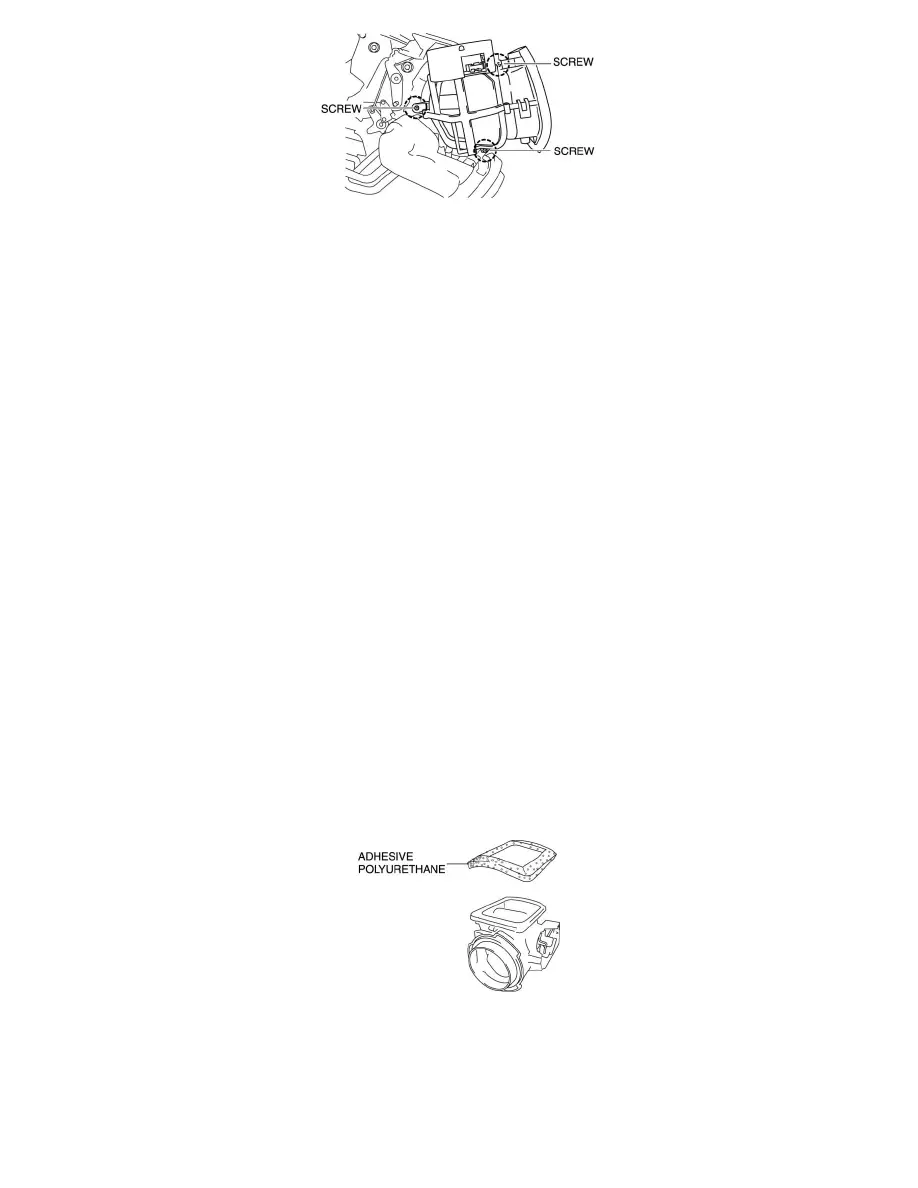
1. If not replacing the blower case, replace the adhesive polyurethane on the fresh-air inlet of the blower case.
CAUTION:
-
To adhere new polyurethane properly, be sure to remove the adhesive agent and adhesive polyurethane completely.
NOTE:
-
If the blower case is removed or installed, the adhesive polyurethane can be damaged. Damaged adhesive polyurethane could cause abnormal
noise or other malfunctions, therefore replace it.