
3 L4-2.5L (2010)
Clutch Fluid: Service and Repair
CLUTCH FLUID AIR BLEEDING/REPLACEMENT
CAUTION:
-
Fluid will damage painted surfaces. Be careful not to spill any on painted surfaces. If it is spilled, wipe it off immediately.
-
Keep the fluid level in the reserve tank at 3/4 full or more during the air bleeding.
-
Do not mix different types of fluid, otherwise the clutch may not operate normally.
-
Do not reuse old fluid, otherwise the clutch may not operate normally.
Clutch fluid
-
SAE J1703 or FMVSS116 DOT-3
1. Remove the aerodynamic under cover No.2. See: Body and Frame/Splash Guard/Service and Repair/Aerodynamic Under Cover No.2
Removal/Installation
2. Draw the fluid from the reserve tank with a suction pump.
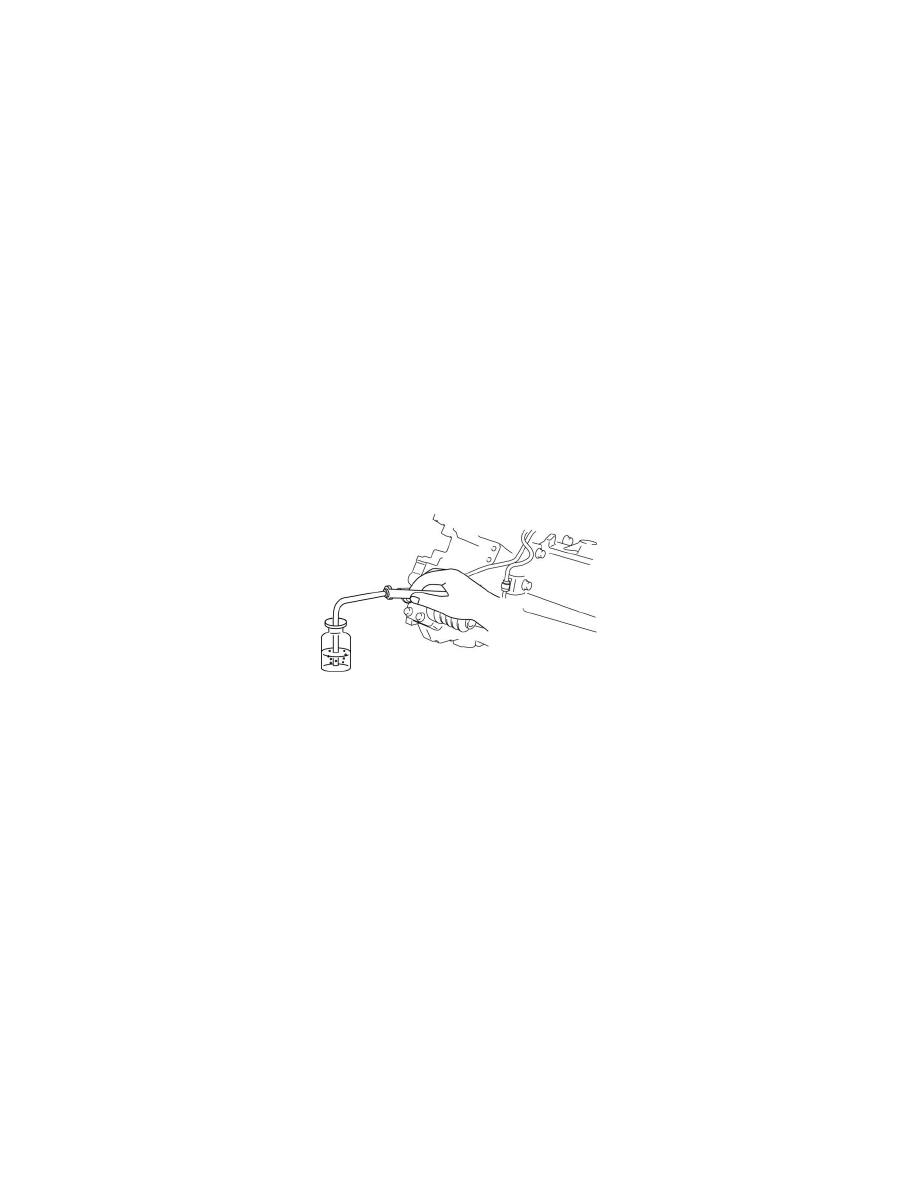
3. Remove the bleeder cap from the bleeder plug and attach a vinyl hose to the bleeder plug.
4. Place the other end of the vinyl hose into a container.
5. Slowly pump the clutch pedal several times.
6. With the clutch pedal depressed, loosen the bleeder screw to let fluid escape.
7. Tighten the bleeder screw to stop the fluid.
8. Repeat Steps 5, 6 and 7 until only clean fluid without air is seen.
9. Tighten the bleeder screw.
Tightening torque
-
5-10 Nm {51-101 kgf-cm, 45-88 in-lbf}
10. Add fluid to the MAX mark.
11. After air bleeding, inspect the following:
-
Clutch operation
-
Fluid leakage
-
Fluid level
12. Install the aerodynamic under cover No.2. See: Body and Frame/Splash Guard/Service and Repair/Aerodynamic Under Cover No.2
Removal/Installation