
3 L4-2.5L (2010)
Valve Clearance: Adjustments
VALVE CLEARANCE ADJUSTMENT [LF, L5]
1. Remove the battery cover. See: Starting and Charging/Battery/Service and Repair/Removal and Replacement
2. Disconnect the negative battery cable.
3. Remove the plug hole plate. See: Engine, Cooling and Exhaust/Engine/Service and Repair/Removal and Replacement/Plug Hole Plate
Removal/Installation
4. Disconnect the wiring harness.
5. Remove the ignition coils. See: Powertrain Management/Ignition System/Ignition Coil/Service and Repair
6. Remove the spark plugs. See: Spark Plug/Service and Repair
7. Remove the ventilation hose.
8. Remove the oil level gauge.
9. Remove the cylinder head cover. See: Engine, Cooling and Exhaust/Engine/Timing Components/Timing Chain/Service and Repair
10. Remove the aerodynamic under cover No.2 and splash shield as a single unit. See: Body and Frame/Splash Guard/Service and
Repair/Aerodynamic Under Cover No.2 Removal/Installation See: Body and Frame/Splash Guard/Service and Repair/Splash Shield
Removal/Installation
11. Remove the generator drive belt with the A/C drive belt still installed and set it out of the way. (LF) See: Drive Belt/Service and Repair
12. Remove the drive belt. (L5) See: Drive Belt/Service and Repair
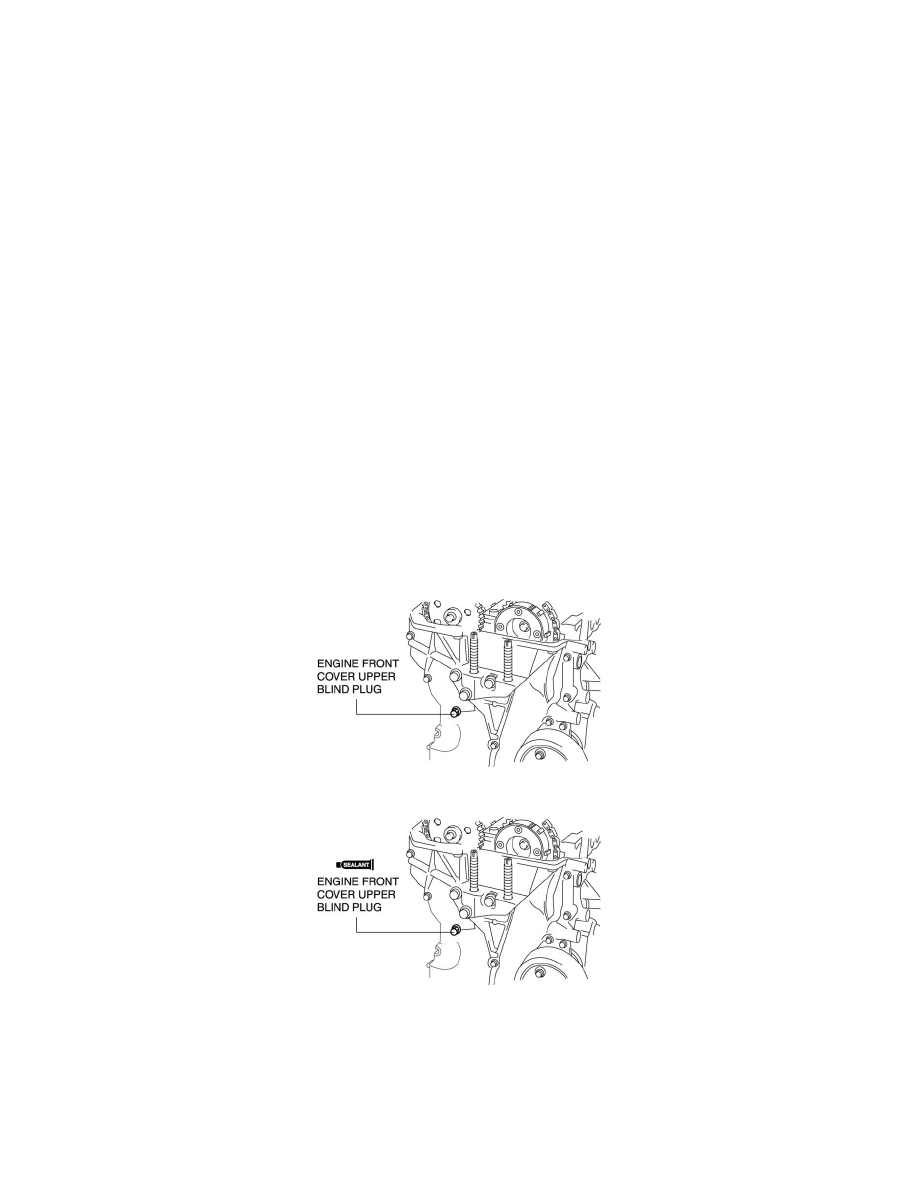
13. Remove the engine front cover lower blind plug.
14. Remove the engine front cover upper blind plug.
15. Disconnect the drive shaft (RH) from joint shaft, set the drive shaft (RH) out of the way. (MTX) See: Transmission and Drivetrain/Drive Axles,
Bearings and Joints/Axle Shaft Assembly/Service and Repair/Removal and Replacement/Drive Shaft Removal/Installation
16. Remove the cylinder block lower blind plug, and install the SST.