
3 L4-2.5L (2010)
Secondary Control Valve Body
1. Remove the secondary control valve body.
a. Remove the battery cover. See: Starting and Charging/Battery/Service and Repair/Removal and Replacement
b. Disconnect the negative battery cable.
c. Remove the battery component (ex: battery, battery tray and PCM component). See: Starting and Charging/Battery/Service and
Repair/Removal and Replacement
d. Remove the aerodynamic under cover NO.2. See: Body and Frame/Splash Guard/Service and Repair/Aerodynamic Under Cover No.2
Removal/Installation
e. Clean the transaxle exterior throughout with a steam cleaner or cleaning solvents.
f.
Drain the ATF. See: Automatic Transmission/Transaxle/Service and Repair/Procedures
g. Remove the oil cover. See: Automatic Transmission/Transaxle/Valve Body/Service and Repair/Removal and Replacement/Control Valve
Body Removal/Installation - FS5A-EL
h. Remove the secondary control valve body. See: Automatic Transmission/Transaxle/Valve Body/Service and Repair/Removal and
Replacement/Control Valve Body Removal/Installation - FS5A-EL
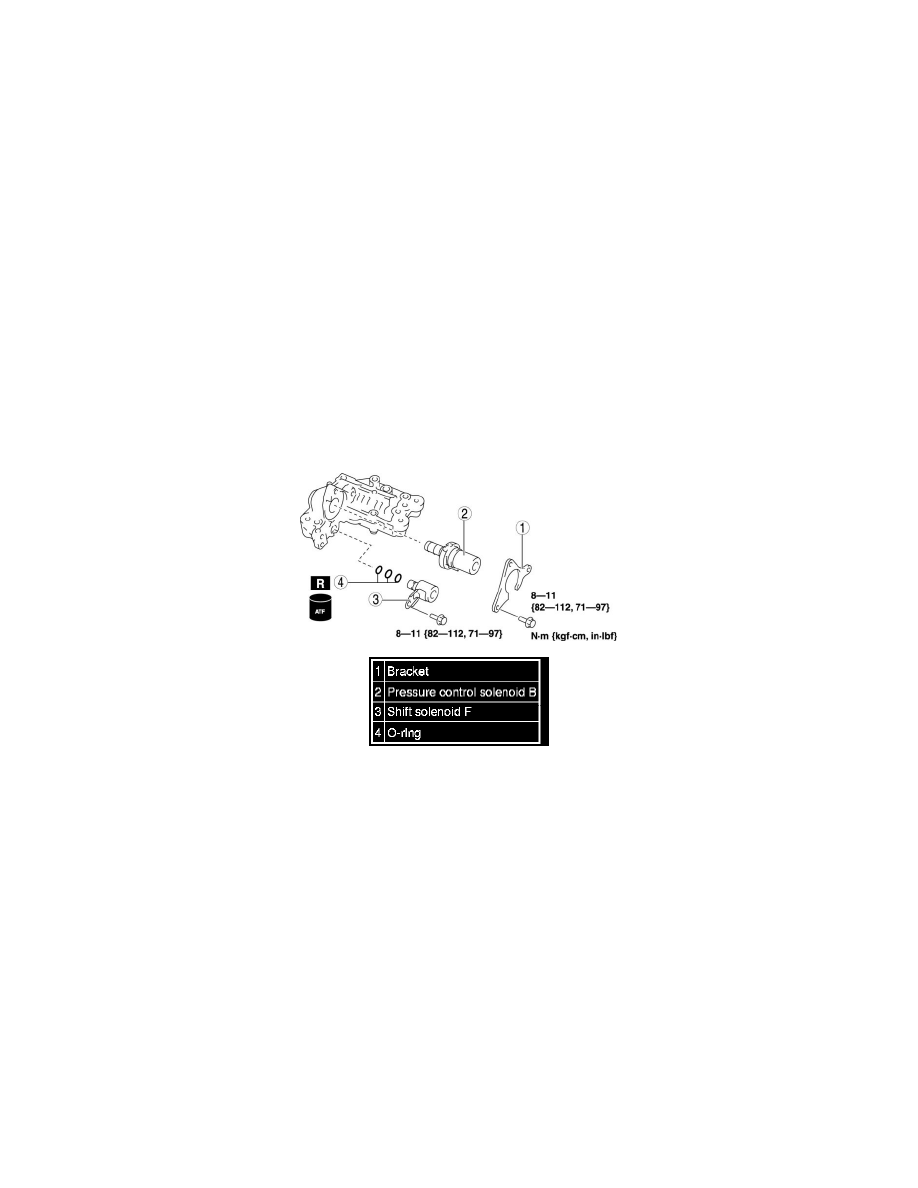
2. Remove in the order indicated in the table.
3. Install in the reverse order of removal.
4. Add ATF. See: Automatic Transmission/Transaxle/Service and Repair/Procedures
5. Perform the "Mechanical System Test". See: Testing and Inspection/Initial Inspection and Diagnostic Overview/Mechanical System Test
[FS5A-EL]
6. Perform the "Road Test". See: Testing and Inspection/Initial Inspection and Diagnostic Overview/Road Test [FS5A-EL]