
323 L4-1800cc 1.8L OHC (1991)
7.
Place shock absorber in vise, then loosen piston rod upper nut several turns. Do not remove nut.
Fig. 15 Strut Replacement
8.
Using a spring compressor, compress coil spring, then remove nut.
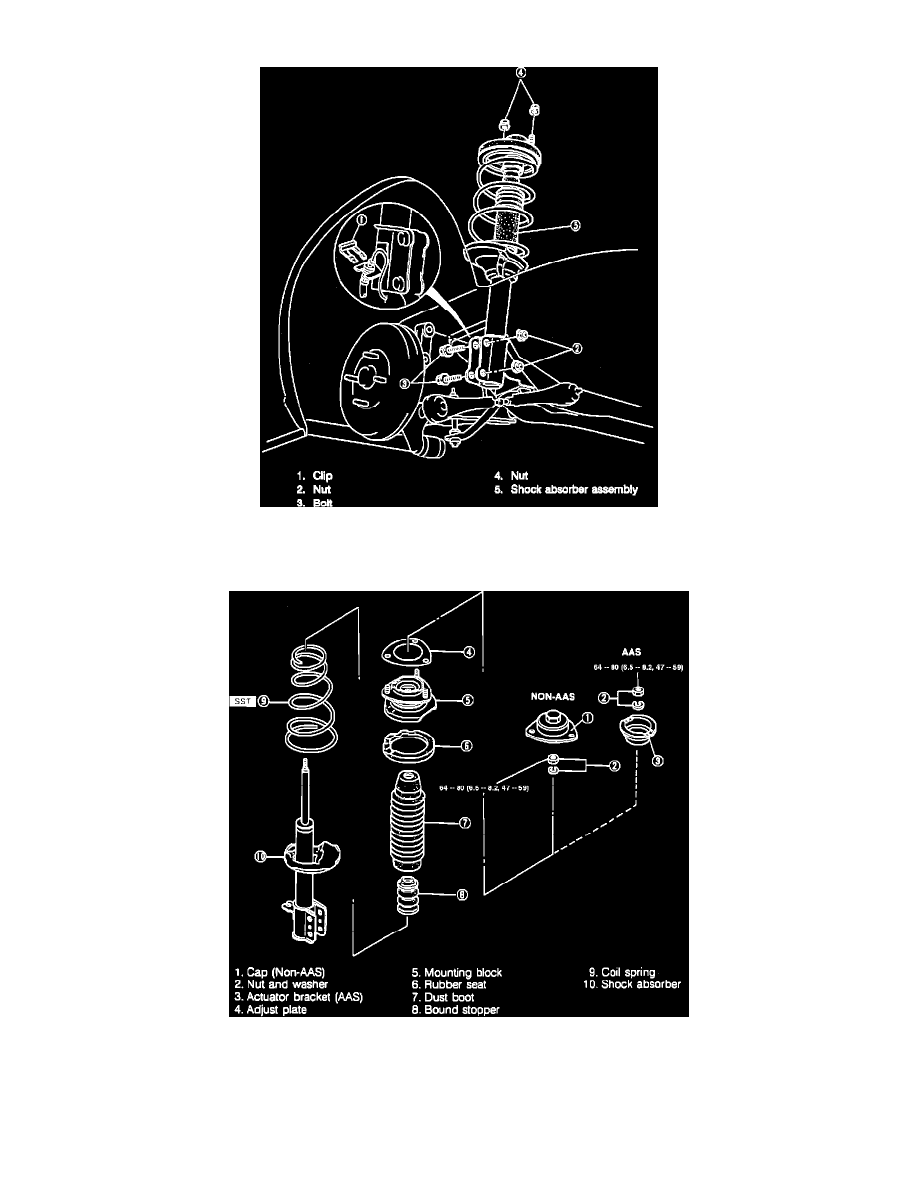
Fig. 7 Exploded View Of Coil Spring & Shock Absorber Assembly
9.
Remove seat, mounting block, spring seat, dust boot, bound stopper and coil spring, Fig. 7.
10.
Reverse procedure to install, noting the following:
a. Ensure spring is well seated in upper and lower spring seats, then torque piston rod upper nut to specification.
b. Torque lower shock absorber attaching bolts and upper attaching nuts to specification.