
5 L4-2.3L (2007)
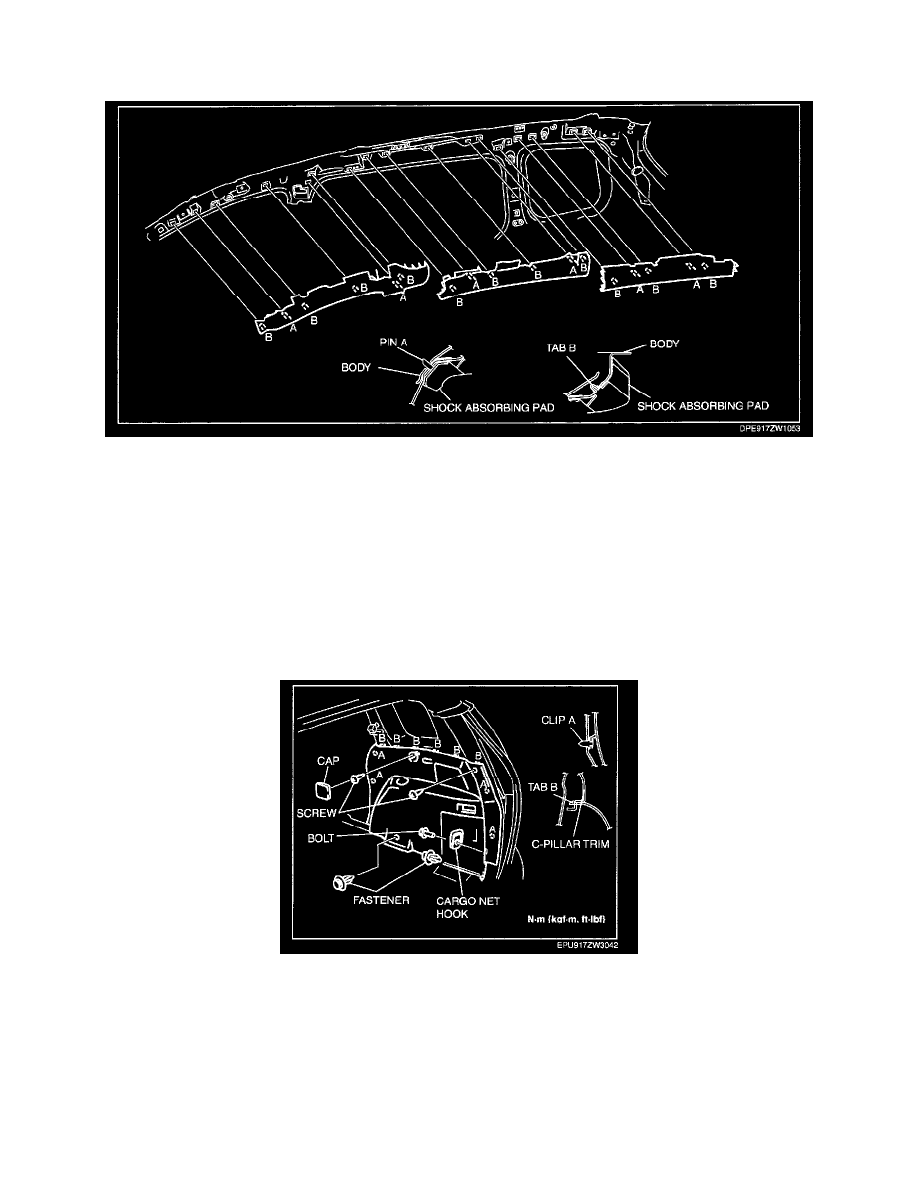
2. Pull the shock-absorbing pad outward and detach pins A and tabs B.
3. Remove the shock-absorbing pad.
4. Install in the reverse order of removal.
Trunk Side Trim Removal/Installation
TRUNK SIDE TRIM REMOVAL/INSTALLATION
1. Remove the following parts:
1. Rear package tray lid
2. Sub-trunk
3. Third-row seat
4. Rear scuff plate
5. Trunk end trim
6. Third-row seat belt lower anchor installation bolt
7. Cargo compartment light
2. Remove the screws and the fasteners.
3. Remove the bolt, then remove the cargo net hook.
4. Pull the trunk side trim outward and detach clips A and tabs B.
5. Disconnect the accessory socket connector.
6. Remove the trunk side trim.
7. Install in the reverse order of removal.