
5 L4-2.3L (2007)
Fuel Injector: Procedures
FUEL INJECTOR REMOVAL/INSTALLATION [L3]
1. Follow "BEFORE SERVICE PRECAUTION" before performing any work operations to prevent fuel from spilling from the fuel system.
2. Remove the plug hole plate.
3. Remove the battery cover.
4. Disconnect the negative battery cable.
5. Disconnect the fuel injector connector.
6. Remove in the order indicated in the table.
7. Install in the reverse order of removal.
8. Inspect all related parts by performing "AFTER SERVICE PRECAUTION".
Fuel Injector Removal Note
CAUTION: Use of a deformed injector clip will cause the fuel injector to be connected incorrectly and could result in fuel leakage. It will also cause
the injector to rotate. Therefore, always replace the clip when the injector is removed.
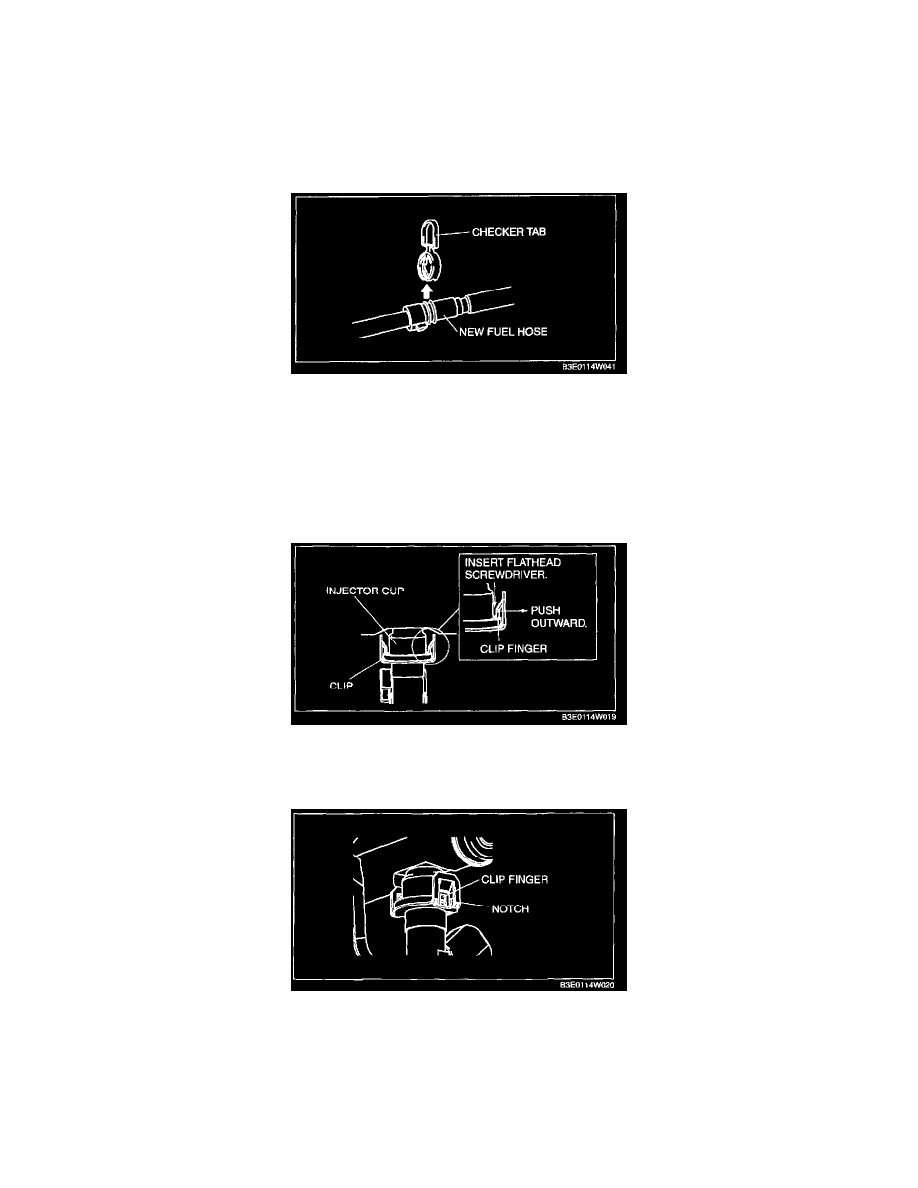
1. Insert a flathead screwdriver between the injector cup and clip finger.
NOTE: When pushing the clip finger outward, deform the finger until it is removed completely from the cup notch.
2. Push the clip finger outward using a flathead screwdriver.
3. Remove the injector with the clip.
4. Remove the clip from the fuel injector using the following procedure:
NOTE: The clip will not be reused.
1. Hold the clip using pliers.