
6 L4-2.5L (2010)
8. Apply air dry sealer (Mazda Seam Sealer - p/n: 0000-77-RPKT-M6) on the seam by using a brush (from top of the seam to the bottom stud where the
dash gusset sits).
9. Use a latex glove, push the sealer into the seam using a finger (if required, apply more sealer and push it into the seam). This is a very important step.
10. Pour water onto the left side of the front windshield with a water hose to confirm no water is leaking through the seam. If water leaks through, apply
more sealer into the seam.
11. Realign cowl insulator pad correctly and reinstall white push clip.
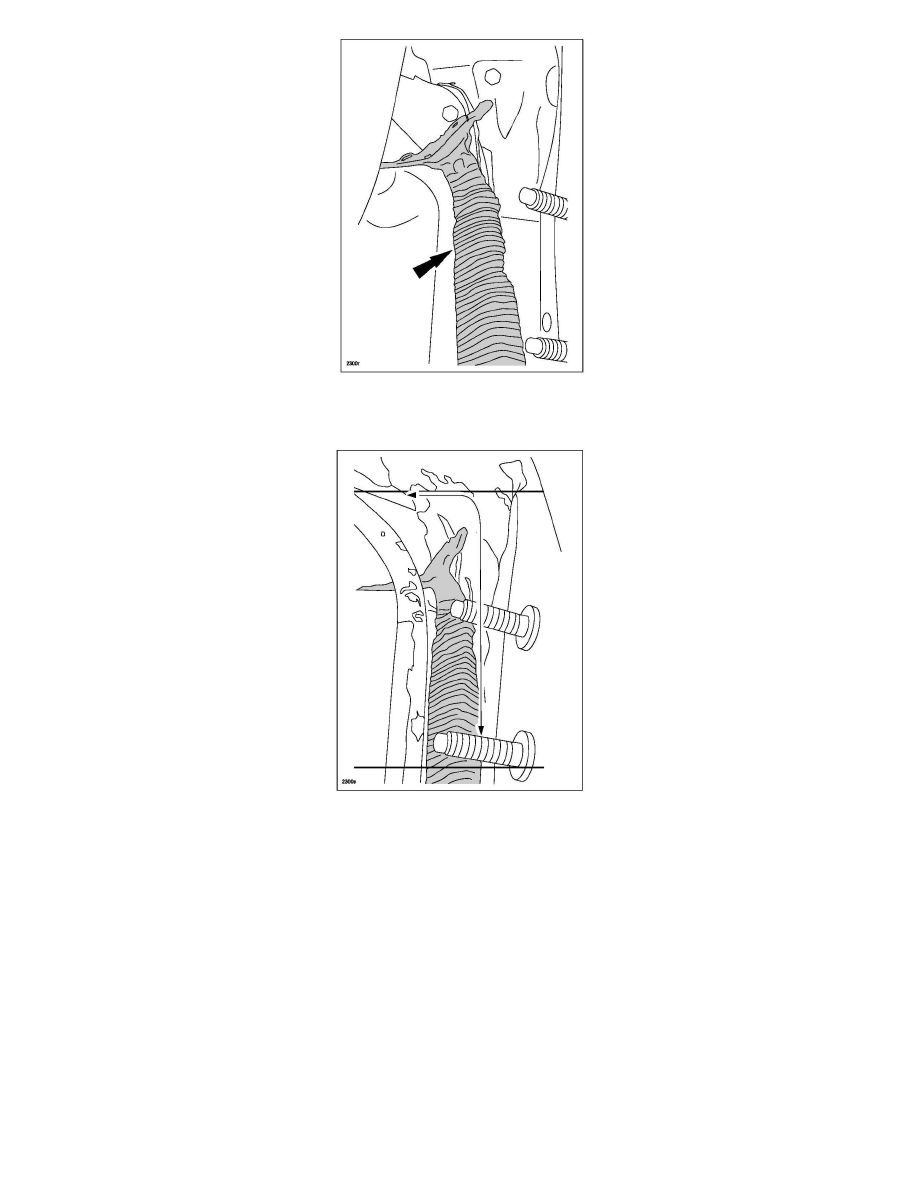
12. Remove tape and reinstall dash gusset by securing two (2) bolts and two (2) nuts.
NOTE:
Ensure the wiring harness is not trapped under the gusset.
13. For Advanced Keyless Entry vehicles only: Reinstall bracket by securing two (2) nuts and then slide the keyless control module into the bracket.
14. For Advanced Keyless Entry vehicles only: Press the brake pedal and ensure the green indicator light appears on the start button.
15. For Advanced Keyless Entry vehicles only: Press the start button to start the engine and confirm the proper installation of the SKE module
connectors.