
6 L4-2.5L (2010)
Repair/Front Seat Belt Removal/Installation
5. Install the pre-tensioner seat belt.
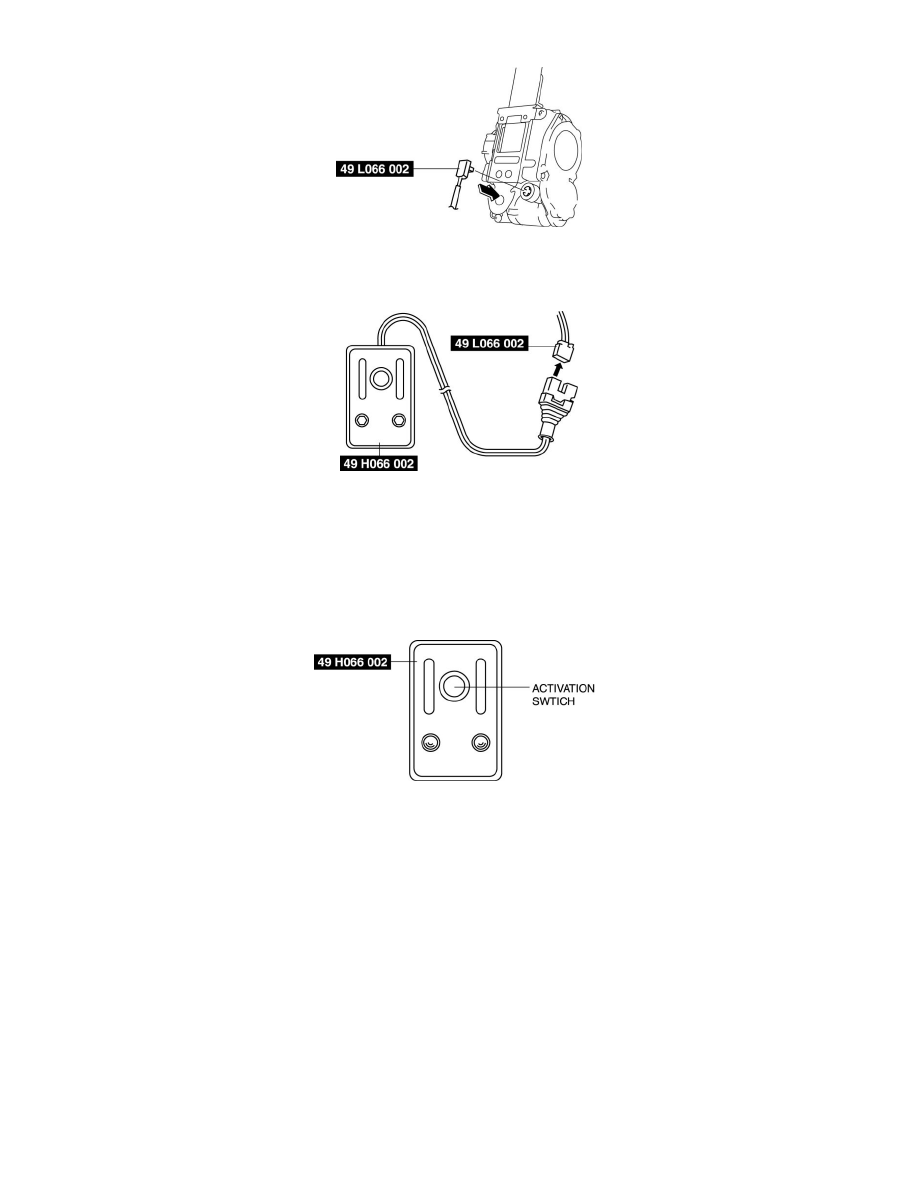
6. Connect the SST (Deployment tool) to the SST (Adapter harness).
7. Connect the SST (Deployment tool) to the battery. Connect the power supply red clip to the positive battery terminal, and the black clip to the
negative battery terminal.
8. Verify that the red lamp on the SST (Deployment tool) is illuminated.
9. Verify that all persons are standing at least 6 m {20 ft} away from the vehicle.
10. Press the activation switch on the SST (Deployment tool) to operate (deploy) the pre-tensioner seat belt.
WARNING:
-
The pre-tensioner seat belt is very hot immediately after it is operated (deployed). You can be burned. Do not touch the pre-tensioner seat belt
for at least 15 min after deployment.
11. Disconnect the SST (Deployment tool) from the SST (Adapter harness).
Deployment Procedure for Outside of Vehicle
1. Inspect the SST (Deployment tool). See: Tools and Equipment
2. Switch the ignition to off.
3. Disconnect the negative battery cable and wait for 1 min or more.
4. Follow the procedure below for operating (deploying) the applicable air bag module or pre-tensioner seat belt.
Driver-side Air Bag Module
WARNING:
-
The driver-side air bag module is a dual inflator type. If one inflator is forced to operate (deploy), the other may operate (deploy) accidentally. To