
6 L4-2.5L (2010)
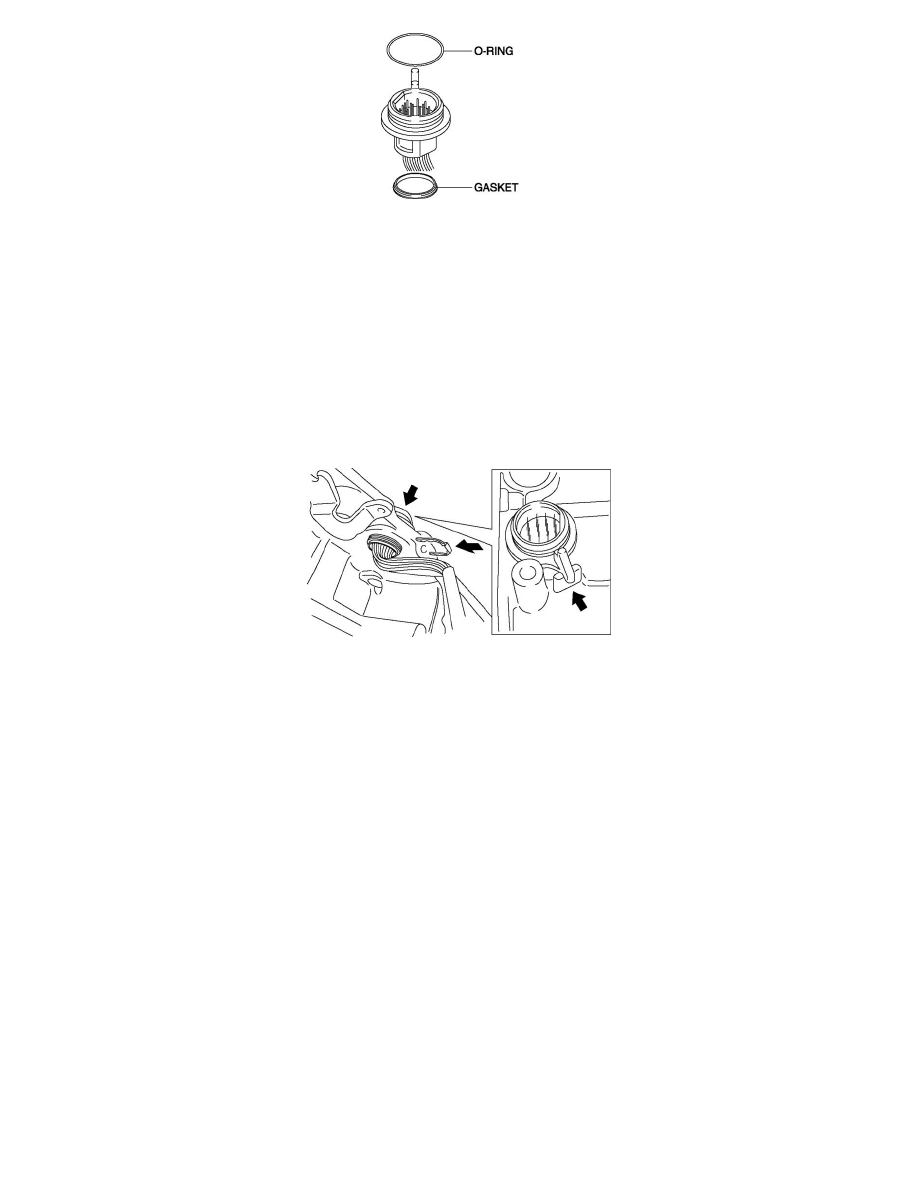
5. Apply ATF to a new gasket and install it on the coupler component.
CAUTION:
-
Do not apply ATF to the O-ring.
6. Install a new O-ring to the coupler component.
CAUTION:
-
Do not apply too much force to the coupler component.
-
Do not damage the coupler component.
7. Install the coupler component to the transaxle case.
8. Install a new coupler component lock plate.
9. Install the control valve body. See: Valve Body/Service and Repair/Removal and Replacement/Control Valve Body Removal/Installation -
AW6A-EL
10. Install the control valve body cover.
11. Install the oil pipe. See: Transmission Cooler/Service and Repair/Removal and Replacement/Oil Cooler Removal/Installation - AW6A-EL
12. Connect the oil hose to the transaxle.
13. Add the ATF. See: Service and Repair/Procedures/Automatic Transaxle Fluid (ATF) Replacement - AW6A-EL
14. Install the TCM. See: Control Module/Service and Repair/TCM Removal/Installation - AW6A-EL
15. Install the air cleaner bracket.
16. Install the air cleaner component. See: Engine, Cooling and Exhaust/Engine/Intake Manifold/Service and Repair
17. Connect the negative battery cable.
18. Perform the "Mechanical System Test". See: Transmission Control Systems/Testing and Inspection/Initial Inspection and Diagnostic
Overview/Mechanical System Test - AW6A-EL