
6 L4-2.5L (2010)
c. Install the primary control valve body. See: Valve Body/Service and Repair/Removal and Replacement/Control Valve Body
Removal/Installation - FS5A-EL
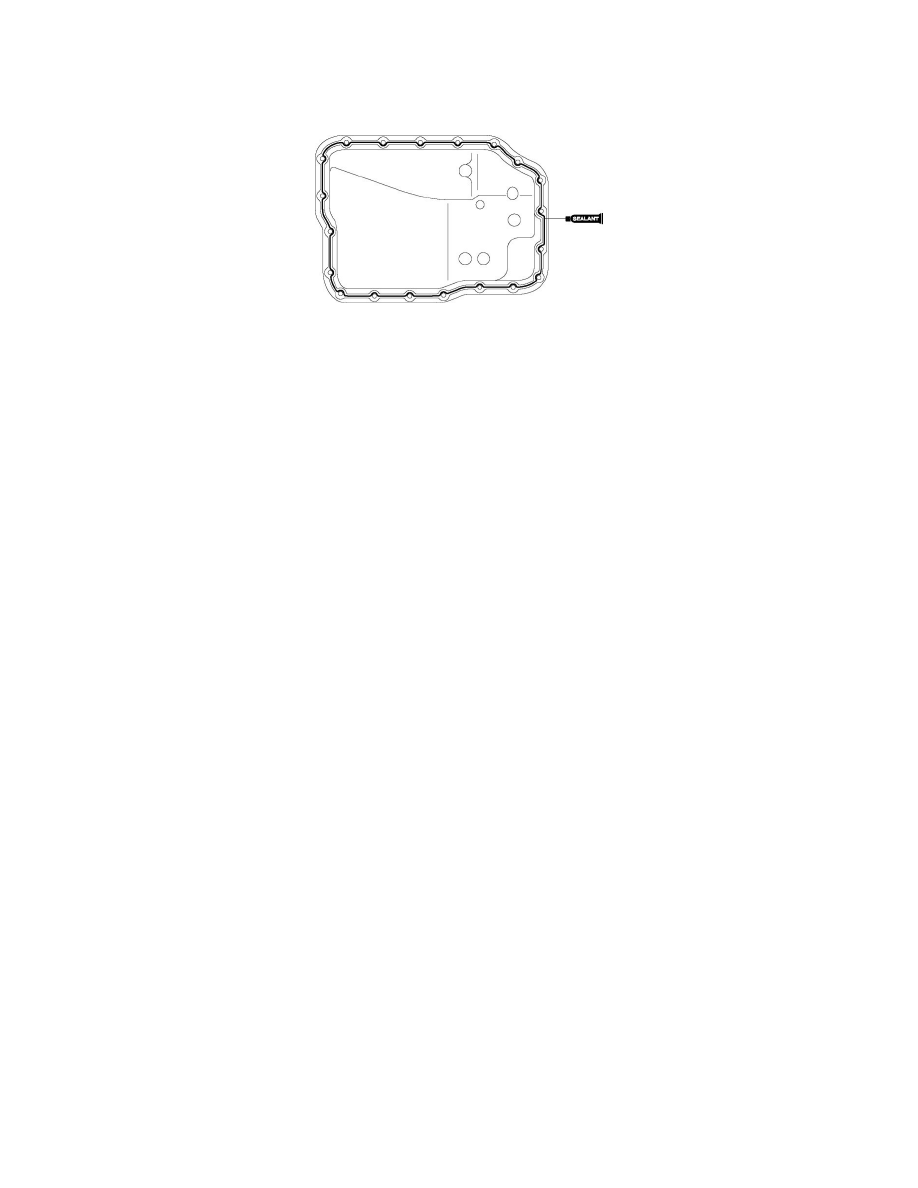
5. Apply a light coat of silicon sealant (TB1217E) to the contact surfaces of the oil pan and transaxle case.
CAUTION:
-
If any old sealant gets into the transaxle during installation of the oil pan, trouble may occur in the transaxle case and oil pan, and clean with
cleaning fluids.
6. Install the oil pan before the applied sealant starts to harden.
Tightening torque
-
6-8 Nm {62-81 kgf-cm, 54-70 in-lbf}
7. Add the ATF. See: Service and Repair/Procedures/Automatic Transaxle Fluid (ATF) Replacement - FS5A-EL
8. Install the front crossmember. See: Body and Frame/Frame/Cross-Member/Front Cross-Member/Service and Repair/Front Crossmember
Removal/Installation
9. Install the aerodynamic under cover NO.2. See: Body and Frame/Splash Guard/Service and Repair/Aerodynamic Under Cover No.2
Removal/Installation
10. Connect the coupler component connector.
11. Install the air cleaner component. See: Engine, Cooling and Exhaust/Engine/Intake Manifold/Service and Repair
12. Connect the negative battery cable.
13. Perform the "Mechanical System Test". See: Transmission Control Systems/Testing and Inspection/Initial Inspection and Diagnostic
Overview/Mechanical System Test - FS5A-EL