6 V6-3.0L DOHC (2003)

Brake Bleeding: Service and Repair
Manual Air Bleeding
AIR BLEEDING
Caution: Maintain the fluid level in the reservoir tank proper while bleeding the air.
Specified fluid SAE J1703, FMVSS 116 DOT3
Note: The brakes should be bled whenever a brake line is disconnected. If a hydraulic line is disconnected at the master cylinder, start at the slave
cylinder farthest from the brake master cylinder, and move to the next farthest slave cylinder until all four cylinders have been bled. If the
disconnection point is anywhere except the master cylinder, start at the point closest to the disconnection, and move to the next closest slave cylinder
until all four cylinders have been bled.
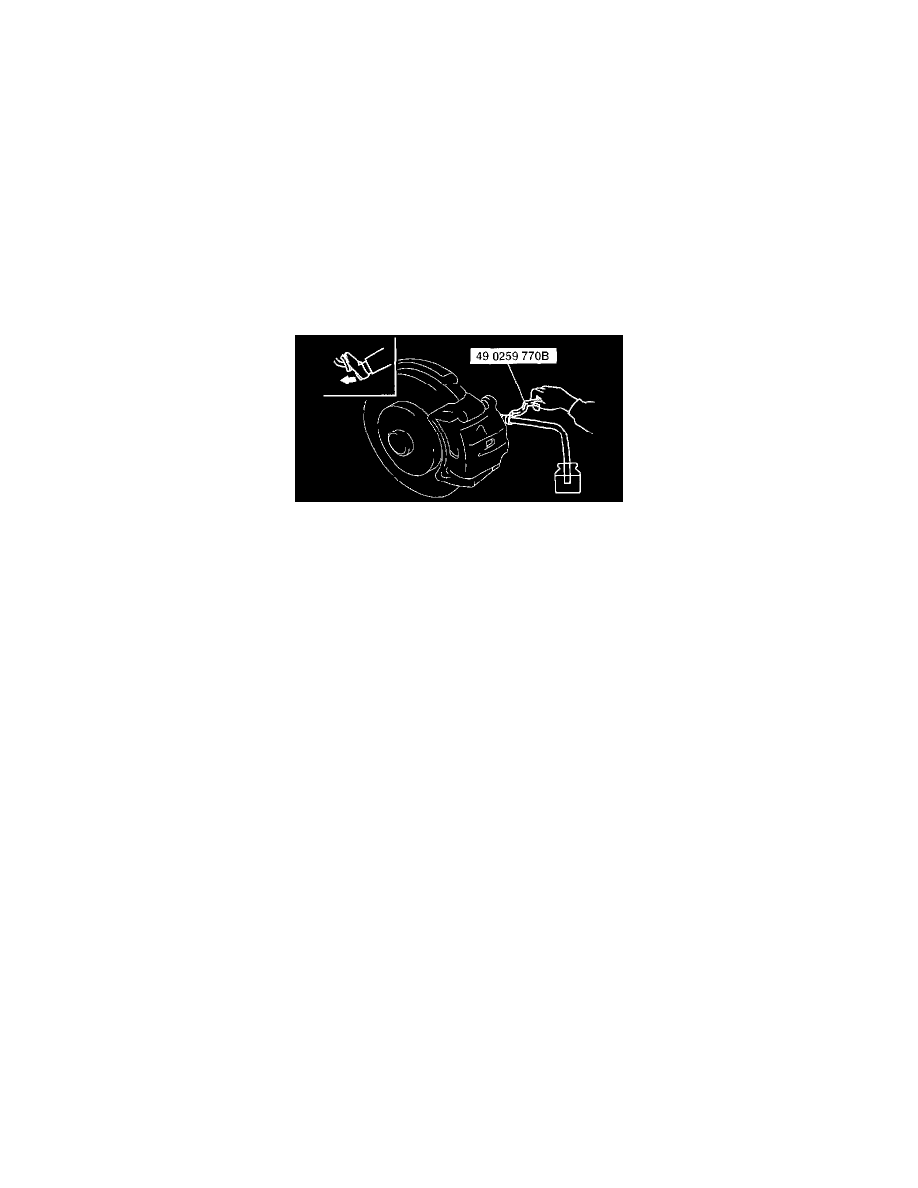
1. Remove the bleeder cap and attach a vinyl tube to the bleeder screw.
2. Place the other end of the vinyl tube in a clear, fluid-filled container.
3. One person should depress the brake pedal a few times, and then hold it in the depressed position.
4. A second person should loosen the bleeder screw, drain out the fluid and close the screw using the SST.
Tightening torque
Front: 6.9 - 9.8 Nm (71 - 99 kgf-cm, 62 - 86 inch lbs.)
Rear: 5.9 - 8.8 Nm (61 - 89 kgf-cm, 53 - 77 inch lbs.)
5. Repeat steps 3 and 4 until no air bubbles are seen.
6. Bleed air from each component by following the procedure above.
7. After air bleeding, check the following:
^
Brake operation
^
Fluid leakage
^
Fluid level
