
6 V6-3.7L (2009)
q. Combination switch See: Lighting and Horns/Sensors and Switches - Lighting and Horns/Combination Switch/Service and Repair/Removal
and Replacement
r.
Meter hood See: Body and Frame/Interior Moulding / Trim/Dashboard / Instrument Panel/Service and Repair/Removal and
Replacement/Meter Hood Removal/Installation
s. Instrument cluster See: Instrument Panel, Gauges and Warning Indicators/Instrument Cluster / Carrier/Service and Repair/Removal and
Replacement
t.
Center panel upper See: Body and Frame/Interior Moulding / Trim/Dashboard / Instrument Panel/Service and Repair/Removal and
Replacement/Center Panel Upper Removal/Installation
u. Audio unit See: Accessories and Optional Equipment/Radio, Stereo, and Compact Disc/Service and Repair/Audio Unit Removal/Installation
v. Steering shaft cover See: Steering and Suspension/Steering/Steering Column/Service and Repair/Steering Wheel And Column
Removal/Installation [Without Advanced Keyless Entry And Push Button Start System] See: Steering and Suspension/Steering/Steering
Column/Service and Repair/Steering Wheel And Column Removal/Installation [With Advanced Keyless Entry And Push Button Start System]
w. Steering shaft See: Steering and Suspension/Steering/Steering Column/Service and Repair/Steering Wheel And Column Removal/Installation
[Without Advanced Keyless Entry And Push Button Start System] See: Steering and Suspension/Steering/Steering Column/Service and
Repair/Steering Wheel And Column Removal/Installation [With Advanced Keyless Entry And Push Button Start System]
x. Side panel See: Body and Frame/Interior Moulding / Trim/Trim Panel/Service and Repair/Side Panel Removal/Installation
y. SIRIUS satellite radio unit See: Accessories and Optional Equipment/Radio, Stereo, and Compact Disc/Radio/Stereo/Radio Tuner/Service
and Repair
z. Passenger-side air bag module See: Restraint Systems/Air Bag Systems/Air Bag/Service and Repair/Removal and
Replacement/Passenger-Side Air Bag Module Removal/Installation
aa. A-pillar trims See: Body and Frame/Interior Moulding / Trim/Trim Panel/Service and Repair/A-Pillar Trim Removal/Installation
ab. Dashboard See: Body and Frame/Interior Moulding / Trim/Dashboard / Instrument Panel/Service and Repair/Removal and
Replacement/Dashboard Removal/Installation
3. Remove the A/C unit. See: Housing Assembly HVAC/Service and Repair/Removal and Replacement
4. Disassemble the A/C unit. See: Housing Assembly HVAC/Service and Repair/Overhaul
5. Remove in the order indicated table.
6. Install in the reverse order of removal.
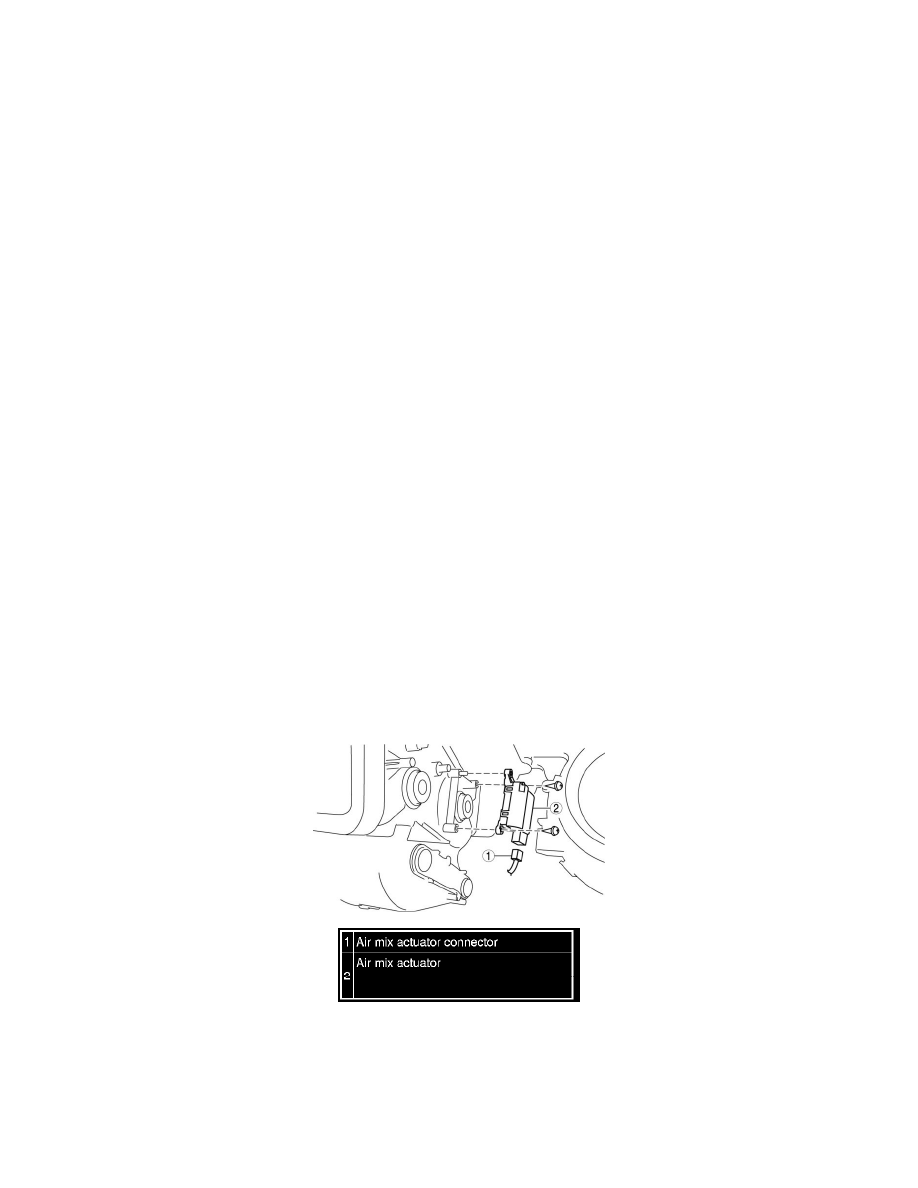
Air Mix Actuator Installation Note
1. Insert the air mix actuator shaft to the door hole aligned with each shape same as removed position.