
6 V6-3.7L (2009)
Oxygen Sensor: Service and Repair
Heated Oxygen Sensor (HO2S) Removal/Installation
HEATED OXYGEN SENSOR (HO2S) REMOVAL/INSTALLATION [MZI-3.7]
HO2S (LH) Removal/Installation
1. Disconnect the negative battery cable.
2. Disconnect the HO2S (LH) connector.
NOTE:
-
If necessary, lubricate the HO2S (LH) with Penetrating and Lock Lubricant loosen to aid in removal.
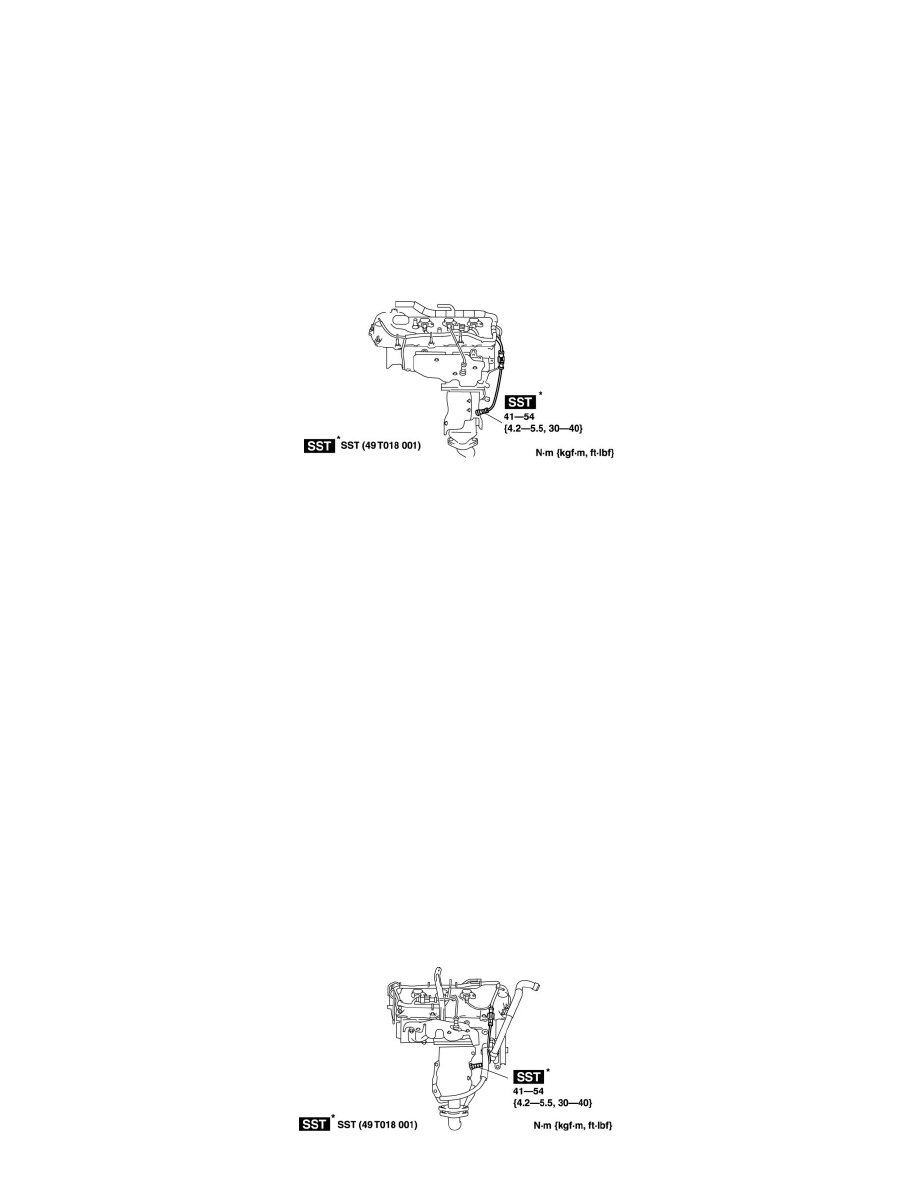
3. Remove the HO2S (LH) using the SST.
NOTE:
-
Apply a light coat of anti-seize lubricant to the threads of the HO2S.
4. Install in the reverse order of removal.
HO2S (RH) Removal/Installation
1. Disconnect the negative battery cable.
2. Remove the following part for easier access.
-
Remove the windshield wiper arm and blade. See: Wiper and Washer Systems/Wiper Arm/Service and Repair
-
Remove the cowl grille. See: Body and Frame/Cowl/Cowl Moulding / Trim/Service and Repair/Cowl Grille Removal/Installation
-
Remove the windshield wiper motor. See: Wiper and Washer Systems/Wiper Motor/Service and Repair/Removal and Replacement
-
Remove the cowl panel. See: Body and Frame/Cowl/Cowl Moulding / Trim/Service and Repair/Cowl Panel Removal/Installation
3. Disconnect the HO2S (RH) connector.
4. Remove the front wheel and tire (RH). See: Steering and Suspension/Suspension/Service and Repair
5. Remove the splash shield (RH).
6. Disconnect the front drive shaft (RH) from the transaxle side. See: Transmission and Drivetrain/Drive Axles, Bearings and Joints/Axle Shaft
Assembly/Service and Repair/Removal and Replacement/Drive Shaft Removal/Installation
NOTE:
-
If necessary, lubricate the HO2S (RH) with Penetrating and Lock Lubricant loosen to aid in removal.
7. Remove the HO2S (RH) using the SST.