
6 V6-3.7L (2009)
CAUTION:
-
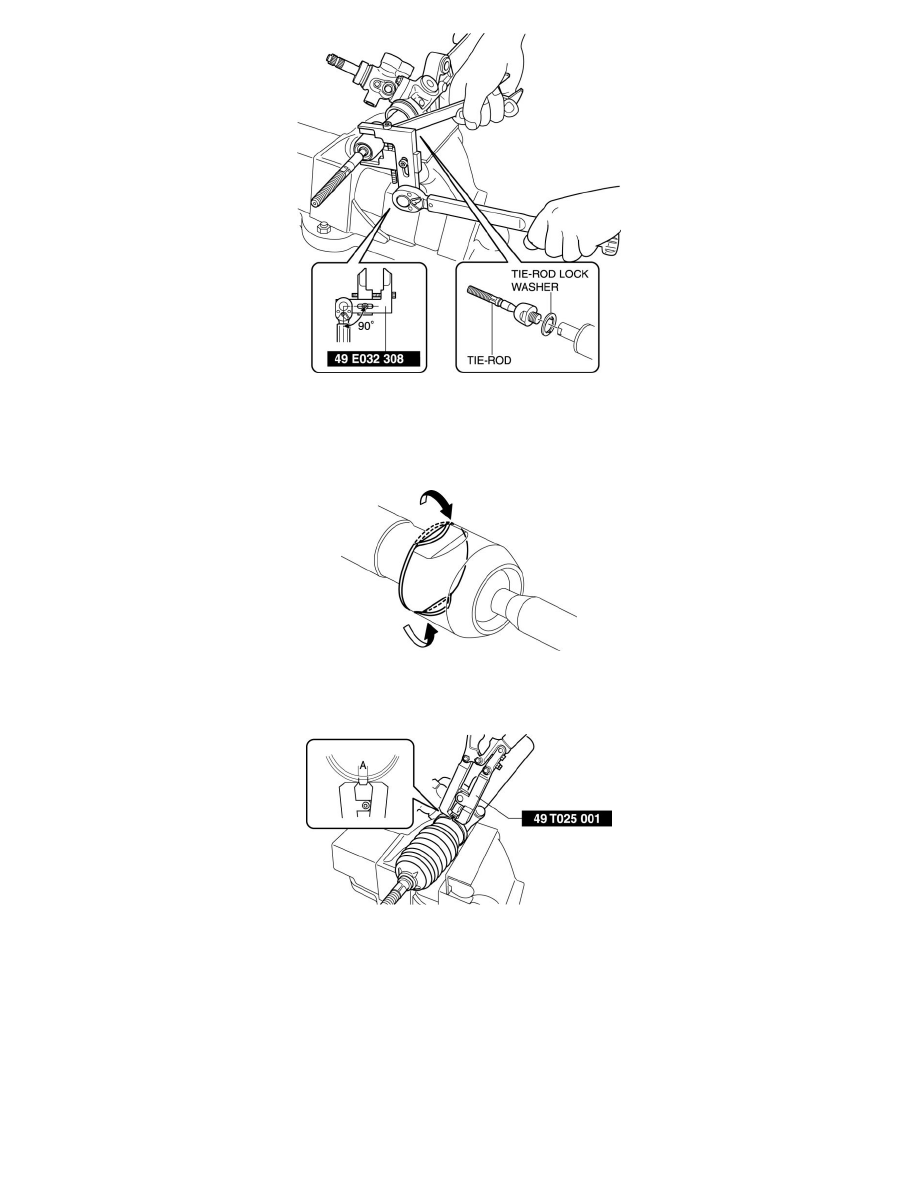
If a tool is installed to the SST (49 E032 308), install it perpendicular as shown in the figure. If it is installed incorrectly, the SST will readily
come off the tie rod which could result in damage to the tie rod during the servicing.
3. Using a hammer, flatten the tabs on the tie-rod lock washer to lock the tie rod.
Boot Band Assembly Note
1. Crimp the boot band using the SST.
2. Verify that width A of the crimp is within the specification.
-
If width A of the crimp exceeds the specification, reduce opening width A of the SST and recrimp the boot band.
-
If width A of the crimp is less than the specification, increase opening width A of the SST and crimp a new boot band.
Standard Width A
-
2-3 mm {0.08-0.11 in}
3. Rotate the boot by hand and verify that it is securely assembled with the boot band.
Tie-Rod End Assembly Note
NOTE: