
6 V6-3.7L (2009)
Windshield: Service and Repair
Windshield Removal
WINDSHIELD REMOVAL
1. Disconnect the negative battery cable.
2. Remove the following parts:
a. Windshield wiper arm and blade See: Wiper and Washer Systems/Wiper Arm/Service and Repair
b. Cowl grille See: Body and Frame/Cowl/Cowl Moulding / Trim/Service and Repair/Cowl Grille Removal/Installation
c. Rain sensor (Vehicles with auto light/wiper system) See: Sensors and Switches/Sensors and Switches - Wiper and Washer Systems/Rain
Sensor/Service and Repair
d. Auto-dimming mirror (Vehicles with auto-dimming mirror) See: Body and Frame/Mirrors/Service and Repair/Auto-Dimming Mirror Removal
e. Rear view mirror (Vehicles without auto-dimming mirror) See: Body and Frame/Mirrors/Service and Repair/Rearview Mirror Removal
f.
A-pillar trim See: Body and Frame/Interior Moulding / Trim/Trim Panel/Service and Repair/A-Pillar Trim Removal/Installation
g. Sunvisor See: Body and Frame/Interior Moulding / Trim/Sun Visor/Service and Repair
h. Assist handle See: Body and Frame/Interior Moulding / Trim/Passenger Assist Handle/Service and Repair
3. Set the headliner out of the way.
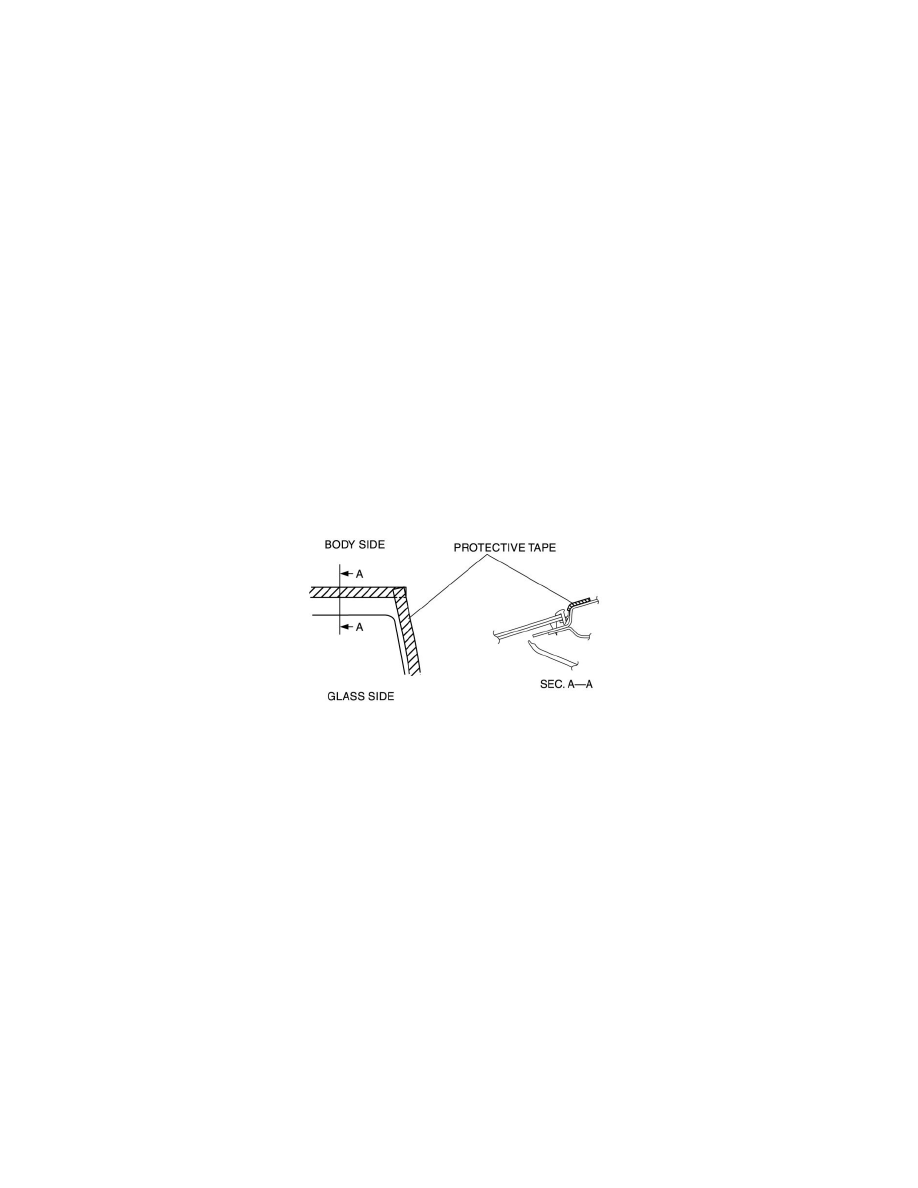
4. Apply protective tape along the edge of the body.
NOTE:
-
Overlap and adhere the protective tape to the corners to prevent damage.
5. Remove the windshield molding by pulling it outward.
NOTE:
-
If the windshield molding is difficult to remove, warm the windshield molding using a hot air blower.
-
The windshield molding is a replacement part.
Not Reusing Windshield
NOTE:
-
If it is difficult to cut sealant, use piano wire and follow the procedure under "Reusing Windshield".
WARNING:
1
Using piano wire with bare hands can cause injury. Always wear gloves when using piano wire.
1. Cut out the sealant all around the glass using a sealant remover.