
626 L4-2184cc 2.2L SOHC F2 (1989)
5.
Remove the black plastic cowl vent, direct a stream of water at each stud and, if any leaks are found, apply sealer.
AREA C: CORNER OF FIREWALL AND INNER FENDER
1.
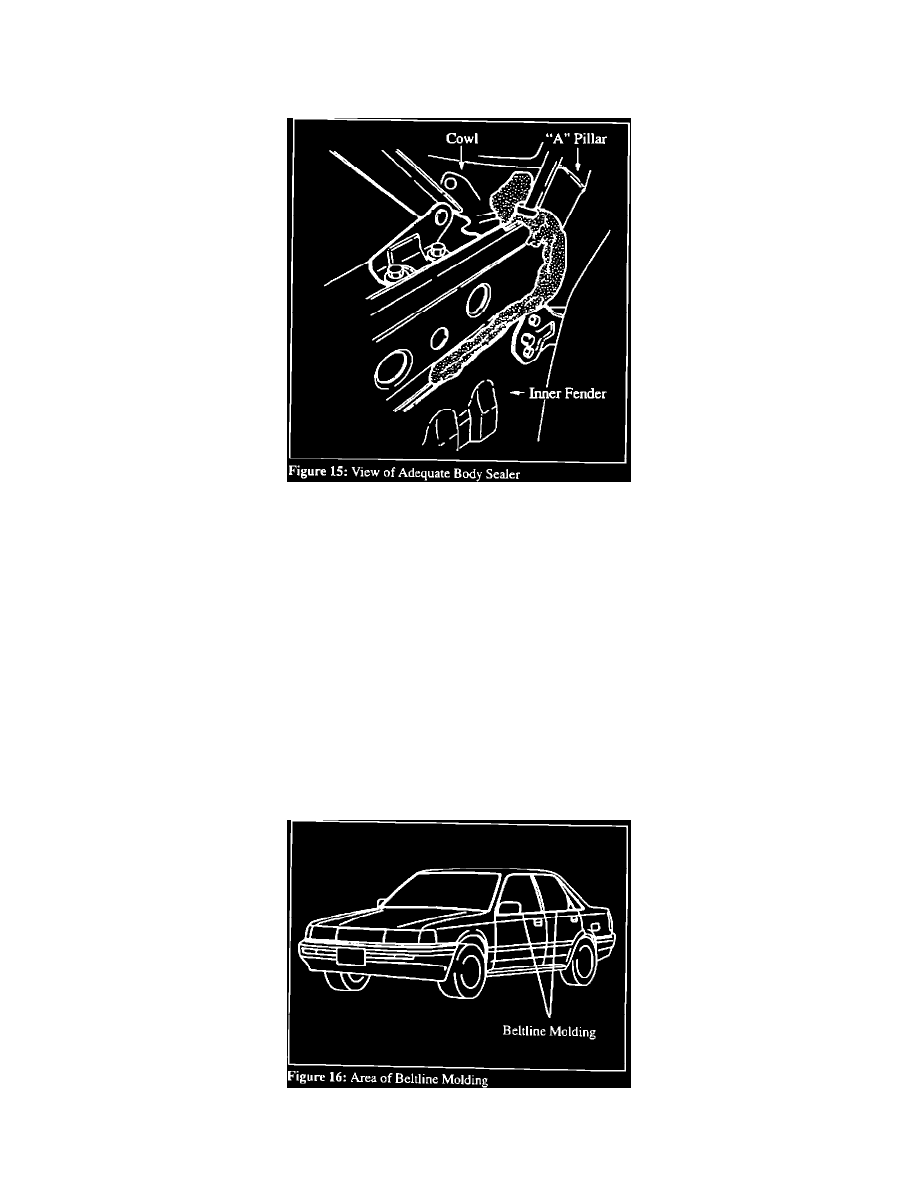
Lift carpet and pad and feel for water. If water is present, remove windshield wipers and cowl plate. Check for missing sealer or holes along the
lower "A" pillar-to-cowl seam. Apply sealer to any suspected areas. Figure 15.
Note:
This procedure should only be done by experienced body shop personnel.
2.
Remove the door jamb nut and bolt, also remove the four (4) upper fender bolts. Using a mechanic's mirror, inspect sealer hidden by the upper
fender for skips and pinholes. Figure 15.
Note:
The illustration shows the fender removed. Complete fender removal is not required.
Caution:
Use care when moving fender for inspection and resealing body seams. Do not allow the fender to buckle.
3.
Also inspect the antenna bezel molding for correct sealing and mounting as described in the repair section of AREA A.
AREA D: OVER SILL PLATE
1.
While an assistant directs water along the beltline molding, inspect for water entering from over the plastic sill plate. Figure 16.