
626 L4-2184cc 2.2L SOHC F2 (1989)
Repair Procedure
AREA A: KICK PANEL
1.
Follow the same repair procedure described for the right front side of the passenger compartment.
2.
Run water on the antenna. Make sure the antenna tube is intact on the bottom of the power antenna motor and water drains properly (for models
equipped with power antenna.)
3.
If necessary, position the hose so there are no loops, kinks or pinched areas. If the hose cannot be corrected or is out, remove the damaged section
of hose. Install a replacement piece of hose (4.7 mm [3/16 in.] outside diameter) which provides a tight fit to the existing hose.
4.
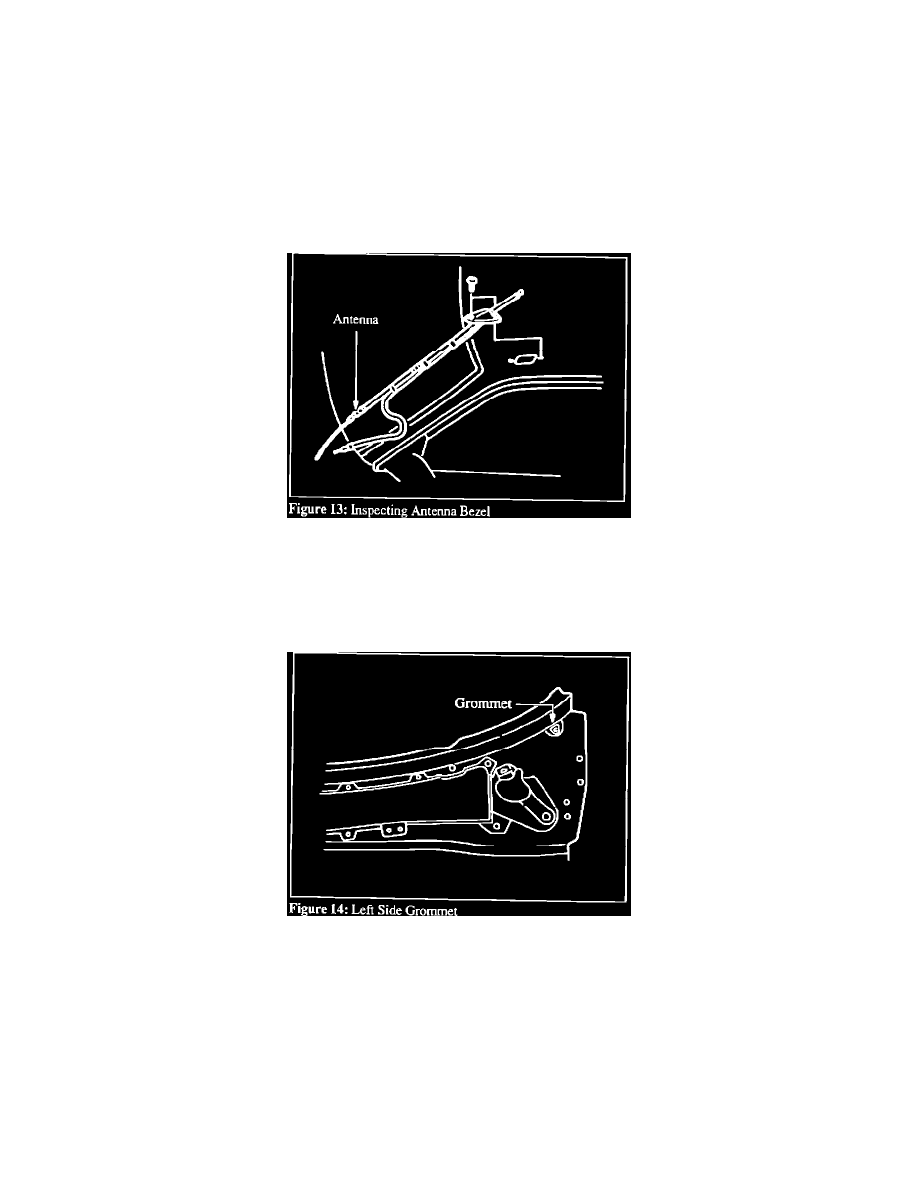
If the leak persists, inspect the antenna bezel molding and gasket for correct sealing and mounting. Confirm that the mounting screw is fully seated
and that the gasket is firmly contacting the roof sheet metal. Figure 13.
AREA B: UNDER DASH
1.
Using a mechanic's mirror, look for signs of water leakage under the dash.
2.
Check the cowl grommet for leaks by spraying water on it. Replace the grommet if it leaks. Apply sealer to the bottom side of the grommet during
installation. Figure 14.
Note:
Only one grommet is located in an area where it may cause a water leak.
3.
If water is leaking from the firewall, check for improperly seated studs, loose grommets, and cross-threaded bolts on the engine side of the
firewall.
4.
If necessary, remove the studs, clean the threads and reinstall. Remove cross-threaded or high bolts, retap holes and, if necessary, replace bolts. Be
sure to apply sealer to the threads before installing the bolts. Finally, replace any loose grommets.