
626 L4-2184cc 2.2L SOHC F2 (1989)
1.
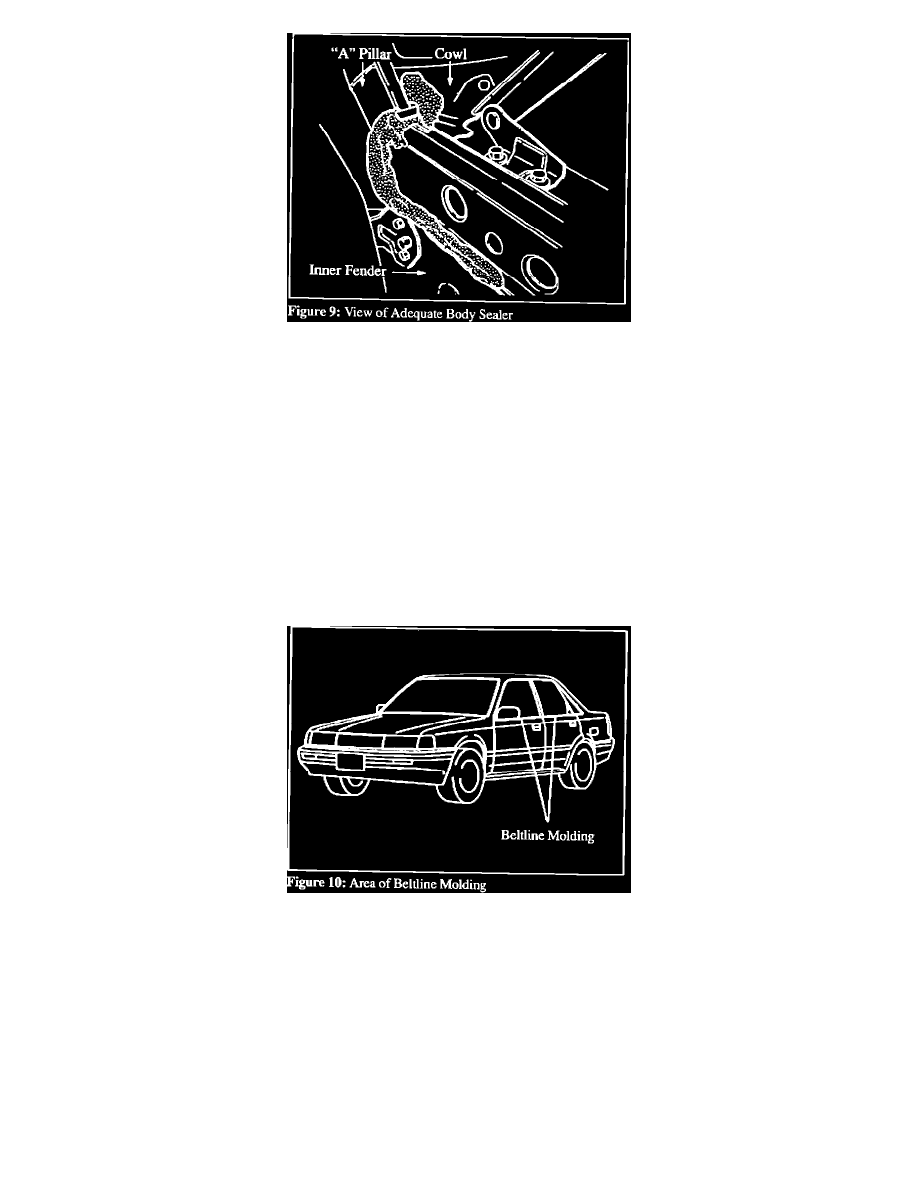
Lift carpet and pad, and feel for water. If water is present, remove windshield wipers and cowl plate. Check for missing sealer or holes among the
lower "A" pillar- to-cowl seam. Apply sealer to any suspected areas. Figure 9.
Note:
This procedure should only be done by experienced body shop personnel.
2.
Remove the door jamb nut and bolt, also remove the four (4) upper fender bolts. Using a mechanics mirror, inspect sealer hidden by the upper
fender for skips and pinholes. Figure 9.
Note:
The illustration shows the fender removed. Complete fender removal is not required.
Caution:
Use care when moving fender for inspection and resealing body seams. Do not allow the fender to buckle.
AREA D: OVER SILL PLATE
1.
While an assistant directs water along the beltline molding, inspect for water entering from over the plastic sill plate. Figure 10.
2.
If water is entering over the sill plate, remove the door panel and check that the plastic sheeting Butyl sealer is pressed firmly against the door
frame. Also, check that no gaps are present between the sheet metal and the plastic.
3.
Confirm that the door drain holes are draining properly and are not obstructed.
Note:
If Butyl sealer is hard or non-pliable, new sealer will need to be applied to the plastic sheeting to properly seal water leaking from these areas.
Location II
LOCATION II: LEFT FRONT SIDE OF PASSENGER COMPARTMENT