626 L4-2184cc 2.2L SOHC F2 (1989)

1.
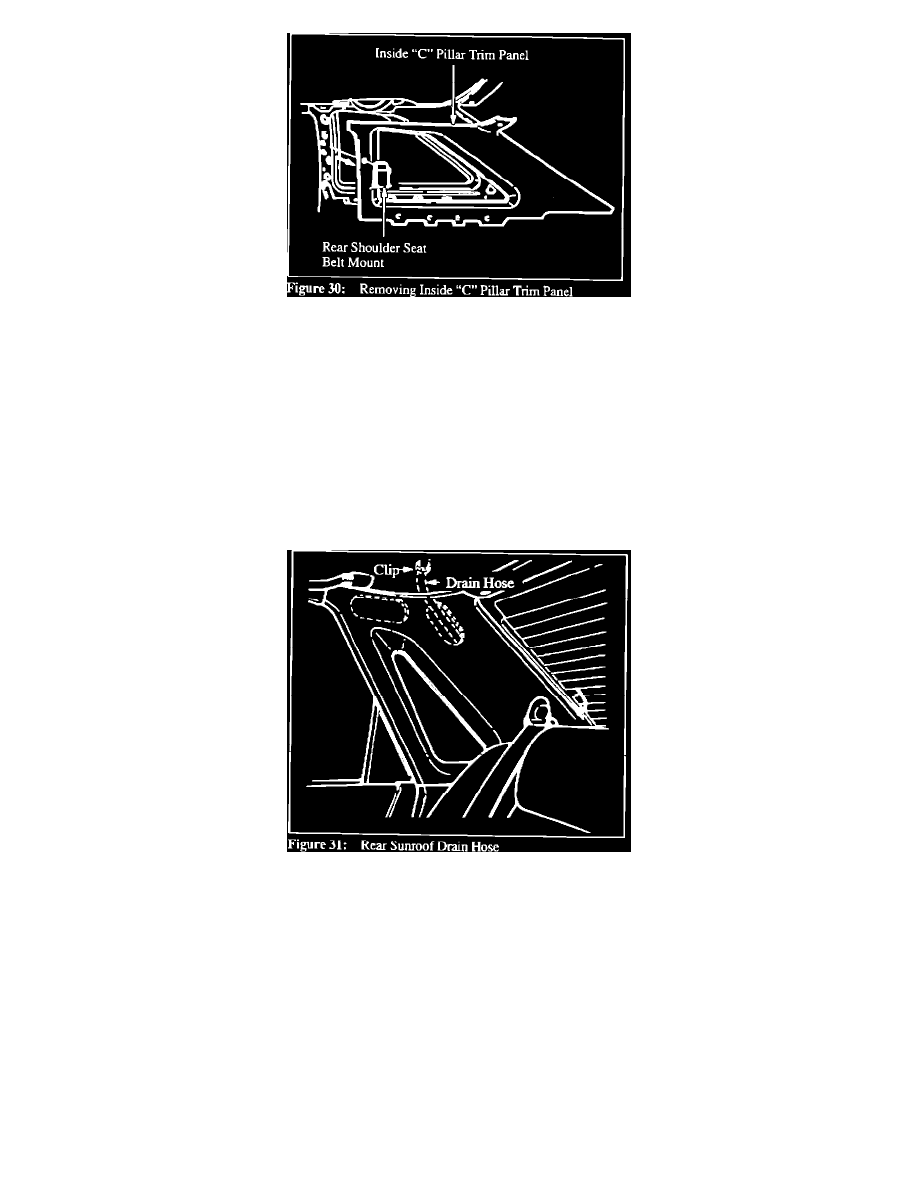
Remove rear header trim, rear shoulder mounts, and inside "C" pillar trim panel(s). Figure 30.
Hint:
Leave lower attaching screws in place and tilt "C" pillar trim back.
Caution:
Do not use too much force when pulling on the "C" pillar trim. Permanent damage (white stress marks) may result.
2.
Make sure sunroof drain hose grommets are seated. Check that the sunroof drain hose is not kinked and extends through the outer rear side
molding.
3.
Open the sunroof and, using a squeeze bottle filled with water, pour water down the rear drain holes. Check for signs of leakage at the sunroof
drain tube-to-drain hose.
4.
If necessary, position the hose so that there are no loops, kinks or pinched areas. Check for kinks at the drain hose clip. Repeat the water test.
Make sure that the sunroof drains properly and does not leak. Figure 31.
5.
If necessary, install a new hose.
6.
If hose routing is OK and hose is intact, check for leaks at the rear window.
AREA C:
REAR HEADLINER OR SUNROOF SLIDING PANEL
1.
Remove the rear header trim, rear shoulder seatbelt mounts, and inside "C" pillar trim panel(s). Figure 30.
Hint:
Leave lower attaching screws in place and tilt "C" pillar trim back.
Caution:
Do not use too much force when pulling on the "C" pillar trim. Permanent damage (white stress marks) may result.
