626 LX L4-2.0L DOHC (1999)

7.
Apply a small amount of Super Glue (or equivalent) to the bumpers mounting hole area of the glass panel frame.
8.
Install the bumper clip(s) with the flat portion facing the front of the vehicle and allow the glue to dry.
9.
Use black touch up paint to repair any bare spots on the glass panel frame near the bumpers that were made when the frame was filed and cleaned.
Allow to dry.
10.
Proceed to INSPECTING FRONT AND REAR GUIDES below.
INSPECTING FRONT AND REAR GUIDES
1.
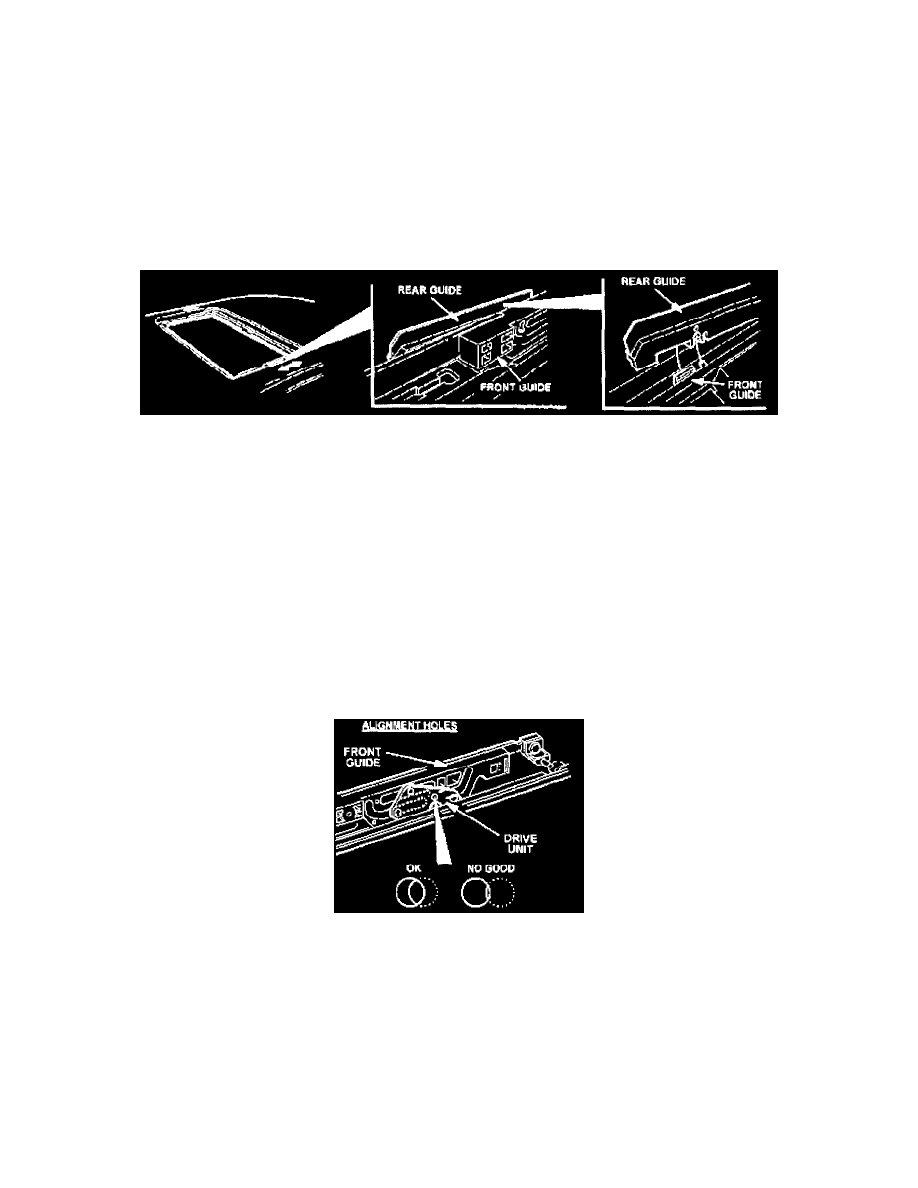
Inspect the front and rear guides for breakage.
^
If guide(s) is broken, replace it per the Workshop Manual (SUNROOF UNIT DISASSEMBLY and SUNROOF UNIT ASSEMBLY) and
proceed to Step 2.
2.
Inspect rear guides for looseness (not clipped securely to the front guide)
^
If the guide(s) is loose, re-secure it to the front guide.
Then proceed to DRIVE CABLES / MOTOR TIMING - SETTING PROCEDURES.
NOTE::
All damaged parts must be repaired or replaced and sunroof track area must be free of any excess or damaged parts before proceeding to next
step.
DRIVE CABLES / MOTOR TIMING - SETTING PROCEDURES
1.
Cycle the sunroof once (tilt position down, slide open, then slide completely closed).
2.
Verify that the alignment holes in the drive unit and guide are aligned, and the sunroof motor pointers are lined up. Refer to illustration.
^
If the holes are properly aligned, proceed to STEP 3,
^
If the holes are not properly aligned or will not cycle as described in STEP A, then align per the following procedure.
3.
Turn the ignition key off.
