
626 LX V6-2.5L DOHC (1997)
Shift Interlock Solenoid: Service and Repair
1. Disconnect the negative battery cable.
2. Remove the front console.
3. Remove the indicator screws and lift up the indicator panel.
4. Disconnect the shift-lock actuator connector.
5. Disconnect the P position switch connector.
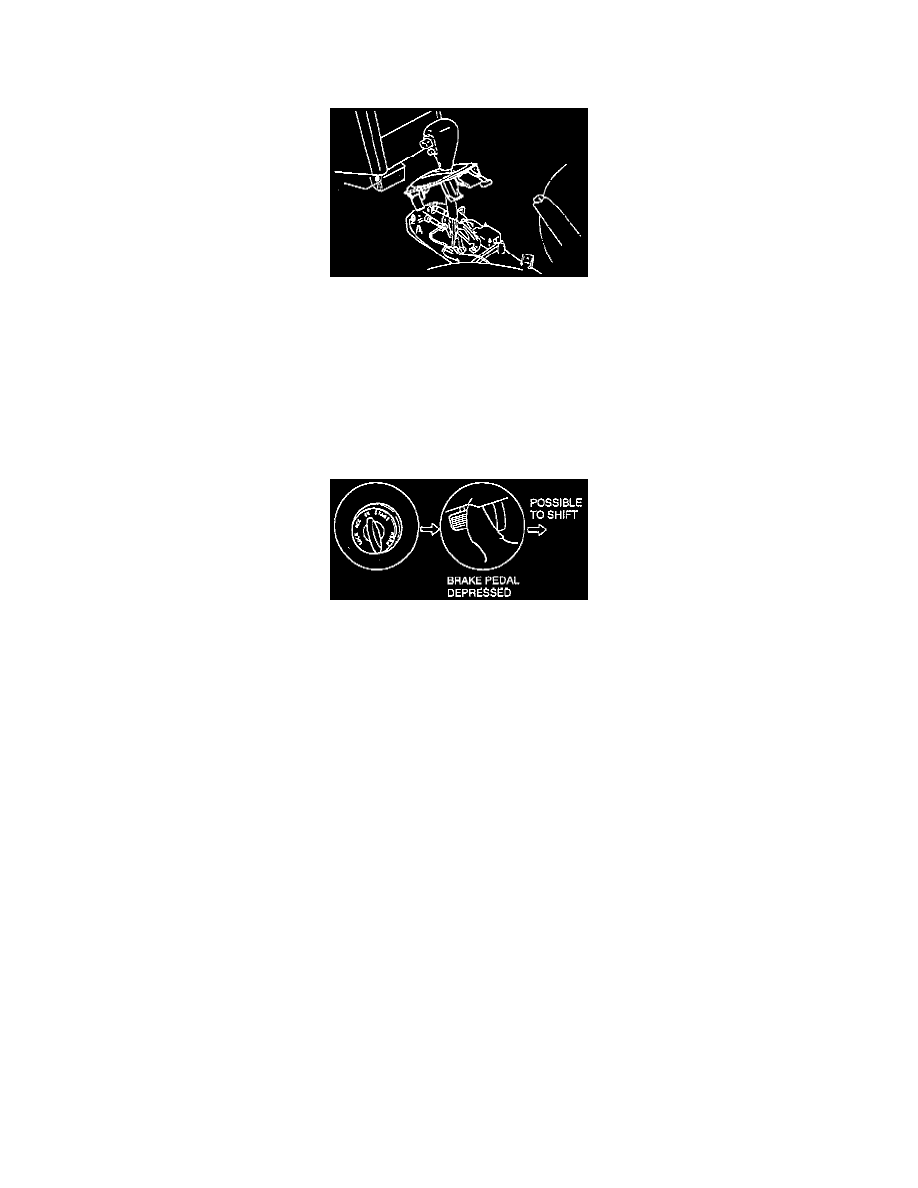
6. Remove the shift-lock actuator.
7. Install the new shift-lock actuator.
8. Connect the P position switch connector.
9. Connect the shift-lock actuator connector.
10. Install and adjust the indicator panel.
11. Install the front console.
12. Connect the negative battery cable.
13. Verify correct operation of the shift-lock system.