929 V6-3.0L DOHC (1993)

Hydraulic Control Assembly - Antilock Brakes: Service and Repair
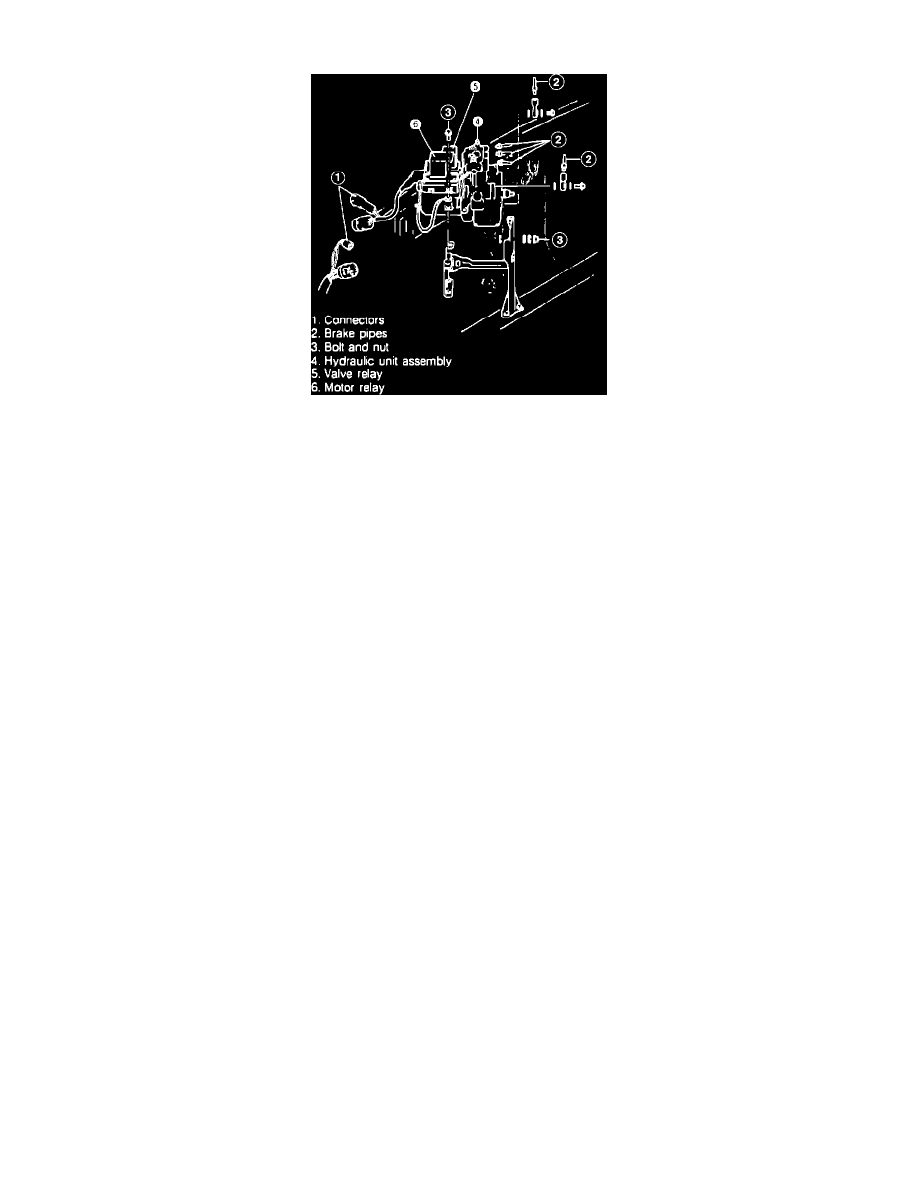
Fig. 73 Hydraulic Unit Replacement
1. Disconnect battery ground cable, then all electrical connectors, Fig. 73.
2. Disconnect brake pipes using the SST, then remove hydraulic unit to mounting bracket bolts and nuts.
3. Remove hydraulic unit from vehicle.
4. Release valve relay locks from hydraulic unit, then the valve relay.
5. Release motor relay locks from hydraulic unit, then the motor relay.
6. Reverse procedure to install, noting the following:
a. Bleed in the following order: rear wheel cylinders, front wheel cylinders, then the hydraulic unit.
b. Fill reservoir with specified brake fluid, remove bleeder cap, then connect one end of transparent vinyl tube to bleeder screw, with the other
end in a receptacle partially filled with brake fluid.
c. Have assistant pump brake pedal, then hold in the depressed position. loosen bleeder screw, relieving pressure, then tighten screw.
