
Service and Repair Information for Seat Occupant Sensor in B2300 L4-23L (2008)
WARNING: Install a new occupant classification sensor (OCS) system service kit as a complete assembly. Never install only part of the kit
components. Failure to follow this instruction may result in incorrect operation of the OCS system and increases the risk of serious personal
injury or death in a crash.
CAUTION:
-
Inspect the occupant classification sensor (OCS) system assembly, seat cushion frame and support assembly for any foreign objects before
installing the OCS system assembly to the seat cushion frame. If any foreign objects are found, remove them. Failure to follow these
instructions may result in incorrect OCS system operation or failure.
-
Failure to route the seat occupant sensor components through the correct seat cushion support opening can cause component failure.
-
While positioning the seat cushion pan and occupant classification sensor (OCS) assembly, be careful not to damage any of the
components. Failure to do so may result in component failure.
NOTE: If the original equipment OCS is not being installed, install a service kit OCS using all parts in the kit.
1. Position the OCS to the seat cushion frame.
-
Route the OCS system bladder hose and pressure sensor, OCSM and seat wiring harness through the seat cushion pan opening.
CAUTION: An occupant classification sensor (OCS) system service kit will have the OCS bladder attached to the seat cushion foam pad.
Do not separate the OCS system bladder from the seat cushion foam pad. Failure to do so may result in component failure.
NOTE: A production OCS bladder is shown. An OCS service kit is similar.
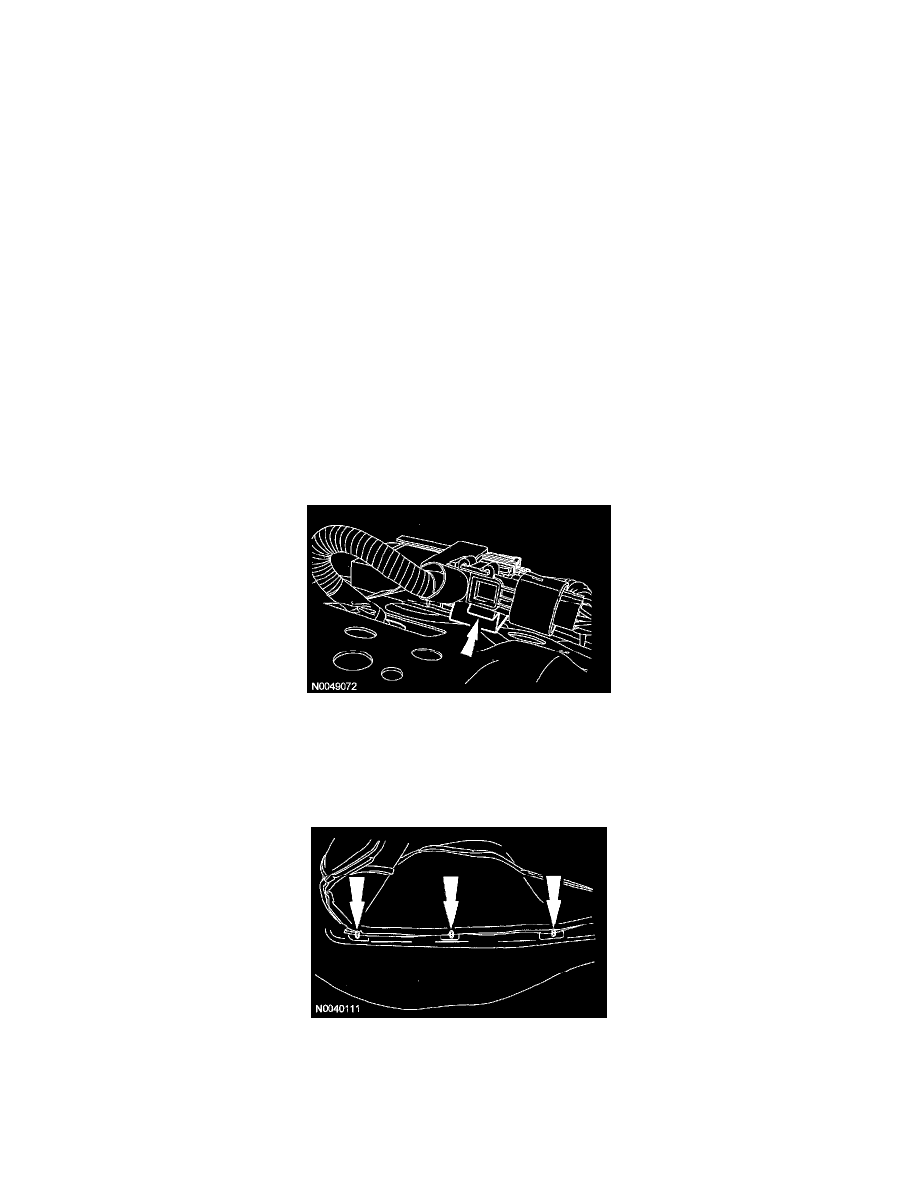
2. Install the 3 OCS system bladder pin-type retainers to the seat cushion frame.
3. Install the OCSM.
-
Slide the OCSM back on the OCSM bracket until it is fully seated and locked in past the OCSM bracket retainer.
-
Install the 2 screws in the OCSM.
4. Slide the pressure sensor on the bracket until it is fully seated and locked past the bracket retainer.
5. Install the 2 seat wiring harness routing clips to the seat cushion frame.
CAUTION: Inspect the seat cushion pad and seat cushion trim cover for any foreign objects before installing the seat cushion trim cover
to the seat cushion pad. If any foreign objects are found, remove them. Failure to follow these instructions may result in incorrect
operation of the occupant classification sensor (OCS) system and may cause system failure.
6. Position the cushion trim cover to the foam pad and install the hog rings.