
B2300 SE Regular Cab 2WD L4-2.3L VIN A (1997)
Brake Shoe: Service and Repair
1. Jack up the rear of the vehicle and support it with safety stands.
2. Remove the wheels
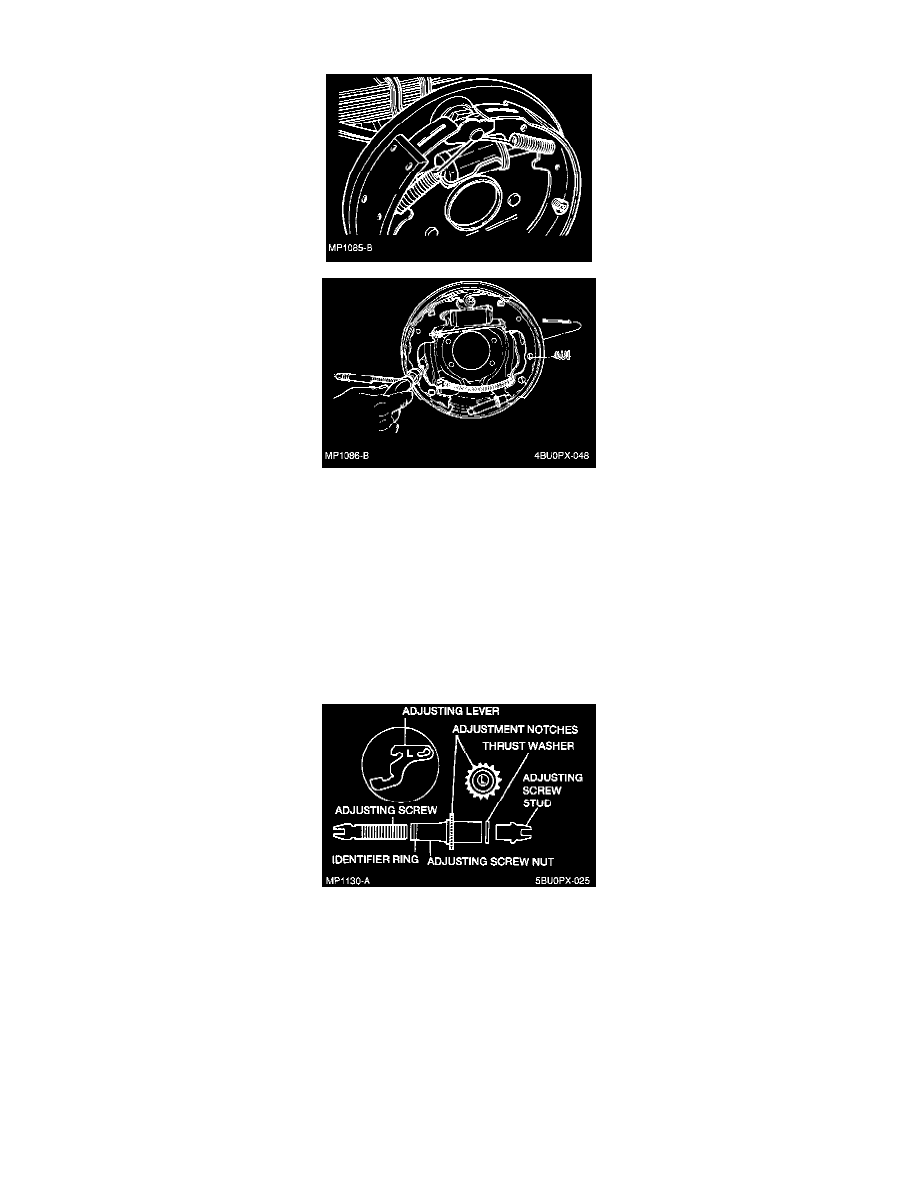
3. Remove the brake drums.
4. Remove the brake shoes, noting the following:
a. Inspect the wheel cylinder for signs of leaks or presence of rust.
b. Remove the hold down springs.
c. Remove the brake shoe (trailing side).
^
On 22.8 cm (9 inch) rear brakes, remove the parking brake lever from the shoe.
^
On 25.4cm (10 inch) rear brakes, remove the retainer clip and spring washer and the parking brake lever.
5. Install in reverse order, noting the following:
^
Before installing the rear brake shoes, the parking brake lever must be connected to the brake shoe (trailing shoe).
^
On 25.4 cm (10 inch) brakes, secure the parking brake lever with the spring washer and retaining clip.
^
Interchanging brake shoe adjusting screw assemblies from one side of the vehicle to the other will cause the brake shoe to retract rather than
expand each time the automatic adjusting mechanism is operated.
NOTE: To prevent incorrect installation, the socket end of each adjusting screw is stamped with R or L. Adjusting nuts can be identified by
the number of rings machined around body of nut. Two lines indicate right-hand nut; one line indicates left-hand nut.