
B2300 SE Regular Cab 2WD L4-2.3L VIN A (1997)
Compressor Clutch: Service and Repair
Installation
1. Clean all mounting surfaces.
2. With compressor in a vertical position (nose up), place clutch in position on the compressor front head. Make sure electrical connection is
positioned correctly.
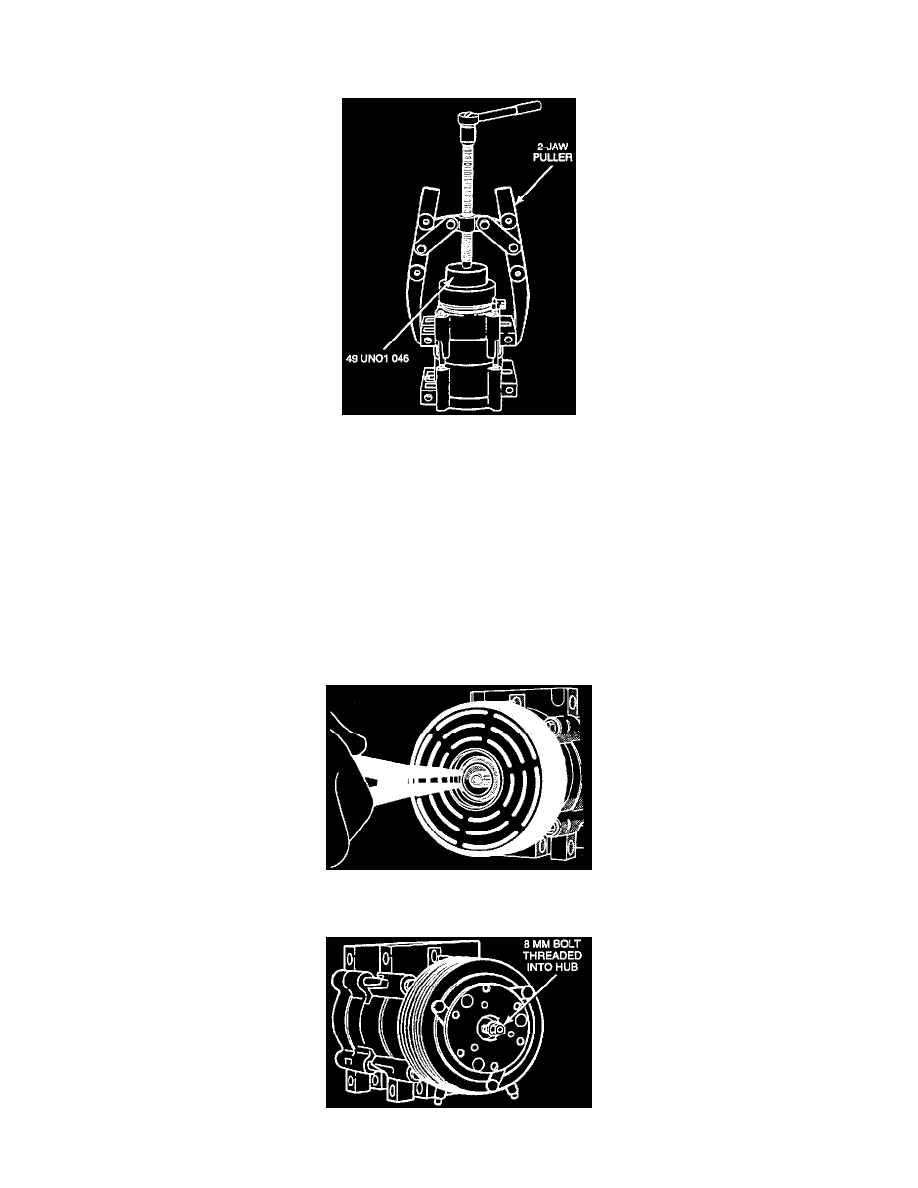
3. Place the coil pressing (installer) tool 49 UN01 046 over compressor nose and to the inner radius of the field coil.
4. Position 2-jaw puller tool on compressor and coil pressing tool. The jaws of the puller should be firmly engaged with the rear side of the
compressor front mounts. The forcing screw must be piloted on the center mark of the pressing tool.
5. Tighten the forcing screw with a hand wrench until coil is pressed on the compressor. Check to make sure coil bottoms against head at all points
around outside diameter.
NOTE
-
Do not use air tools.
6. Clean pulley bearing surface of compressor head.
7. Install pulley and slip-fit pulley bearing on compressor.
8. Install snap ring with bevel side facing out.
9. Place one nominal thickness spacer shim on the end of the splined shaft and slide hub on the end of the compressor shaft.
10. Thread new 8 mm retaining bolt into end of compressor shaft. Tighten to 11 - 14 N.m (11.1 - 14.2 kgf.m, 8 - 10 lb-ft).