
B2300 SE Regular Cab 2WD L4-2.3L VIN A (1997)
1. Measure the vehicle camber and caster. Note the difference between the actual measurement and the required specifications.
2. If adjustment is necessary, determine the amount of camber and caster in the adjuster that is installed in the vehicle.
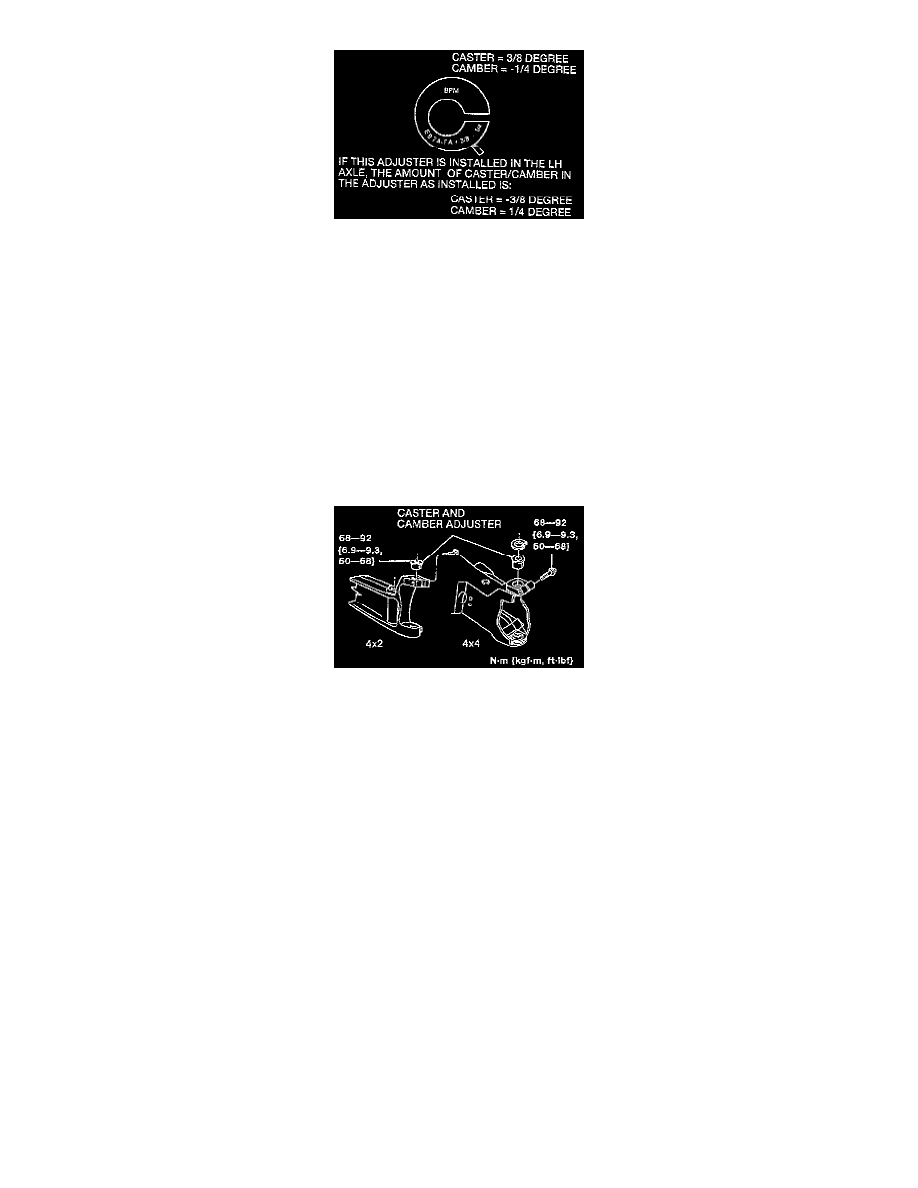
NOTE: The degrees of camber and caster are stamped on the top of the production adjuster. For the right side of the vehicle, the first number is the
amount of caster, and the second number is the amount of camber. For the left side of the vehicle, the caster and camber numbers are the opposite
sign of the number shown.
3. Select a new service adjuster from the table to obtain optimum camber and caster.
NOTE:
^
The camber or caster change required to obtain the optimum settings must be added to the amounts of camber and caster in the old or
production adjuster.
^
Example: If caster and camber must be reduced 1.0 degree and camber increased +0.75 degree at the left wheel, and the existing adjuster has
+0.25 degree caster as installed, select the 1.0 degree service adjuster and orient the slot 225 degrees from the straight-ahead position.
4. Remove the front wheels.
5. Loosen the pinch bolt at the upper ball joint and pry out the adjuster. If necessary, use Pitman Arm Puller T64P-3590-F, or equivalent to remove the
adjuster.
6. Install the new adjuster and orient the slot as specified in the table.
7. Tighten the pinch bolt to 68 - 92 Nm (50 - 68 ft. lbs.).
8. Install the front wheels.
9. Check the alignment.
NOTE: If necessary, rotate the adjuster until the optimal alignment setting is achieved.
10. Adjust the total toe-in.