
B2300 SE Regular Cab 2WD L4-2.3L VIN A (1997)
Axle Nut: Specifications
1. Jack up the front of the vehicle and support it with safety stands.
2. Remove the wheel cover.
3. Remove the hub cap and any excess grease from the hub.
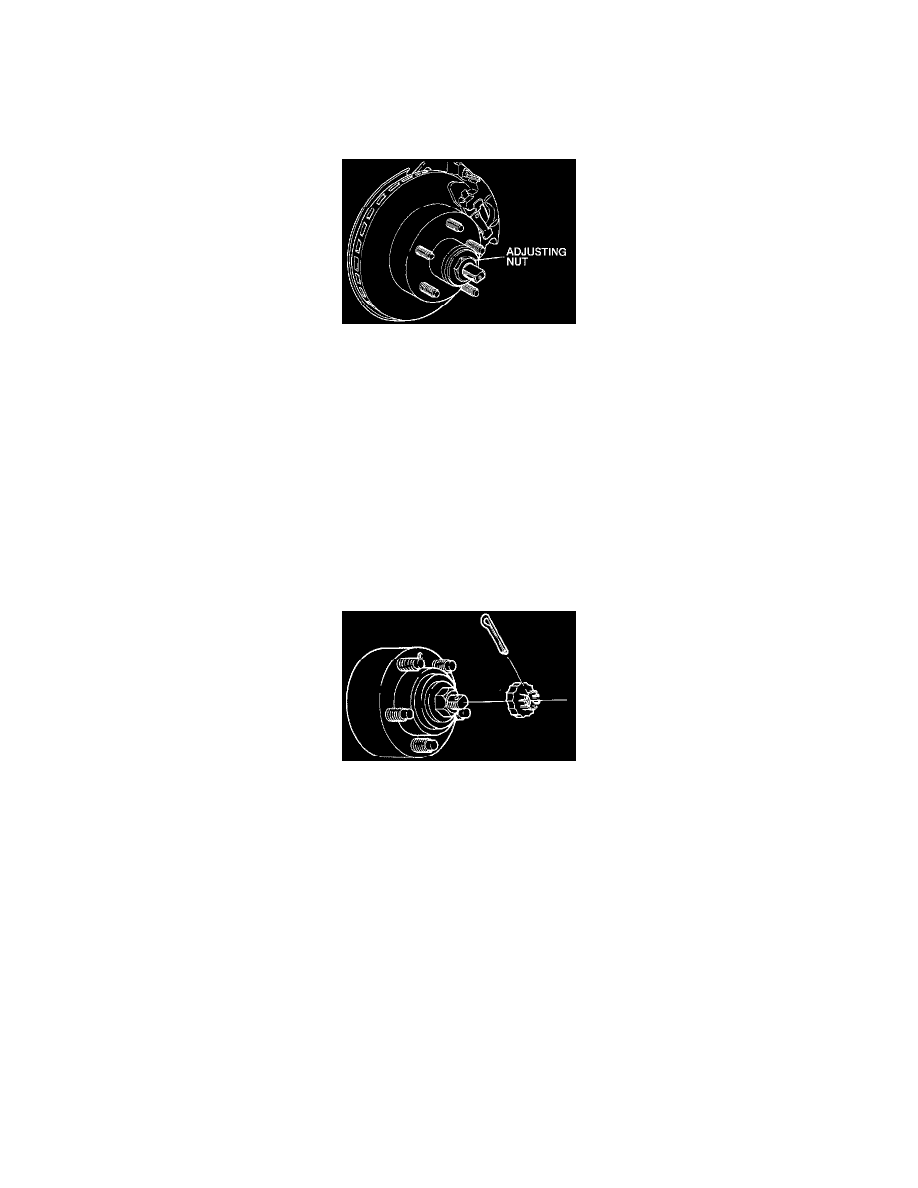
4. Remove and discard the cotter pin.
5. Remove the retainer.
6. Loosen the adjusting nut three turns.
7. Grasp and rock the wheel and tire assembly.
NOTE:
^
Tap on the caliper with a plastic hammer if rocking the wheel and tire does not increase clearance between the disc plate and brake pad. Do not
pry on caliper piston.
^
Clearance must be maintained during adjustment.
8. Rotate the wheel and tire assembly counterclockwise while tightening the adjusting nut to 23 - 34 Nm (17 - 25 ft. lbs.).
9. Spin the wheel and tire and loosen the adjusting nut one-half turn (180°).
10. Tighten the adjusting nut to 2.0 - 2.3 Nm (18 - 20 inch lbs.).
11. Install the retainer until the slot matches with the hole in knuckle.
NOTE: Do not turn the adjusting nut to align the slot.
12. Install a new cotter pin.
13. Check the wheel bearing play. Wheel bearing play should be within 0.006 - 0.127 mm (0.0002 - 0.005 inch).
14. Attach a pull scale to a wheel lug bolt and measure the frictional force. Frictional force should be within 2.8 Nm (25 inch lbs.).
15. Install the hub cap.
16. Check the wheel rotation for roughness or noise. Remove and lubricate the bearing if necessary.
17. Pump the brake pedal.