B2300 SE Regular Cab 2WD L4-2.3L VIN A (1997)

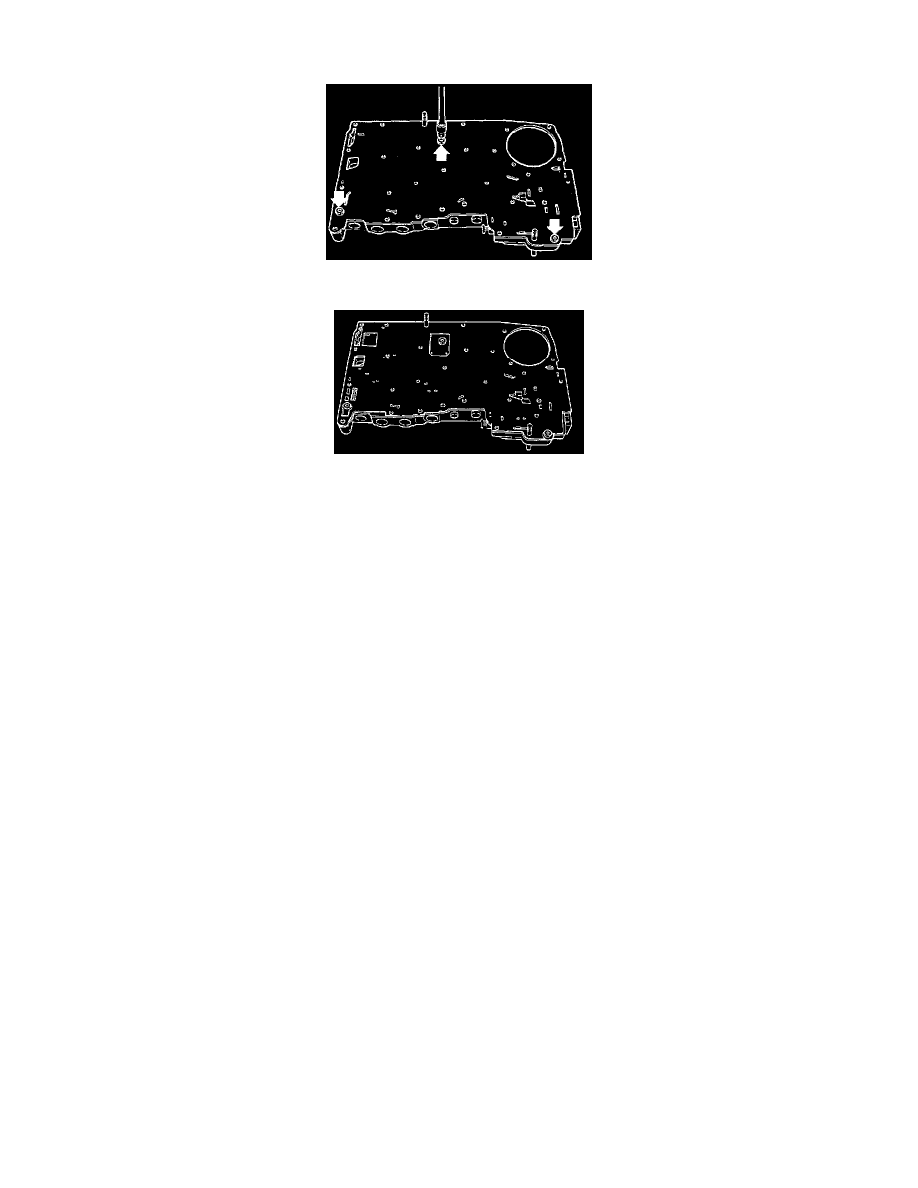
c. Install the alignment pins as shown using Special Service Tool (SST) Numbers: 49 UN01 139, 49 UN01 140, or equivalent.
d. Tighten the Torx (R) head screws to 6 - 8 Nm (45 - 71 inch lbs.).
3. Install the control valve body-to-gasket.
NOTE: Apply petroleum jelly to hold the gasket in place.
Overhaul
CAUTIONS:
-
Neatly arrange the removed parts to avoid confusing the similar parts of the transmission. Clean the removed parts with cleaning solvent, and dry
them with compressed air.
-
Clean out all holes and passages with compressed air.
-
Wear eye protection when using compressed air to clean components.
-
Each valve should slide out/in under its own weight.
-
When a valve will not slide out under its own weight, depending on the valve, push it out with a wire or place the valve body open side down and
lightly tap it with a soft hammer. Never scratch or otherwise damage a valve surface or bore.
-
Do not drop or lose the valves or internal parts.
-
Before assembly, make sure all parts are thoroughly clean.
-
Apply ATF to all parts and bores.
-
Note the proper direction of the valves and internal parts.
-
Do not reuse any part that has been dropped.
-
Wrap a screwdriver or rod with tape before using it to insert a valve.
