
B2300 SE Regular Cab 2WD L4-2.3L VIN A (1997)
2. On differentials equipped with a 3.73:1 or a 4.10:1 ratio axle, push the pinion shaft until it contacts the ring gear.
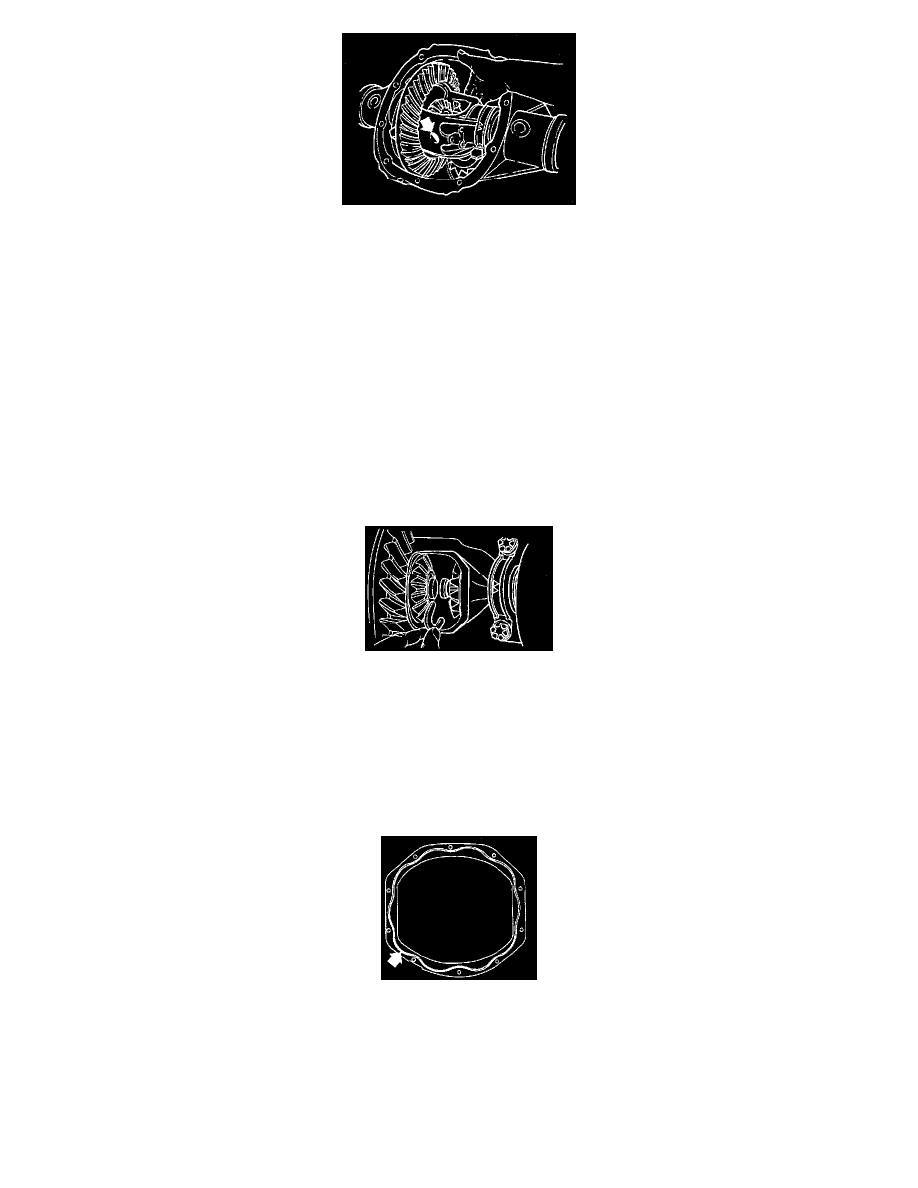
Pinion Gears (5)
NOTE: The pinion gears may be left in place.
INSTALLATION
Install in the reverse order of removal, referring to installation note:
Rear Axle (7)
1. Carefully install the rear axle.
2. Slide the splices into the side gear.
CAUTION: Do not damage the rear axle splines, oil seal or bearing during installation.
NOTE: On differentials equipped with a 3.73:1 or a 4.10:1 ratio axle, ensure the pinion shaft is contacting the ring gear prior to installing the
rear axle.
C-Washer (6)
1. Install the C-washer.
2. Pull the rear axle until the axle splines engage and the C-washer seats in the counterbore of the side gear.
Pinion Shaft (4)
-
Push the pinion shaft until it aligns with the lock-bolt hole.
Lock-Bolt (3)
-
Tighten lock-bolt to 21 - 40 Nm (15 - 30 ft. lbs.).
Differential Cover (2)
1. Install the metal differential covers as follows:
a. Clean the old sealant from the differential cover and axle casing.
b. Apply a bead of sealant 3.18 - 4.76 mm (0.125 - 0.1875 inch) wide to the differential cover as shown in the illustration.
c. Install the differential cover within 15 minutes of applying sealant and tighten bolts to 34 - 47 Nm (25 - 35 ft. lbs.).
2. Install the plastic differential covers as follows:
a. Clean the old sealant from the axle casing.
b. Install a new differential cover and bolts. Tighten to 21 - 27 Nm (15 - 20 ft. lbs.).