
B2300 SE Regular Cab 2WD L4-2.3L VIN A (1997)
Case: Service and Repair
Disassembly
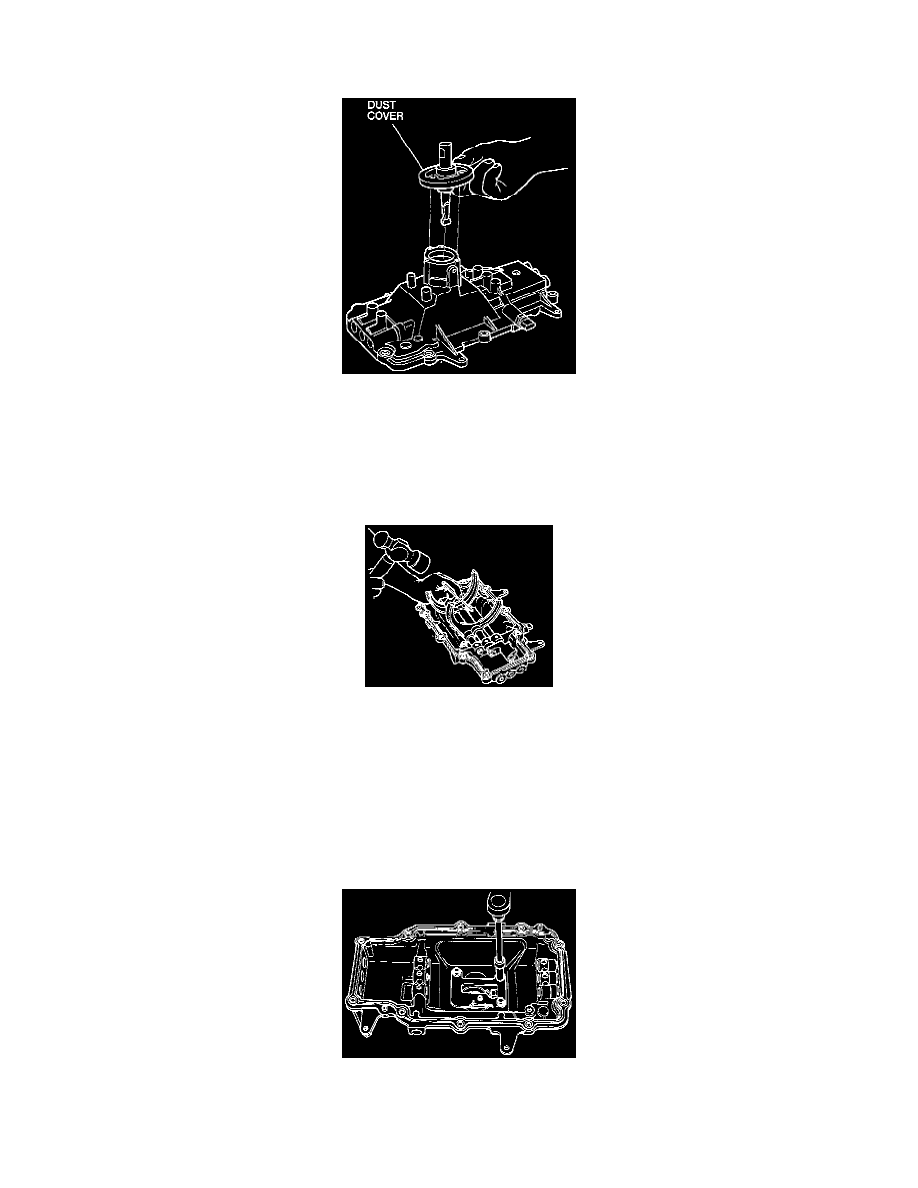
1. Remove the dust cover, referring to the following:
^
Remove the dust cover screws (Torx) and the dust cover.
2. Remove the back-up light switch and pin.
3. Remove the park/neutral position switch and pin.
4. Remove the shift rods, referring to the following steps.
WARNING: Wear safety glasses while performing shift rod removal procedure.
5. Remove the shift fork interlock pins using a 5/32 in drift punch.
NOTE: Make sure all shift rods and gates are positioned in neutral.
6. Remove the shift gate interlock pins.
7. Remove the shift gates.
8. Remove the three shift rod service bore rubber plugs.
9. Cover the lock ball and friction device bores and seats with a clean cloth.
CAUTION: Failure to cover the cover lock ball and friction device bores could result in component loss.
10. Remove the 5th/reverse shift rod.
11. Remove the 1st/2nd shift rod.
12. Remove the 3rd/4th shift rod.
13. Remove the 5th/reverse cam lockout plate.