
B3000 V6-3.0L (2007)
4. Slowly press the primary piston or, for in-vehicle priming, have an assistant slowly pump the brake pedal until clear brake fluid flows from both
brake tubes with no air bubbles.
5. If necessary, install the brake master cylinder into the vehicle.
6. Refill the brake master cylinder reservoir as necessary.
Bleed the master cylinder at the outlet tubes.
^
Have an assistant apply and hold the brake pedal.
^
Loosen the brake outlet tube fittings at the master cylinder one at a time.
^
Tighten the outlet tube fittings.
^
Repeat the above 3 steps until no air bubbles are visible in the expelled brake fluid.
7. Remove the short brake tubes and install the master cylinder outlet tubes.
^
Tighten to 18 N-m (1.8 kgf-m, 13 ft-lbf).
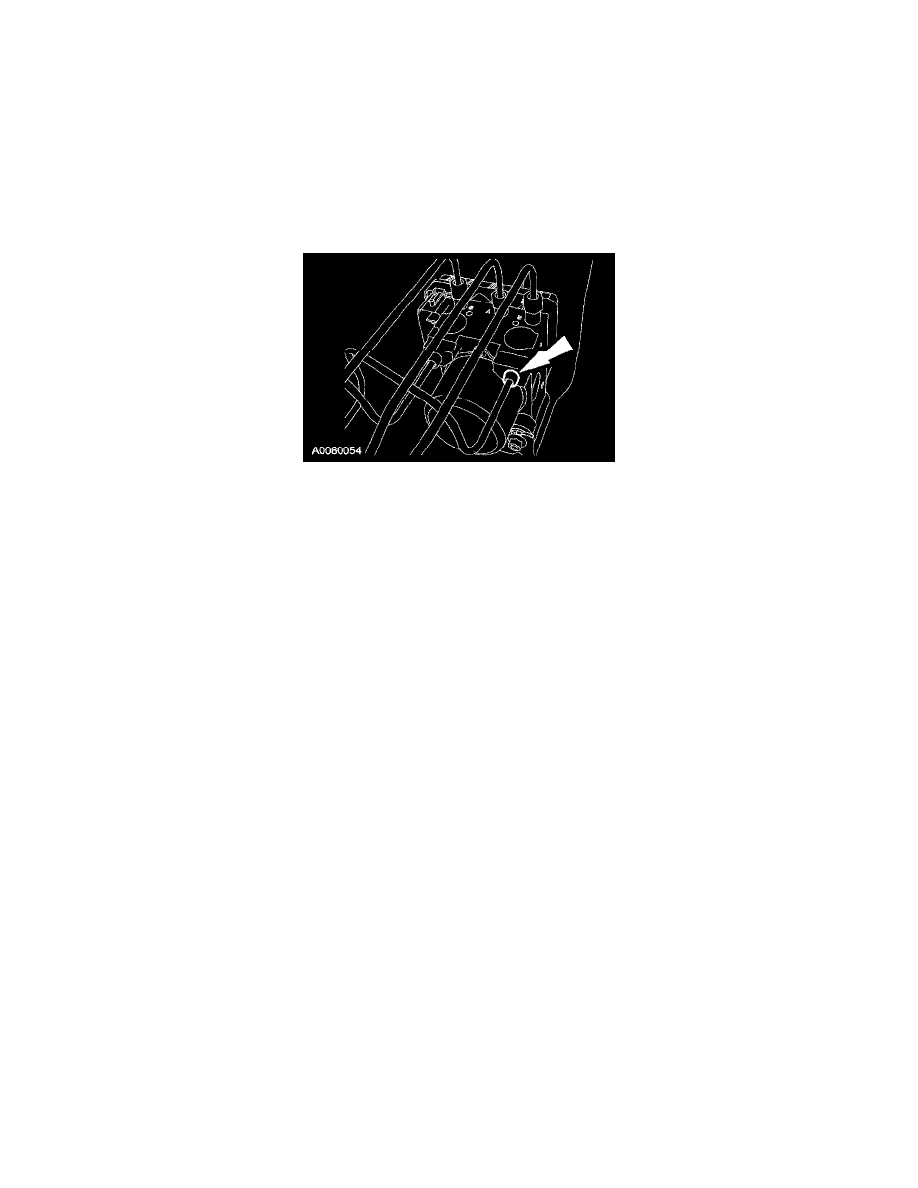
8. Loosen a brake inlet tube at the 4WABS hydraulic control unit (HCU).
Note:
^
Refill the brake master cylinder reservoir as necessary.
9. Have an assistant apply and hold the brake pedal.
10. Tighten the inlet tube fitting at the HCU.
^
Tighten to 18 N-m (1.8 kgf-m, 13 ft-lbf).
11. Repeat Steps 8-10 until no air bubbles are seen in the expelled brake fluid.
12. Repeat Steps 8-11 for the remaining 4WABS hydraulic control unit inlet tube.
13. Bleed the brake system.