
B3000 V6-3.0L (2007)
use a part of lesser quality or substitute design. Torque values must be used as specified during reassembly to make sure of correct retention of
these parts.
1. Index-mark the lower arm to the frame with the vehicle in a static ground position (curb height).
2. With the vehicle in NEUTRAL, position it on a hoist.
Caution:
^
Do not allow the shaft to turn while removing the nut. Hold the flats on the shock rod using a suitable wrench or damage to the shock
can result.
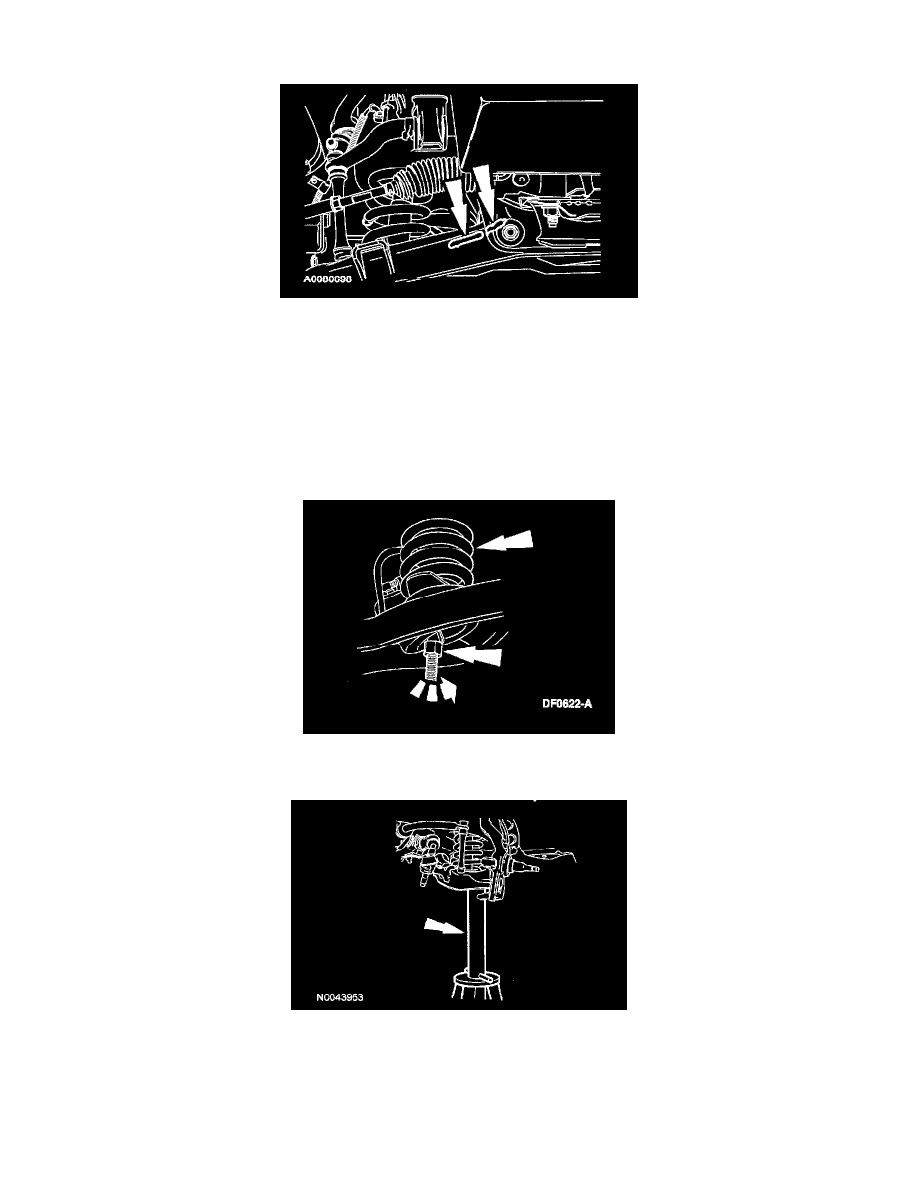
3. Remove and discard the shock absorber rod nut and washer assembly
4. Remove and discard the 2 shock absorber lower nuts, and remove the shock absorber.
5. Remove the stabilizer bar link nut and grommet, then remove the link assembly.
6. Using the suitable spring compressor, compress the coil spring.
7. Remove and discard the lower ball joint nut.
8. Using a suitable jack, support the front suspension lower arm.