
B3000 2WD V6-3.0L OHV (1994)
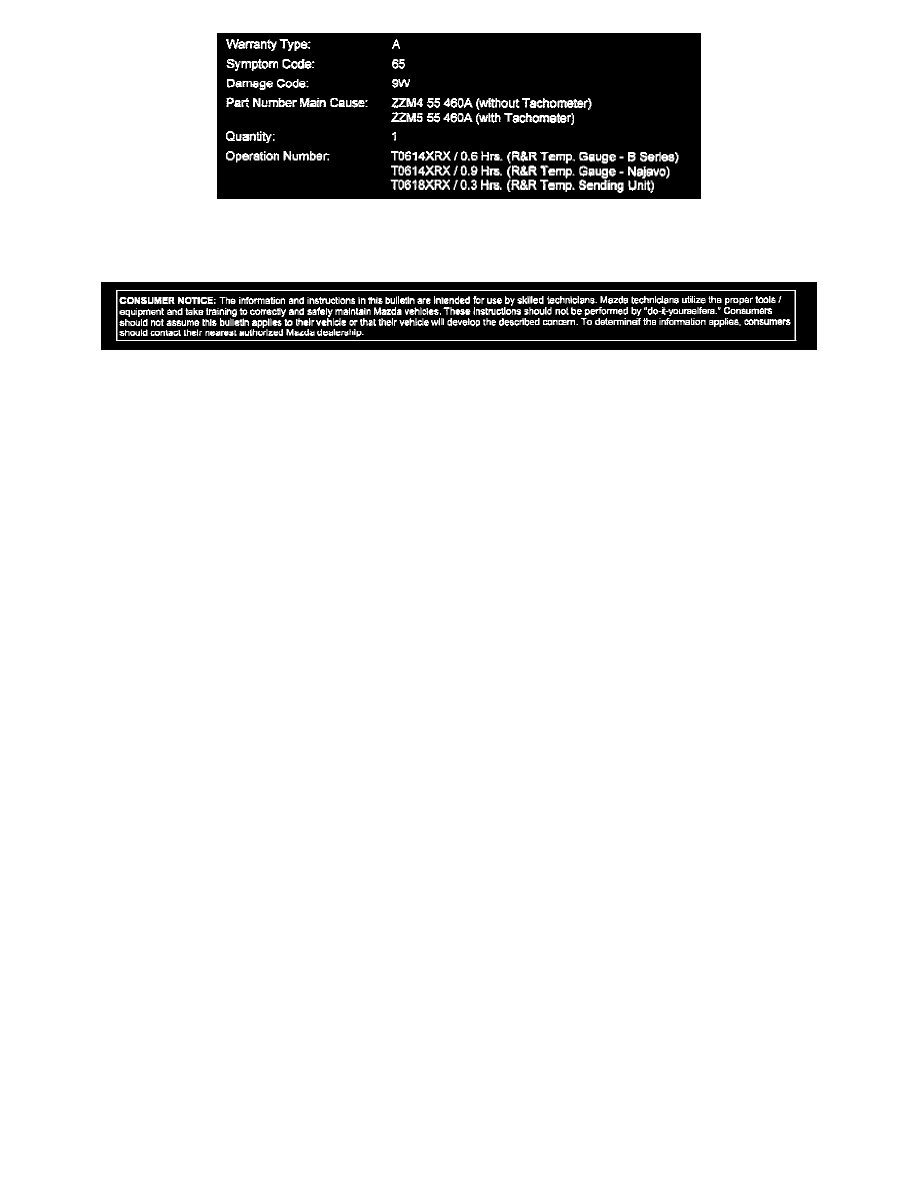
WARRANTY INFORMATION
(Applies To Verified Customer Complaints On Vehicles Covered Under Normal Warranty. Refer To The SRT Microfiche For Warranty Term
Information.)
Disclaimer
Repair Procedure
1.
Verify the gauge reading with the engine at normal operating temperature.
2.
Diagnose the cooling system according to Section E of the workshop manual.
3.
Inspect the sending unit and the vehicle build date
^
If the sending unit is stamped with an "A3" and the vehicle was built between 1/1/93 and 4/1/93, replace the sending unit with a "non-A3" unit
and verify the repair.
^
If the vehicle does not have an "A3" unit proceed to step 4.
^
'94 Navajo vehicles with date code 2204 to 2274 should not be used. Any other date code outside this is acceptable even with an "A3" stamp.
NOTE:
Date codes are based on the julian date code system. The last number denote the year that the part was manufactured. For example 2274(1994 part)
4.
Remove the existing temperature sending unit and temperature gauge. Refer to section C of the BETM for removal instructions.
NOTE:
Temperature gauge and sending unit packaged in the service kit must be used together.
5.
Install the updated sending unit and gauge from the Service Kit Refer to section C of the BETM for installation instructions.
6.
Verify repair.
NOTE:
Temperature gauge and sending unit packaged in the service kit must be used together.
Temperature Indication Service Kit Installation Instructions
CORRECTIVE ACTIONS FOR SERVICE
A service technician should install the Temperature Indication Service Kit. The service kit will result in a pointer indicating in the approximate center of
the normal band while providing protection from a boil over condition. The service kit consists of: 1) instructions 2) temperature gauge (diode
controlled), and 3) temperature sender.
INSTALLATION PROCEDURE
1.
Remove bath existing temperature sender and temperature gauge from vehicle.
NOTE:
Refer to the appropriate Mazda Body Electrical Trouble Shooting or Workshop Manual for magnetic temperature gauge and temperature sender
removal and installation procedure.
2.
Install both temperature sender and temperature gauge from the service kit.